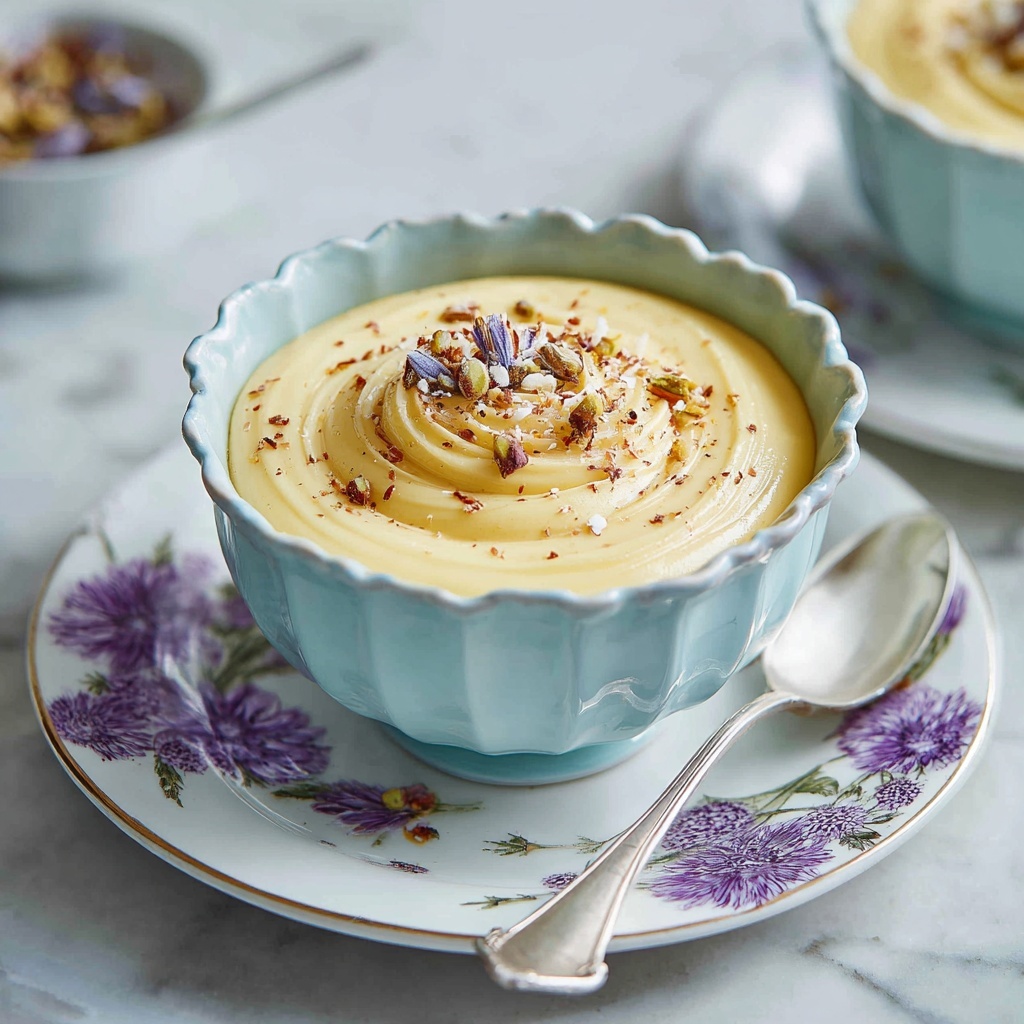
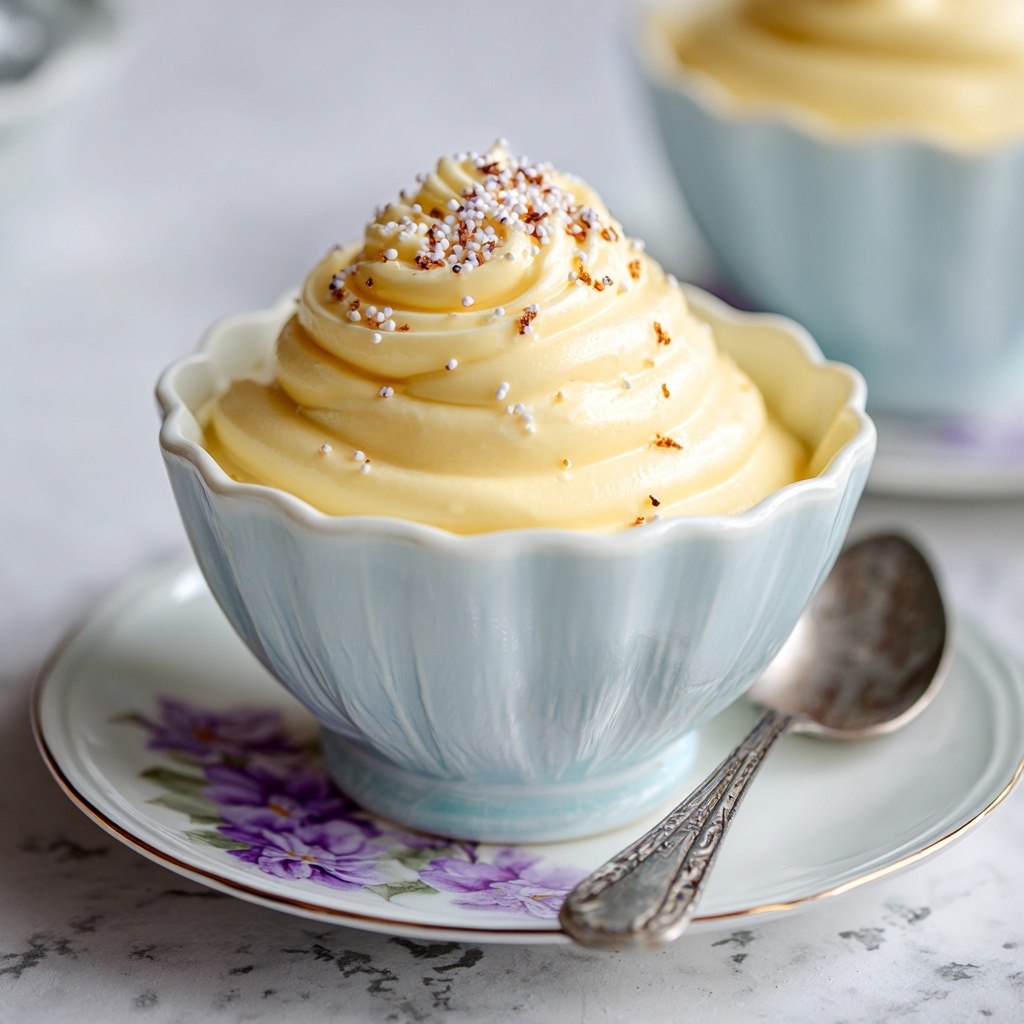
If you’ve ever craved a velvety, comforting dessert that feels like a warm hug on a chilly day, let me introduce you to this Classic Vanilla Pudding Recipe. It’s a timeless treat that combines creamy texture with rich vanilla flavor, making it a crowd-pleaser for all ages. What makes this recipe so special is its perfect balance of simplicity and elegance; with everyday ingredients, you can whip up a silky-smooth pudding that tastes like it came from a fancy bakery. Once you try this Classic Vanilla Pudding Recipe, it will quickly become your go-to dessert whenever you want something sweet, nostalgic, and utterly satisfying.
Ingredients You’ll Need
Gathering the right ingredients is the first step toward pudding perfection. Each component plays a crucial role, from the richness of whole milk to the pure essence of vanilla extract, building layers of flavor and texture that make this dessert irresistible.
- Whole milk (2¾ cups): Provides a creamy base that’s essential for the pudding’s luscious texture.
- Granulated sugar (½ cup): Sweetens the pudding gently without overpowering the vanilla notes.
- Cornstarch (¼ cup): Acts as the thickening agent, giving the pudding that classic smooth consistency.
- Salt (¼ tsp): Enhances the overall flavor and balances sweetness perfectly.
- Large egg yolks (3): Add richness and help create a silky texture.
- Unsalted butter (2 tbsp): Finishes the pudding with a velvety smoothness and depth of flavor.
- Pure vanilla extract (1 tbsp): The star seasoning that delivers that unmistakable warm and aromatic vanilla essence.
How to Make Classic Vanilla Pudding Recipe
Step 1: Heat the Milk
Start by warming 2 cups of whole milk in a medium saucepan over medium heat until it’s steaming but not boiling. This gentle warming prepares the milk for combining with the other ingredients and helps develop a rich flavor from the start.
Step 2: Mix Dry Ingredients
While the milk is heating, whisk together your sugar, cornstarch, and salt in a separate bowl. Then, add the remaining ¾ cup of cold milk and mix until perfectly smooth. This step ensures the cornstarch won’t clump when you add the hot milk later.
Step 3: Temper the Eggs
Next, whisk the egg yolks into your cornstarch mixture. Slowly pour the hot milk in a steady stream while whisking continuously. This tempering process prevents the eggs from cooking too quickly and turning into scrambled bits, keeping your pudding silky smooth.
Step 4: Cook the Pudding
Pour your mixture back into the saucepan and cook it over medium heat, whisking constantly. Within 4 to 6 minutes, you’ll notice the pudding thickening and beginning to bubble, which means it’s nearly finished. This step requires patience and steady attention, but the luscious result is worth every second.
Step 5: Finish the Pudding
Remove the saucepan from heat and immediately stir in the butter and vanilla extract. This finishing touch adds a heavenly creaminess and rounds out the vanilla flavor with a lovely aromatic kick.
Step 6: Chill
Pour your pudding into serving dishes and cover the surface with plastic wrap to prevent a skin from forming. Refrigerate for at least 2 hours—it’s this chilling time that lets the pudding fully set and develop its signature texture.
How to Serve Classic Vanilla Pudding Recipe
Garnishes
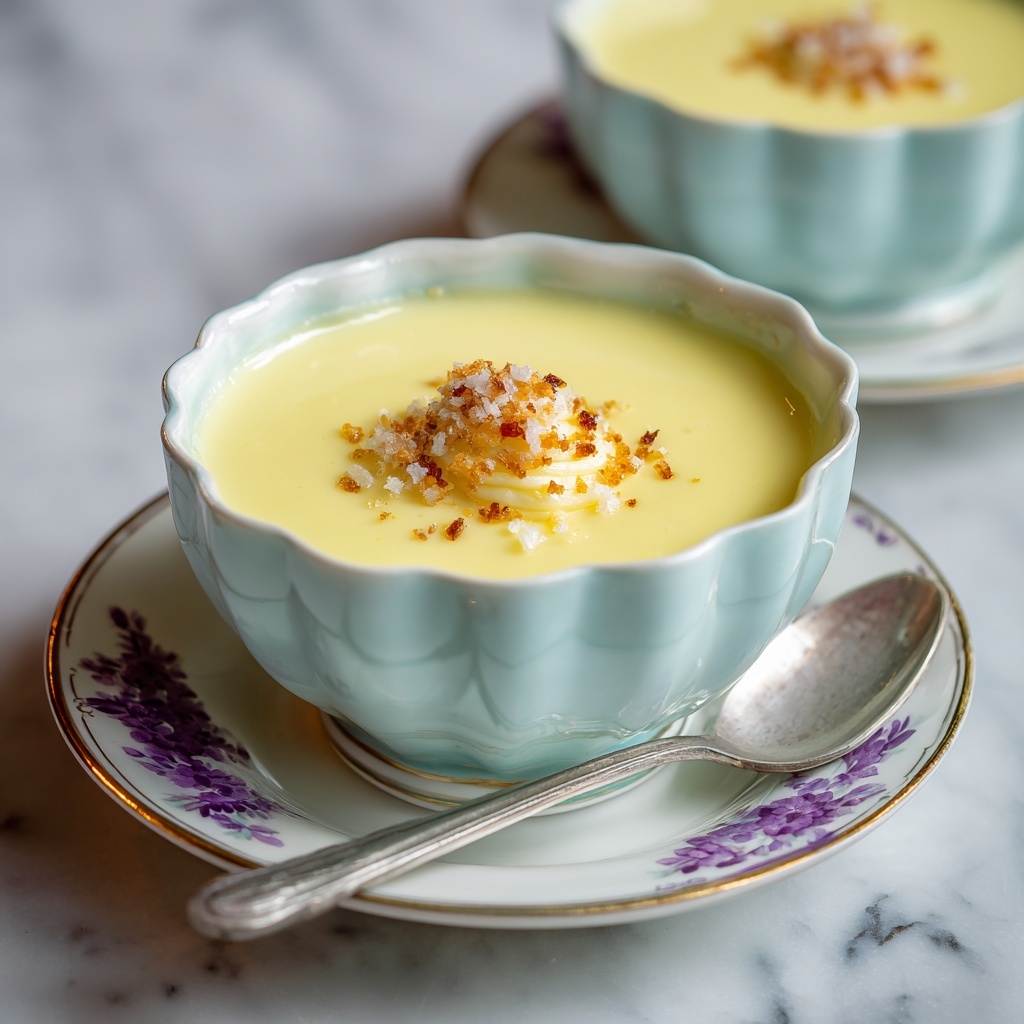
Classic Vanilla Pudding Recipe can be elevated beautifully with simple garnishes. Fresh berries, a dusting of cinnamon, or a sprinkle of toasted nuts all add delightful textures and complementary flavors. Even a dollop of whipped cream makes the experience feel extra special.
Side Dishes
This pudding pairs well with warm fruit compotes or a slice of buttery shortbread. Those side dishes add contrasting elements that bring out the pudding’s smoothness and mellow sweetness, creating a balanced dessert spread.
Creative Ways to Present
Serve the pudding in clear glasses for a charming layered look or in vintage bowls to enhance that nostalgic vibe. You can also layer it with crushed cookies or fresh fruit for a gorgeous parfait that’s as fun to eat as it is to look at.
Make Ahead and Storage
Storing Leftovers
Leftover pudding stays fresh covered in the refrigerator for up to 3 days. Keeping it well-covered is essential to maintain that soft surface and prevent the pudding from drying out or absorbing fridge odors.
Freezing
While you can freeze vanilla pudding in airtight containers, the texture may slightly change upon thawing, becoming a bit grainy. For best results, enjoy the pudding fresh or refrigerated rather than frozen.
Reheating
To enjoy warm pudding, gently reheat in a saucepan over low heat and stir constantly to avoid curdling. Adding a splash of milk can help restore the smooth consistency if needed.
FAQs
Can I use low-fat milk instead of whole milk?
While low-fat milk will work, whole milk delivers the richest flavor and creamiest texture due to its higher fat content. Using whole milk is ideal for the best results in this Classic Vanilla Pudding Recipe.
Is it necessary to temper the eggs?
Yes! Tempering the eggs by slowly mixing in warm milk prevents them from scrambling and helps maintain the smoothness of your pudding. Skipping this step can lead to an undesired curdled texture.
Can I make this pudding vegan or dairy-free?
For a dairy-free version, try substituting whole milk with unsweetened almond or oat milk and use a vegan butter alternative. Note that textures may vary slightly, but it’s a delicious option for those avoiding dairy.
How do I store pudding to prevent a skin from forming?
After pouring the pudding into containers, press plastic wrap directly onto the surface of the pudding while it’s still warm. This creates a barrier to prevent that thin, dry skin from developing as it cools.
Can this pudding be used as a base for other desserts?
Absolutely! Classic Vanilla Pudding Recipe is versatile and can be layered in trifles, used as a filling for cakes or pastries, or combined with fresh fruit for creative treats. It’s a wonderful foundation that invites experimentation.
Final Thoughts
There’s something truly magical about a well-made vanilla pudding, and this Classic Vanilla Pudding Recipe captures that magic perfectly. Whether you’re making it for a cozy family night or a special occasion, its creamy, aromatic bliss will bring smiles all around. Don’t hesitate to give it a try—it’s one of those recipes that feels like a warm, delicious secret worth sharing with everyone you love.
Print
Classic Vanilla Pudding Recipe
- Prep Time: 10 minutes
- Cook Time: 6 minutes
- Total Time: 2 hours 16 minutes
- Yield: 4 servings
- Category: Dessert
- Method: Stovetop
- Cuisine: American
- Diet: Vegetarian
Description
A classic, creamy homemade vanilla pudding made from scratch using whole milk, egg yolks, and pure vanilla extract. This smooth and velvety dessert is gently cooked on the stovetop, then chilled to set perfectly, making it an indulgent treat for any occasion.
Ingredients
Milk Mixture
- 2 3/4 cups whole milk (divided)
Dry Ingredients
- 1/2 cup granulated sugar
- 1/4 cup cornstarch
- 1/4 teaspoon salt
Other Ingredients
- 3 large egg yolks
- 2 tablespoons unsalted butter
- 1 tablespoon pure vanilla extract
Instructions
- Heat the milk: In a medium saucepan, warm 2 cups of whole milk over medium heat until it is steaming but not boiling. This helps to temper the eggs in the next steps.
- Mix dry ingredients: In a separate bowl, whisk together the sugar, cornstarch, and salt. Add the remaining 3/4 cup of cold milk and whisk until the mixture is smooth with no lumps.
- Temper the eggs: Whisk the egg yolks into the cornstarch mixture thoroughly. Then slowly pour the warm milk into this mixture while whisking constantly to prevent the eggs from curdling.
- Cook the pudding: Pour the combined mixture back into the saucepan and cook over medium heat. Whisk continuously until the pudding thickens and starts to bubble, which takes about 4 to 6 minutes.
- Finish the pudding: Remove the saucepan from heat and stir in the unsalted butter and pure vanilla extract until everything is fully incorporated and the pudding is smooth.
- Chill: Pour the pudding into serving cups or bowls. Cover the surface directly with plastic wrap to prevent a skin from forming. Chill in the refrigerator for at least 2 hours before serving to allow it to set properly.
Notes
- You can substitute whole milk with 2% milk, but the pudding will be less rich.
- Ensure constant whisking during cooking to prevent lumps and sticking.
- Covering pudding with plastic wrap directly on the surface prevents an unappetizing skin from forming.
- For a richer flavor, try adding a splash of cream after cooking.
- This pudding can be garnished with fresh fruit, whipped cream, or chocolate shavings for extra indulgence.