
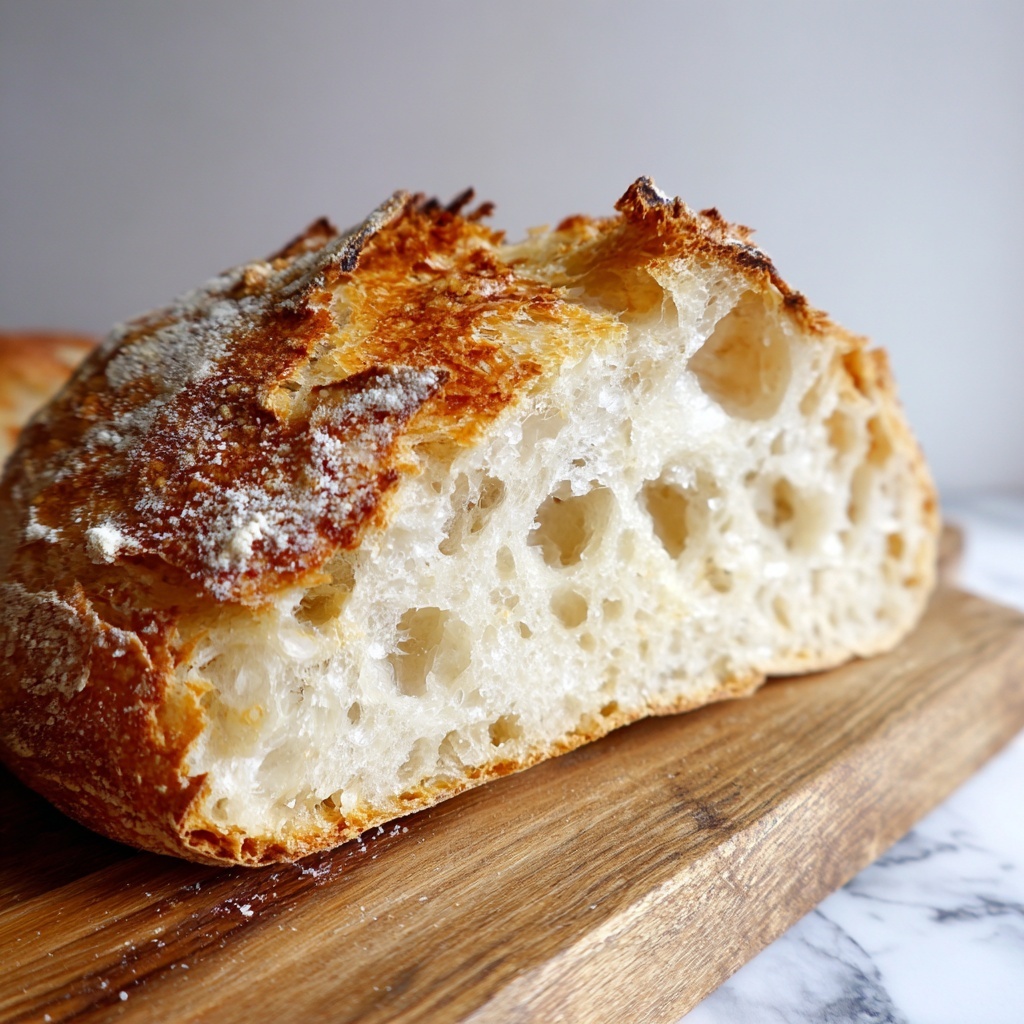
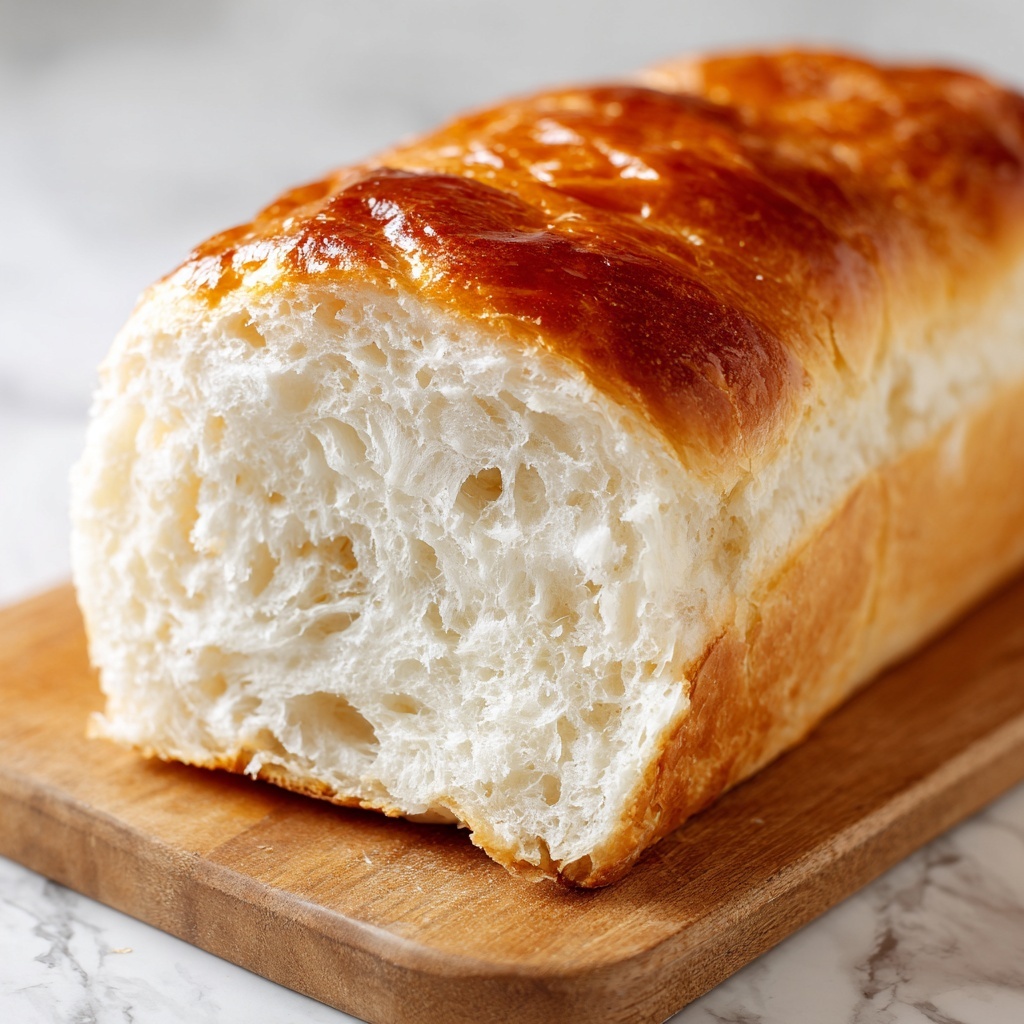
If you’ve ever yearned for a homemade bread that’s soft, pillowy, and irresistible, then this Soft Fluffy French Bread Recipe is exactly what you need in your kitchen repertoire. Picture biting into a golden crust yielding to a tender crumb that melts in your mouth, making everyday meals feel like a special occasion. This recipe combines simple, pantry-friendly ingredients with straightforward steps to create a loaf that feels fresh from a Parisian bakery—without the need to hunt down fancy ingredients or complicated techniques. Whether you’re a seasoned baker or just starting out, this Soft Fluffy French Bread Recipe will quickly become your go-to for delicious, homemade bread.
Ingredients You’ll Need
Gathering the right ingredients for this Soft Fluffy French Bread Recipe is delightfully simple, but each item plays a crucial role in the texture, flavor, and beautiful color of the final loaf. These essentials are easy to find yet give the bread its characteristic soft crumb and golden crust that everyone loves.
- All-purpose flour (2.5–3 cups): The backbone of your bread, providing structure and that soft, tender texture.
- Warm water (1 cup): Activates the yeast and hydrates the flour, setting your dough’s texture just right.
- Olive oil or vegetable oil (1 tablespoon): Adds moistness and a subtle richness, keeping the bread soft longer.
- White granulated sugar (1 tablespoon): Feeds the yeast for a perfect rise and enhances the crust color.
- Salt (1 teaspoon): Balances the sweetness and enhances all the bread’s flavors.
- Active dry yeast (2 teaspoons): The magic agent that makes your bread rise beautifully.
- Egg, beaten (1): Brushed on top to create that shiny, inviting golden crust.
How to Make Soft Fluffy French Bread Recipe
Step 1: Activate the Yeast
Start by stirring the sugar into warm water, then sprinkle your yeast on top. Let it sit for about 10 minutes until it’s bubbly and frothy. This shows your yeast is alive and ready to give your bread that perfect rise, turning the dough delightfully airy.
Step 2: Mix Dry Ingredients
In a large bowl, combine the flour and salt. Mixing these first evenly distributes the salt so it won’t inhibit the yeast later. This step helps create a uniform dough and ensures every bite is seasoned just right.
Step 3: Combine Wet and Dry Ingredients
Make a small well in the flour mixture, pour in the yeast mixture and olive oil, then gently stir just until the dough begins to come together. It’s okay if it seems a bit shaggy at this point; that’s the start of something wonderful.
Step 4: Knead the Dough
Transfer your dough onto a lightly floured surface and knead it for about 8 to 10 minutes. This might be your favorite part—working the dough with your hands until it’s soft, smooth, and elastic. If it gets sticky, sprinkle a little more flour, but be careful not to add too much or the bread could turn dense.
Step 5: First Rise
Pop your dough into a lightly oiled bowl, cover it with a damp cloth, and let it rest in a warm spot for about an hour. Watch it puff up and double – this lovely rise builds the structure and airy fluffiness that define this bread recipe.
Step 6: Shape and Second Rise
Gently punch down the dough to release excess air, then shape it into a loaf. Place it on a parchment-lined baking sheet, cover it again, and let it rise for another 30 minutes. This final rest ensures your loaf will be perfectly soft inside with just the right crust on the outside.
Step 7: Preheat Oven and Prepare Egg Wash
Now it’s time to get your oven ready at 375°F (190°C). Gently brush the loaf with the beaten egg. This simple step adds that gorgeous shiny, golden finish that makes your bread look as tasty as it tastes.
Step 8: Bake
Bake the loaf for 20 to 25 minutes until it’s beautifully golden brown. When you tap the bottom, it should sound hollow, signaling that the bread is baked through and wonderfully light inside.
Step 9: Cool
Once baked, let your bread cool on a wire rack before slicing. This cooling time allows the crumb to set and keeps your slices from becoming gummy. Then, enjoy the fruits of your labor!
How to Serve Soft Fluffy French Bread Recipe
Garnishes
While this bread is delicious on its own, you can elevate it by sprinkling some freshly chopped herbs like rosemary or thyme on the loaf before baking. A light dusting of sea salt on top adds a lovely contrast to the soft crumb inside. Or brush with garlic butter right after baking for an irresistible aroma and flavor boost.
Side Dishes
Soft Fluffy French Bread works beautifully alongside soups, stews, or your favorite pasta dishes. Its tender texture is perfect for soaking up broths or sauces without falling apart. It’s also wonderful served with cheese and charcuterie for a casual, crowd-pleasing snack or appetizer.
Creative Ways to Present
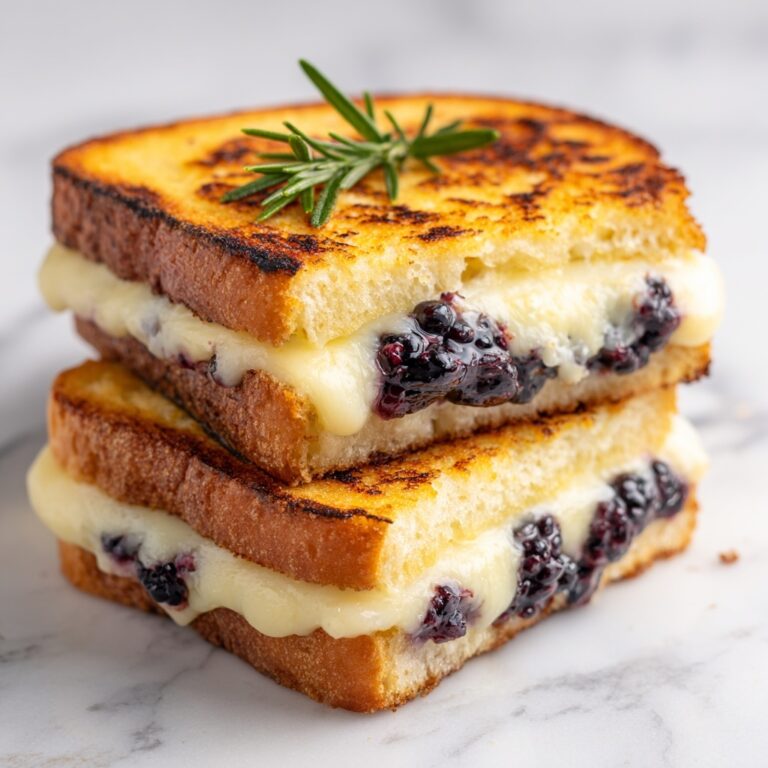
Slice the loaf horizontally and make a scrumptious sandwich with fresh veggies, meats, and spreads. Alternatively, toast thick slices and serve with a drizzle of honey and a sprinkle of cinnamon for a sweet twist. The possibilities are endless and always delicious!
Make Ahead and Storage
Storing Leftovers
Once cooled, wrap your Soft Fluffy French Bread tightly in plastic wrap or place it in an airtight container. Stored at room temperature, it stays fresh for up to 2 days, maintaining that wonderful softness you’d expect from freshly baked bread.
Freezing
You can freeze this bread to keep it fresh longer. Slice it first, then wrap tightly in foil or plastic wrap, and place in a freezer-safe bag. When ready to eat, thaw at room temperature or toast slices straight from the freezer for a quick snack.
Reheating
To bring back that freshly baked taste, warm slices in a toaster or oven at a low temperature for a few minutes. This restores the soft crumb and crispy crust, making each bite feel like it just came out of the oven.
FAQs
Can I use bread flour instead of all-purpose flour?
Absolutely! Bread flour has a higher protein content, which can give your loaf a chewier texture, but this Soft Fluffy French Bread Recipe is designed for all-purpose flour to achieve that tender softness. Feel free to experiment and see which texture you prefer.
What if my dough doesn’t rise?
If your dough doesn’t rise, it might be because the yeast was inactive or the water temperature was too hot or too cold. Always use warm—not hot—water and check your yeast expiration date to ensure the components are fresh and active.
Can I make this bread without an egg wash?
Yes, you can skip the egg wash. The crust will be less glossy and slightly lighter in color, but the bread will still be deliciously soft. For a vegan option, try brushing with plant-based milk mixed with a little maple syrup for some shine.
How do I get a crustier bread?
To create a crustier loaf, place a pan of water in the bottom of your oven while baking to add steam. This technique helps develop a crisp crust while keeping the inside soft and fluffy. You can also bake a few minutes longer, keeping a close eye to avoid burning.
Can I add herbs or seeds to the dough?
Definitely! Adding herbs like thyme, rosemary, or seeds such as sesame or poppy can add flavor and texture. Simply fold them into the dough during kneading, and you’ll have a customized loaf that’s uniquely yours.
Final Thoughts
There is something truly special about baking your own loaf of bread, especially one as soft and fluffy as this Soft Fluffy French Bread Recipe. It’s a comforting, delicious way to bring a touch of homemade magic to your table. Don’t hesitate—give this recipe a try, and soon you’ll have a loaf worth sharing (or maybe not!). Happy baking!
Print
Soft Fluffy French Bread Recipe
- Prep Time: 20 minutes
- Cook Time: 25 minutes
- Total Time: 1 hour 45 minutes
- Yield: 1 loaf (about 8-10 servings)
- Category: Bread
- Method: Baking
- Cuisine: French
Description
This Soft Fluffy French Bread recipe guides you through the process of making a classic, tender loaf with a golden, glossy crust. Perfect for sandwiches or as a side, this homemade bread is made with simple ingredients like flour, yeast, and olive oil, and involves a straightforward kneading, rising, and baking procedure to achieve a light and airy texture.
Ingredients
Dry Ingredients
- 2.5–3 cups all-purpose flour
- 1 tablespoon white granulated sugar
- 1 teaspoon salt
- 2 teaspoons active dry yeast
Wet Ingredients
- 1 cup warm water
- 1 tablespoon olive oil or vegetable oil
- 1 egg, beaten (for brushing the top)
Instructions
- Activate the Yeast: In a small bowl, combine warm water and sugar. Sprinkle yeast over the top and let it sit for 10 minutes until frothy, which indicates the yeast is active and ready.
- Mix Dry Ingredients: In a large mixing bowl, combine 2.5 cups of flour and salt, stirring them together to evenly distribute the salt.
- Combine Wet and Dry Ingredients: Make a well in the center of the flour mixture and pour in the yeast mixture and olive oil. Stir until the dough begins to come together.
- Knead the Dough: Transfer the dough to a floured surface and knead it for 8 to 10 minutes, adding more flour as needed to prevent sticking. The dough should become smooth and elastic, indicating proper gluten development.
- First Rise: Place the kneaded dough in a lightly oiled bowl. Cover it with a damp cloth and set it in a warm place for about 1 hour, or until the dough doubles in size.
- Shape and Second Rise: Punch down the risen dough to release air bubbles. Shape it into a loaf and place it on a parchment-lined baking sheet. Cover again and let it rise for an additional 30 minutes to develop volume.
- Preheat Oven and Prepare Egg Wash: Preheat your oven to 375°F (190°C). Brush the top of the loaf with the beaten egg to create a shiny, golden crust once baked.
- Bake: Bake the loaf in the preheated oven for 20 to 25 minutes, or until the crust is golden brown and the bread sounds hollow when tapped on the bottom, indicating it is fully baked.
- Cool: Remove the bread from the oven and transfer it to a wire rack to cool completely before slicing. This allows the crumb to set properly.
Notes
- Ensure the water is warm, not hot, to activate the yeast without killing it.
- Adjust flour quantity as needed during kneading for the right dough consistency.
- The egg wash is optional but recommended for a glossy crust.
- Allowing the bread to cool completely enhances slicing and texture.
- You can store the bread in an airtight container for up to 3 days or freeze for longer storage.


