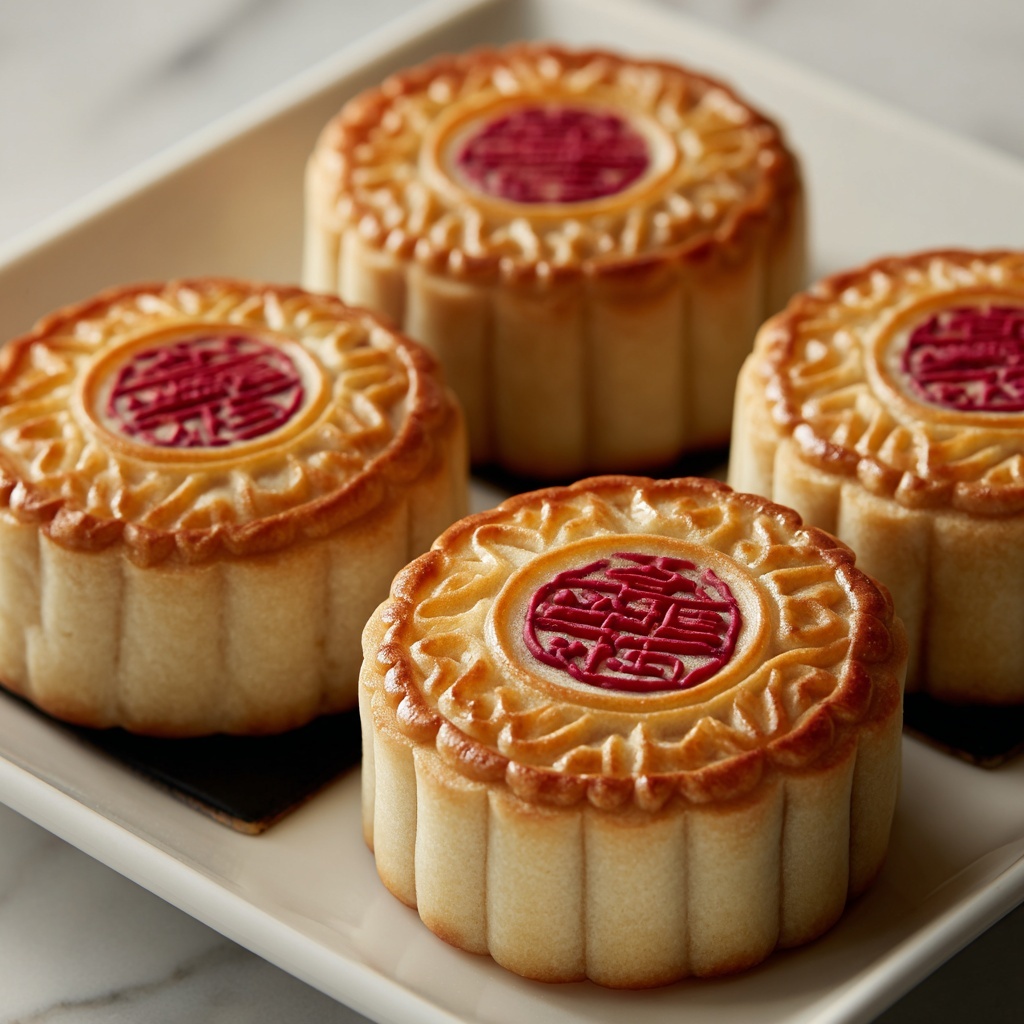
If you are looking for a treat that brings both tradition and irresistibly flaky texture to your table, then the Red Bean Mooncakes: Flaky Homemade Delight Recipe is exactly what you need. This charming dessert pairs a tender, buttery pastry with a luxuriously smooth sweet red bean paste, creating a perfect harmony of flavors and textures that feels like a warm hug from the inside out. Whether it’s for a festive occasion or a cozy afternoon snack, making these mooncakes at home is a joyful experience that’ll have everyone asking for seconds.
Ingredients You’ll Need
The ingredients for this recipe are simple yet essential, each playing a unique role in crafting the perfect mooncake. From the flour that forms the delicate crust to the luscious red bean paste filling, every element is chosen to bring that signature flaky, tender bite and rich sweetness to life.
- Sweet Red Bean Paste: Use homemade for the freshest, most flavorful filling that’s smooth and satisfying.
- All-Purpose Flour: Provides the sturdy structure needed for the mooncake’s base.
- Sugar: Adds the right touch of sweetness; coconut sugar is a great alternative for a deeper flavor.
- Lard: Crucial for creating that unbeatable flaky texture in the pastry.
- Lukewarm Water: Best around 140°F to help bind the dough without killing the lard’s softness.
- Cake Flour: The secret to a tender and delicate crust that melts in your mouth.
How to Make Red Bean Mooncakes: Flaky Homemade Delight Recipe
Step 1: Prepare the Red Bean Paste
Begin by cooking your sweet red bean paste until it’s rich and smooth. Allow it to cool completely before using it to ensure the filling maintains its texture inside the mooncakes. The freshness of homemade red bean paste elevates the entire experience.
Step 2: Make the Soft Dough
In a large mixing bowl, combine the all-purpose flour and sugar thoroughly. Slowly add the lard and lukewarm water while stirring, until you form a smooth, elastic ball of dough. Cover it tightly and chill for at least 30 minutes—this resting makes the dough easier to work with and improves the final texture.
Step 3: Make the Pastry Dough
Mix the cake flour with lard, kneading the mixture into a cohesive ball. Like the soft dough, cover this dough and chill for another 30 minutes. This dough will provide the tender, flaky layers that make this recipe a true delight.
Step 4: Combine and Portion the Dough
Weigh the total dough and divide it evenly based on the number of filling balls, aiming for each mooncake to weigh about 55 grams in total. This ensures uniform size and even baking, giving you beautiful, consistent mooncakes every time.
Step 5: Shape the Mooncakes
Create large balls by combining portions of the soft dough and pastry dough. Roll these dough balls into rectangles, then tri-fold and roll again to build multiple flaky layers within the crust. Cut the dough into equal segments ready to be shaped and filled.
Step 6: Assemble and Bake
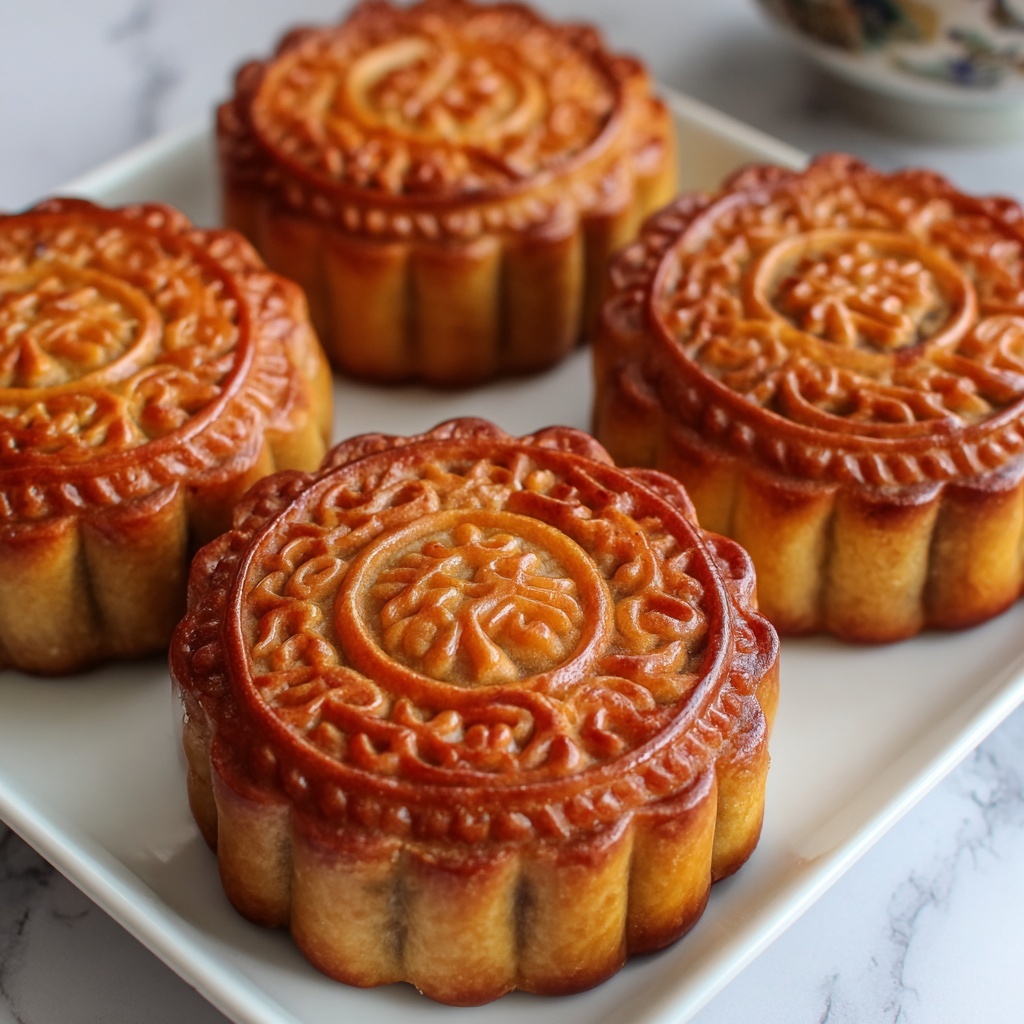
Press each dough segment into discs and spoon the sweet red bean paste in the center. Carefully seal the edges and gently flatten each to form round cakes. Preheat your oven to 375°F, bake the mooncakes for 15 minutes, then flip them over and bake for an additional 15 minutes. The result is a golden, flaky crust encasing that irresistible red bean filling.
How to Serve Red Bean Mooncakes: Flaky Homemade Delight Recipe
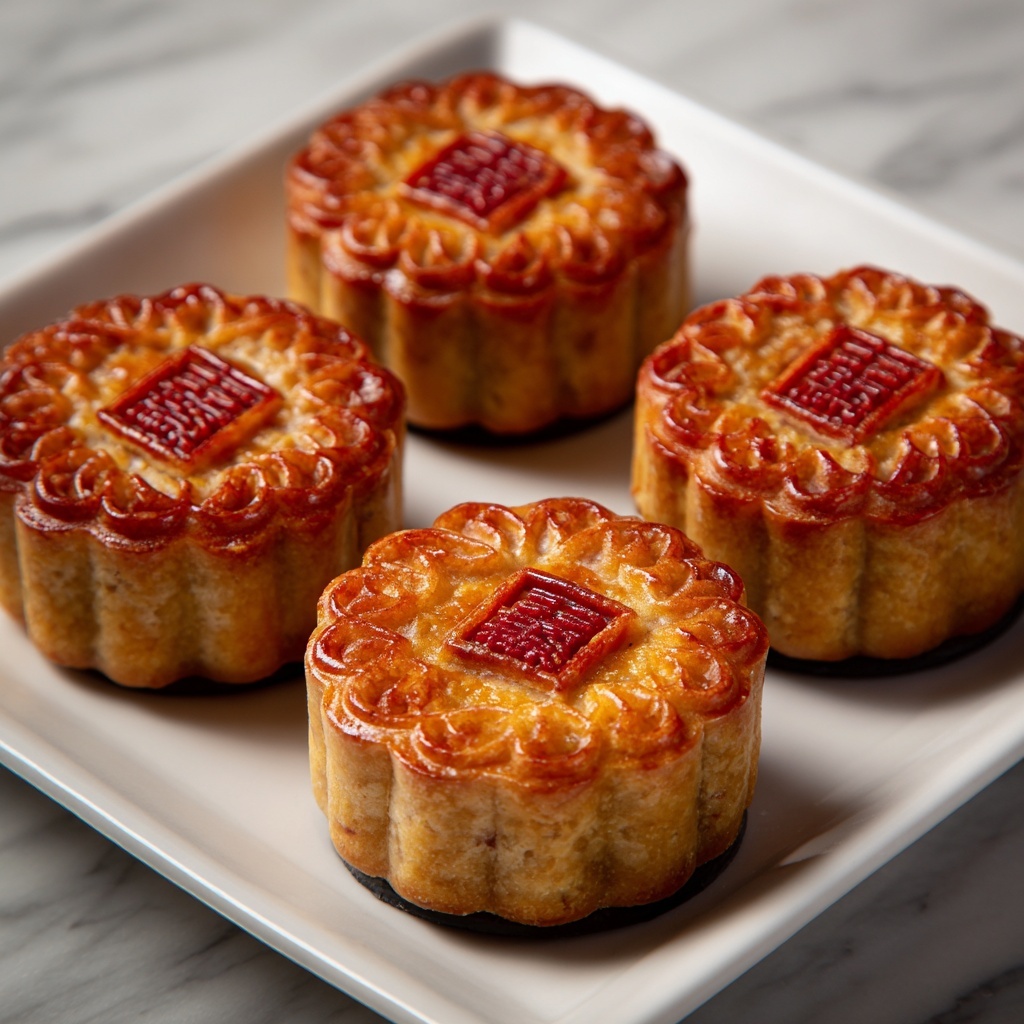
Garnishes
A delicate dusting of powdered sugar or a few toasted sesame seeds add visual appeal and a nutty crunch to complement the sweet richness of these mooncakes. A light brush of honey can also provide a glossy finish that makes them look as fantastic as they taste.
Side Dishes
Pair your mooncakes with a cup of fragrant jasmine or oolong tea to balance the sweetness and aid digestion. Fresh fruit slices, especially citrus like orange or pomelo, offer a refreshing contrast that lifts the overall flavor experience.
Creative Ways to Present
Serve your Red Bean Mooncakes: Flaky Homemade Delight Recipe on elegant platters lined with banana leaves or parchment paper for a rustic touch. Cut them into halves or quarters to showcase the luscious filling inside or stack them for a festive centerpiece that invites everyone to dig in.
Make Ahead and Storage
Storing Leftovers
Keep any leftover mooncakes in an airtight container at room temperature for up to two days. This preserves their signature flaky texture while allowing the filling to remain soft and flavorful.
Freezing
If you want to enjoy these goodies for longer, wrap each mooncake tightly in plastic wrap and place them in a freezer-safe bag. They can be frozen for up to one month without losing their delightful texture or taste.
Reheating
To bring your mooncakes back to life after storing, reheat them in a preheated oven at 325°F for about 5-7 minutes. This gentle warming revives the flaky crust and softens the filling, making each bite just as irresistible as fresh from the oven.
FAQs
Can I substitute lard with butter in the recipe?
While butter can be used as a substitute, lard provides a superior flaky texture that is traditional in mooncakes. Butter may result in a slightly denser crust but still makes a tasty alternative if lard is unavailable.
Is it necessary to make my own red bean paste?
Homemade red bean paste offers the best flavor and freshness, but you can use store-bought paste for convenience. Just choose a high-quality paste without too many additives for the best taste.
How long does the dough need to chill?
Chilling the dough for at least 30 minutes is crucial—it helps relax the gluten and solidifies the fat, which creates the pastry’s flaky layers during baking.
Can I make these mooncakes vegan?
Yes! Substitute lard with a vegan-friendly fat like coconut oil or vegetable shortening, and ensure that the red bean paste does not contain any animal products. The texture might vary slightly but will still be delicious.
What is the best way to store leftover mooncakes?
Store leftover mooncakes in an airtight container at room temperature for a couple of days. For longer storage, wrapping them individually and freezing is your best bet to maintain freshness.
Final Thoughts
This Red Bean Mooncakes: Flaky Homemade Delight Recipe is such a joy to make and share, delivering that perfect balance of tender, crisp pastry and sweet, velvety filling. Whether you’re celebrating a special occasion or just craving a comforting treat, these mooncakes are sure to become a new favorite. Trust me, once you try making them at home, you’ll want to keep this recipe close forever!
Print
Red Bean Mooncakes: Flaky Homemade Delight Recipe
- Prep Time: 1 hour
- Cook Time: 30 minutes
- Total Time: 1 hour 30 minutes
- Yield: 12 servings
- Category: Dessert
- Method: Baking
- Cuisine: Chinese
Description
These Red Bean Mooncakes are a delightful homemade treat featuring flaky, tender pastry enveloping sweet, smooth red bean paste. Perfectly baked to a golden finish, these mooncakes combine traditional techniques and quality ingredients to deliver an authentic taste that will keep you craving more.
Ingredients
Filling
- 1 cup Sweet Red Bean Paste (Use homemade for best flavor)
Soft Dough
- 3 cups All-Purpose Flour (Provides structure)
- 2 tablespoons Sugar (Try coconut sugar as alternative)
- ¾ cup Lard (Crucial for flaky texture)
- 1 cup Lukewarm Water (Ensure around 140°F)
Pastry Dough
- 2 cups Cake Flour (Key for tender crust)
- ¾ cup Lard
Instructions
- Prepare Red Bean Paste: Start by cooking your sweet red bean paste until smooth and fully cooked. Allow it to cool completely before using to ensure the filling holds its shape inside the mooncakes.
- Make Soft Dough: In a large mixing bowl, combine the all-purpose flour and sugar. Add the lard and lukewarm water gradually to form a smooth, cohesive dough ball. Once formed, cover and chill the dough for 30 minutes to relax the gluten.
- Make Pastry Dough: In a separate bowl, mix the cake flour and lard thoroughly, kneading it into a soft, pliable dough ball. Cover and chill this dough for 30 minutes as well to achieve a tender crust.
- Dough Combination and Division: Weigh both doughs together and divide the total weight by 12 to get the portion size for each mooncake, approximately 55 grams per piece.
- Form Mooncake Shells: Combine the two doughs by rolling the soft dough into a rectangle, layering the pastry dough on top, then tri-folding and rolling again. Cut the resulting dough into 12 equal segments, which form the mooncake shells.
- Assemble Mooncakes: Take each dough segment and shape it into a disc. Place a ball of the cooled red bean paste filling onto the center, then carefully seal the edges around the filling, smoothing the shape and flattening gently to form a neat mooncake.
- Bake the Mooncakes: Preheat the oven to 375°F (190°C). Arrange the assembled mooncakes on a baking sheet lined with parchment paper. Bake for 15 minutes, then carefully flip them over to bake an additional 15 minutes until golden brown and flaky.
Notes
- Homemade sweet red bean paste enhances flavor and texture over store-bought versions.
- Using lard is essential for the flaky texture traditional to mooncakes, but you may substitute with cold butter if preferred, noting texture differences.
- Ensure water is lukewarm at around 140°F to help the dough come together smoothly.
- Chilling the doughs helps create the layered, flaky crust during baking.
- Flipping the mooncakes halfway through baking ensures even cooking and browning on both sides.
- Store mooncakes in an airtight container at room temperature and consume within 3-4 days for best flavor and freshness.