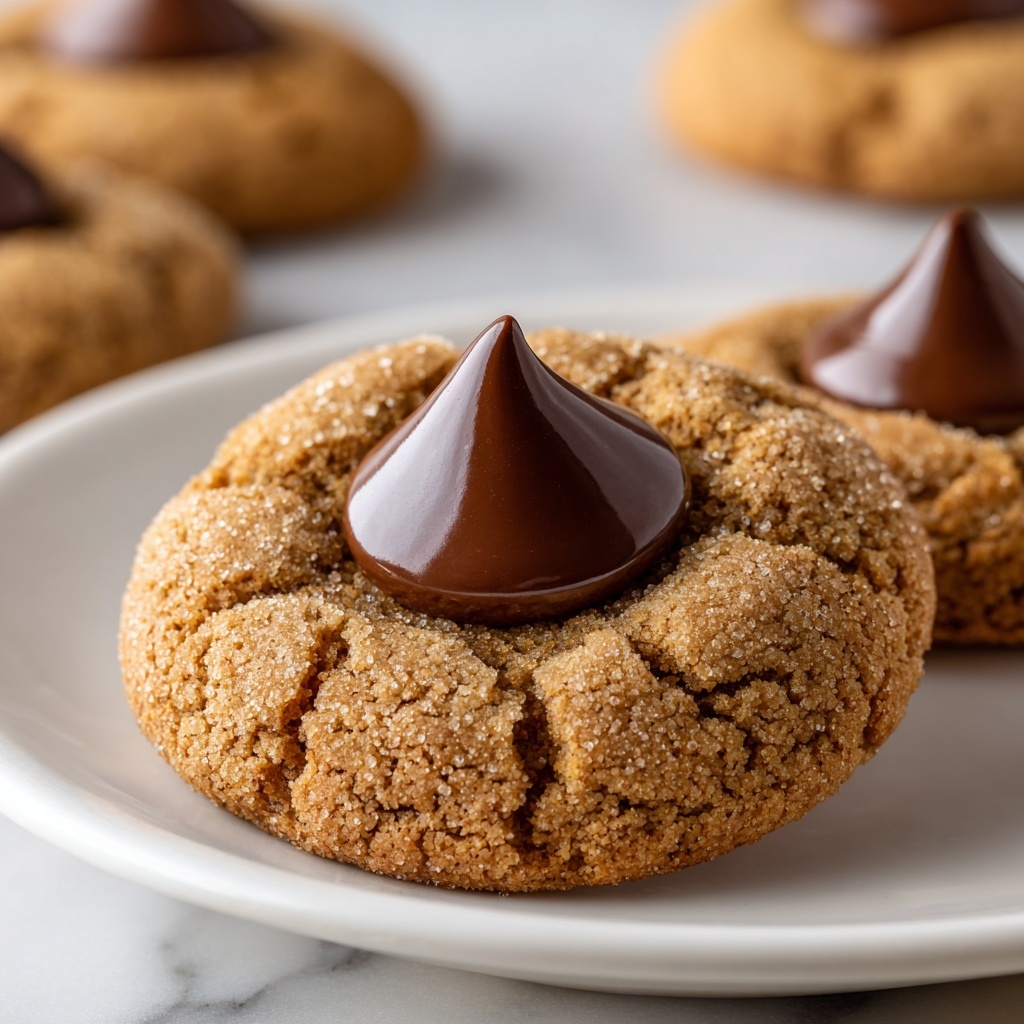
If you’re on the hunt for that perfect crowd-pleaser cookie, look no further because the Peanut Butter Blossom Cookies Recipe is here to sweep you off your feet. These cookies bring together the rich, creamy goodness of peanut butter with a delightful burst of chocolate from a Hershey’s kiss melting right in the center. The combination of a sweet, slightly salty cookie with the smooth chocolate kiss inside creates a harmony of flavors and textures that’s simply irresistible. Whether you’re baking for the holidays, a party, or just because, this recipe makes sure everyone’s taste buds are dancing with joy.
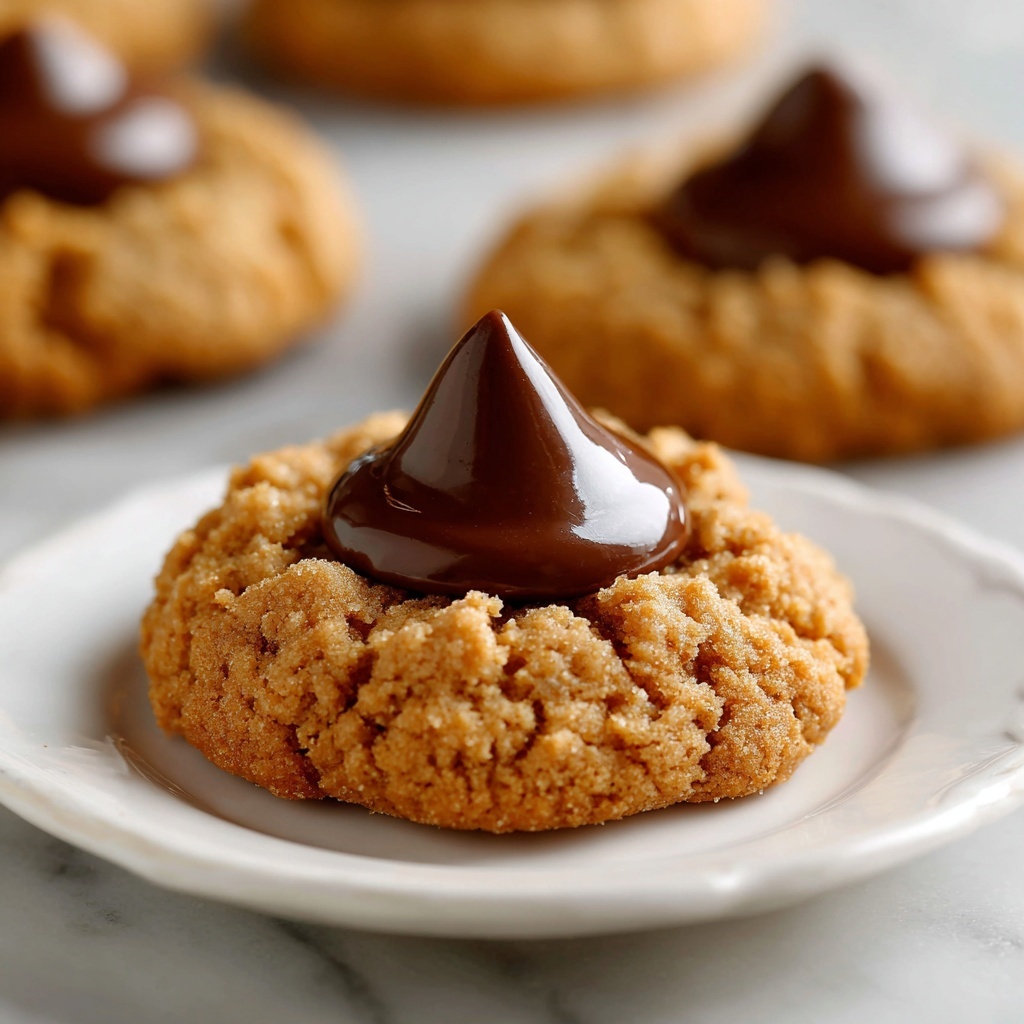
Ingredients You’ll Need
Believe me when I say the magic of this Peanut Butter Blossom Cookies Recipe lies in its simplicity. Each ingredient plays a crucial role in delivering the perfect balance of flavor, texture, and that classic look you want in these charming treats.
- ¾ cup creamy peanut butter: Provides that wonderfully rich, nutty flavor and tender texture that defines the cookie.
- ½ cup unsalted butter, softened: Adds creaminess and richness while helping the cookie stay soft and moist.
- ½ cup granulated sugar (plus extra for rolling): Gives sweetness and a slight crunch when rolled in before baking.
- ½ cup packed light brown sugar: Contributes moisture and a subtle caramel hint for depth in flavor.
- ¼ teaspoon salt: Balances the sweetness and enhances all the flavors.
- 1 large egg, room temperature: Acts as a binder and adds tenderness to the dough.
- 1 teaspoon vanilla extract: Brings warmth and rounds out the overall flavor beautifully.
- 1½ cups all-purpose flour: Provides structure so the cookies hold their shape.
- ½ teaspoon baking soda: Helps the cookies rise just enough to get that tender, slightly chewy texture.
- 36 Hershey’s chocolate kisses, unwrapped: The signature finishing touch that melts into the cookie’s center for that iconic Peanut Butter Blossom experience.
How to Make Peanut Butter Blossom Cookies Recipe
Step 1: Prepare Your Baking Space
First things first, preheat your oven to 375°F (190°C). Line your baking sheet with parchment paper or a silicone baking mat to ensure your cookies don’t stick and come off perfectly every time. It’s a small step that saves big cleanup hassles!
Step 2: Cream the Butters and Sugars
In a large bowl or mixer, combine the creamy peanut butter, softened unsalted butter, granulated sugar, light brown sugar, and salt. Beat on medium speed until everything is smooth and creamy. This step is key for creating that luscious cookie dough base full of rich flavor and a tender crumb.
Step 3: Add the Egg and Vanilla
Now, add the egg and vanilla extract to your creamy mixture. Beat again until fully incorporated. Don’t forget to scrape down the sides of your bowl to get everything evenly mixed—no stray pockets of dry ingredients here!
Step 4: Combine Dry Ingredients
In a separate bowl, whisk together the all-purpose flour and baking soda. Slowly add this dry mix to your wet ingredients while mixing on low speed. This ensures the dough comes together just right without overmixing, which can make cookies tough.
Step 5: Shape the Dough
Using a cookie scoop, roll the dough into 1-inch balls. This consistent sizing helps each cookie bake evenly. Then, roll each ball in the extra granulated sugar for that classic crackly texture and a little shimmer on top once baked.
Step 6: Bake and Add the Kisses
Place the sugar-coated dough balls about 2 inches apart on your prepared baking sheet. Bake for 8 to 10 minutes until the cookies puff up slightly and develop cracks on top. As soon as they come out of the oven, gently press an unwrapped Hershey’s kiss into the center of each cookie. The edges will crack perfectly around the chocolate — just how it’s supposed to be!
Step 7: Cool and Enjoy
Let the cookies cool on the baking sheet for a few minutes so the chocolate sets without losing its soft center, then transfer them to a wire rack to cool completely. The wait is tough but trust me, it’s worth it!
How to Serve Peanut Butter Blossom Cookies Recipe
Garnishes
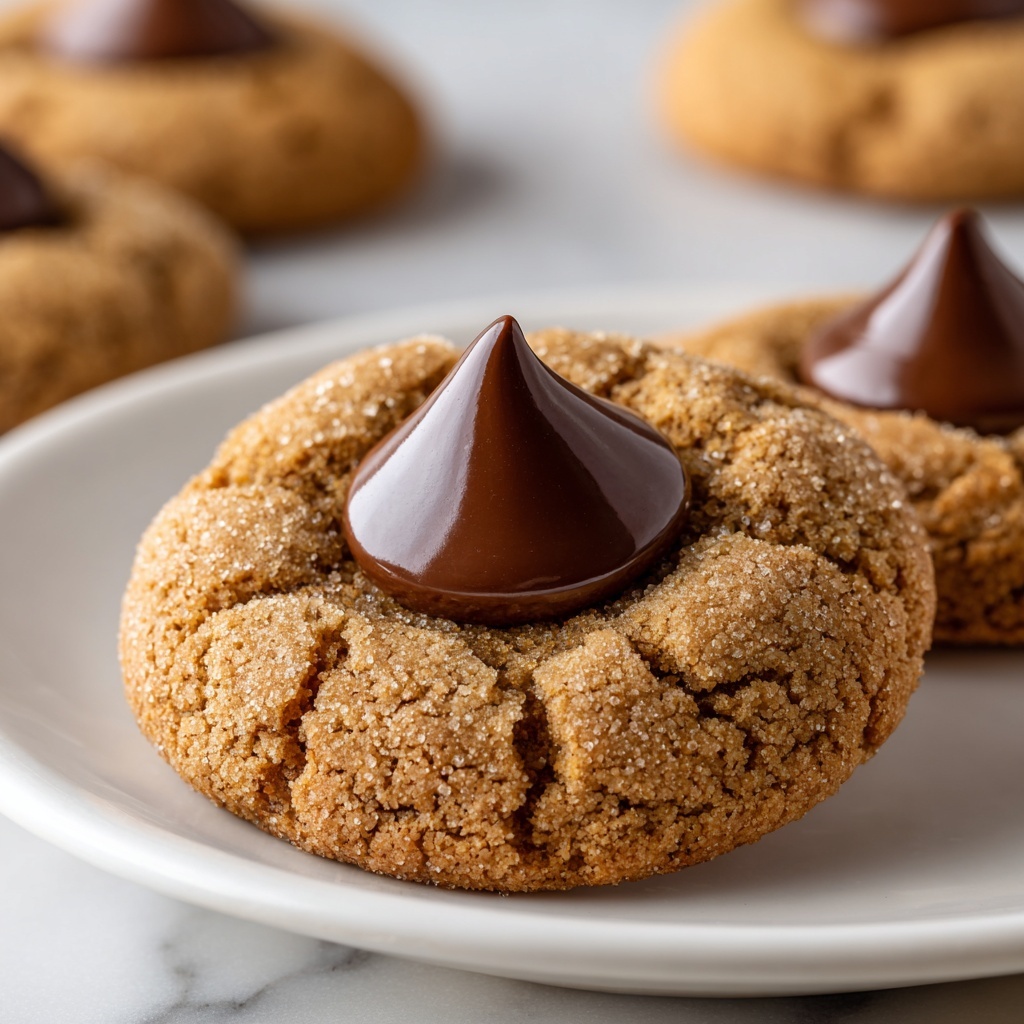
If you want to jazz up your Peanut Butter Blossom Cookies Recipe, try sprinkling a pinch of sea salt over the warm chocolate kisses right after baking. The salty-sweet combo takes these cookies to the next level and makes every bite unforgettable.
Side Dishes
These cookies pair wonderfully with a cold glass of milk or a warm cup of coffee or tea. The creamy beverage perfectly balances the dense peanut butter and melty chocolate, making each bite even more indulgent and comforting.
Creative Ways to Present
Thinking of an eye-catching cookie platter? Arrange your Peanut Butter Blossom cookies in a star or wreath shape for festive occasions, or place each cookie in a small decorative cupcake liner to make them feel extra special. They’re the perfect size to serve individually, making your gathering all the more charming.
Make Ahead and Storage
Storing Leftovers
Once your peanut butter bloomers have cooled completely, store them in an airtight container at room temperature. They’ll stay fresh and soft for up to a week — if they last that long!
Freezing
You can freeze the baked cookies, too. Just arrange them in a single layer on a baking sheet to freeze, then transfer to a freezer-safe container or bag. They keep beautifully for up to 3 months. When you want a treat, just thaw at room temperature.
Reheating
To warm up your Peanut Butter Blossom Cookies, pop them in the microwave for 10-15 seconds or in a low oven for a few minutes. The chocolate will soften and the peanut butter flavors will come alive all over again, almost like they just came fresh from the oven.
FAQs
Can I use chunky peanut butter instead of creamy?
While creamy peanut butter is best for the smooth texture of these cookies, chunky peanut butter can add a nice bit of crunch. Just expect a slightly different mouthfeel but no less deliciousness!
Why does the cookie crack when I press the chocolate kiss in? Is that okay?
The cracks are a signature part of the Peanut Butter Blossom Cookies Recipe. They let the chocolate kiss nestle perfectly into the cookie center and give each bite that classic rustic look. So yes, it’s very much okay and totally normal!
Can I make these cookies gluten-free?
Absolutely! Just swap the all-purpose flour for a gluten-free baking flour blend of equal measure. The cookies may be a bit more delicate but will still capture that beloved peanut butter and chocolate combo.
What’s the best way to avoid the cookies spreading too much?
Make sure your butter is softened but not melted, and chill your dough briefly if it seems too soft. Also, don’t overcrowd your baking sheet to give cookies enough room to puff up without running into one another.
Can I use dark or milk chocolate instead of Hershey’s kisses?
Yes, feel free to experiment with different chocolates. Milk chocolate is sweeter, while dark chocolate offers a richer contrast to the peanut butter. Just use a similarly sized piece of chocolate to maintain the iconic look and balance.
Final Thoughts
There’s something truly special about a recipe that brings pure joy with every bite, and the Peanut Butter Blossom Cookies Recipe is exactly that. It’s a lovely blend of classic flavors and fun tradition you’ll want to bake again and again. Go ahead and treat yourself and your loved ones to these irresistible cookies—you’ll find they become a treasured favorite in no time!
Print
Peanut Butter Blossom Cookies Recipe
- Prep Time: 15 minutes
- Cook Time: 10 minutes
- Total Time: 25 minutes
- Yield: 36 cookies
- Category: Dessert
- Method: Baking
- Cuisine: American
Description
Delicious and classic Peanut Butter Blossom Cookies featuring a soft peanut butter base rolled in sugar and topped with a melted Hershey’s chocolate kiss. These cookies are easy to make, perfect for holiday treats or anytime you want a sweet, nutty delight with a chocolatey finish.
Ingredients
Cookie Dough
- 3/4 cup creamy peanut butter (188g)
- 1/2 cup unsalted butter, softened (113g)
- 1/2 cup granulated sugar (100g), plus extra for rolling
- 1/2 cup packed light brown sugar (110g)
- 1/4 teaspoon salt
- 1 large egg, room temperature
- 1 teaspoon vanilla extract
- 1 1/2 cups all-purpose flour (180g)
- 1/2 teaspoon baking soda
Topping
- 36 Hershey’s chocolate kisses, unwrapped
Instructions
- Preheat Oven and Prepare Baking Sheet: Preheat the oven to 375°F (190°C) and line a baking sheet with parchment paper or a silicone baking mat to prevent sticking and ensure even baking.
- Mix Wet Ingredients: In a large mixing bowl or stand mixer, combine the creamy peanut butter, softened unsalted butter, granulated sugar, light brown sugar, and salt. Beat on medium speed until the mixture is smooth and creamy, ensuring all sugars are well incorporated.
- Add Egg and Vanilla: Add the egg and vanilla extract to the bowl and continue beating until fully combined. Scrape down the sides of the bowl as needed to ensure even mixing.
- Combine Dry Ingredients: In a separate bowl, whisk together the all-purpose flour and baking soda to evenly distribute the baking soda through the flour.
- Mix Dry into Wet: Gradually add the dry ingredients to the wet mixture, mixing on low speed just until combined. Avoid overmixing to keep the cookies tender.
- Shape Cookies: Use a cookie scoop or spoon to form 1-inch dough balls. Roll each ball in extra granulated sugar to create a slight crunch and sparkle on the cookie surface.
- Arrange on Baking Sheet: Place the coated dough balls 2 inches apart on the prepared baking sheet to allow for spreading during baking.
- Bake Cookies: Bake in the preheated oven for 8 to 10 minutes, or until the cookies are puffed, cracked on top, and lightly golden on the bottom.
- Add Chocolate Kiss: Remove the cookies immediately from the oven and gently press an unwrapped Hershey’s chocolate kiss into the center of each cookie. The cookie will crack around the edges—this is the desired effect.
- Cool and Serve: Let the cookies cool on the baking sheet for a few minutes to set, then transfer to a wire rack to cool completely before serving.
Notes
- For best results, use room temperature egg and softened butter for easier mixing and better texture.
- Do not overbake the cookies; they should be slightly soft in the center when you remove them.
- Rolling the dough balls in sugar adds a delightful texture and appearance to the cookies.
- You can substitute the Hershey’s kisses with any chocolate candy of your choice.
- Store cookies in an airtight container at room temperature for up to 5 days.
- For a gluten-free option, use a certified gluten-free all-purpose flour blend.