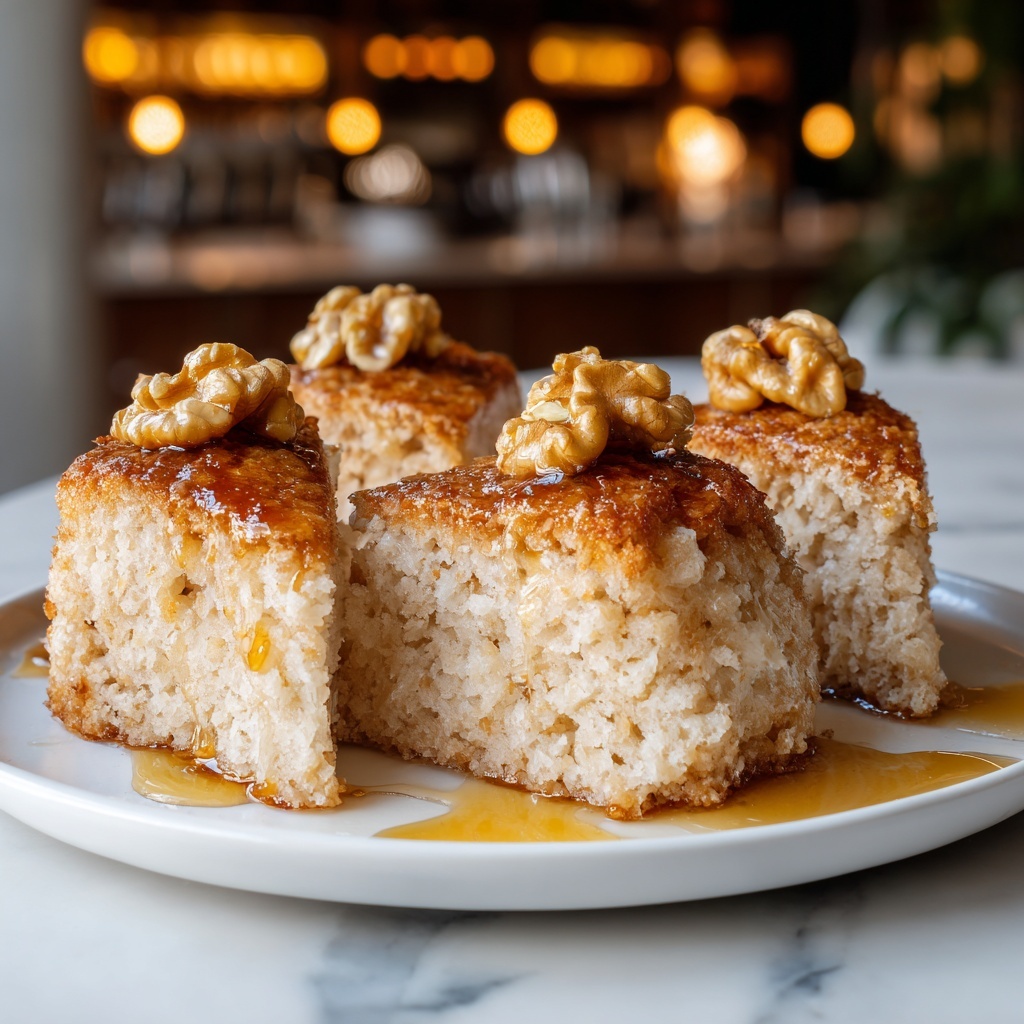
If you’ve ever wanted to indulge in a bakery-fresh treat from the comfort of your own kitchen, this Maple Walnut Scones Recipe is exactly what you need. These scones bring together the rich, nutty crunch of walnuts with the sweet, comforting flavor of maple syrup, creating a perfect balance that’ll have you reaching for one more before breakfast is even over. They’re tender, flaky, and just slightly sweet — everything you want in a scone and so much more. Trust me, once you try this Maple Walnut Scones Recipe, it’ll be a new staple in your cozy kitchen routine.
Ingredients You’ll Need
The beauty of this recipe lies in how straightforward the ingredients are, yet each plays a crucial role in achieving that perfect scone texture and flavor. From the buttery richness to the natural sweetness and crunch, every component is essential.
- 2 cups all-purpose flour: The base that provides structure and that tender crumb scones are known for.
- 1/2 cup chopped walnuts: Adds a delicious crunch and earthy flavor that complements the maple syrup.
- 1/4 cup maple syrup: Supplies natural sweetness and a distinct, comforting aroma.
- 1/2 cup cold butter: Cold butter creates the flaky layers that make scones so irresistible.
- 1 tablespoon baking powder: Helps the scones rise nicely and stay light.
- 1/2 teaspoon salt: Enhances all the flavors, balancing the sweetness beautifully.
- 1/2 cup heavy cream: Contributes moisture and richness to the dough, keeping it tender.
- 1 egg: Binds everything together and adds a lovely golden color when baked.
How to Make Maple Walnut Scones Recipe
Step 1: Preheat and Prep
Begin by preheating your oven to 400°F (200°C). This ensures your scones bake evenly and develop that gorgeous golden crust right from the start. While the oven warms, get your baking sheet ready — you can line it with parchment paper for easy clean-up.
Step 2: Combine Dry Ingredients
In a large bowl, mix together the all-purpose flour, baking powder, and salt. These dry ingredients form the base of your scones, and mixing them well at this stage ensures the baking powder is evenly distributed for an even rise.
Step 3: Cut in the Butter
Next, add the cold butter to the flour mixture. Use a pastry cutter or your fingertips to mix it in until you get a crumbly texture, with pea-sized pieces throughout. This is key to creating those flaky layers that make scones special.
Step 4: Stir in the Walnuts
Fold in the chopped walnuts now. These add texture and a lovely nutty flavor that perfectly complements the sweetness of the maple syrup.
Step 5: Whisk Wet Ingredients
In another bowl, whisk together the maple syrup, heavy cream, and egg. This mix brings moisture, sweetness, and helps bind your dough beautifully. Make sure it’s well combined so every bite has that signature maple flavor.
Step 6: Combine Wet and Dry
Pour the wet ingredients into the dry and gently mix just until combined. It’s important not to overmix here — you want the dough to hold together but still be tender and flaky.
Step 7: Shape and Cut
Turn the dough out onto a floured surface and gently pat it into a circle about 1-inch thick. Using a sharp knife or bench scraper, cut the dough into 8 wedges, just like slicing a pie. These triangular shapes bake up perfectly sized for a cozy treat.
Step 8: Bake to Perfection
Place the wedges on your prepared baking sheet, making sure there’s a little space between each. Pop them in the oven and bake for 15-20 minutes until golden brown on top and cooked through. You’ll know they’re done when they smell heavenly and spring back gently to the touch.
Step 9: Cool and Enjoy
Let your scones cool slightly on a rack before serving. This short wait lets the flavors settle and makes them easier to handle without crumbling. Now, take a moment and savor the simple, yet incredible taste you just made!
How to Serve Maple Walnut Scones Recipe
Garnishes
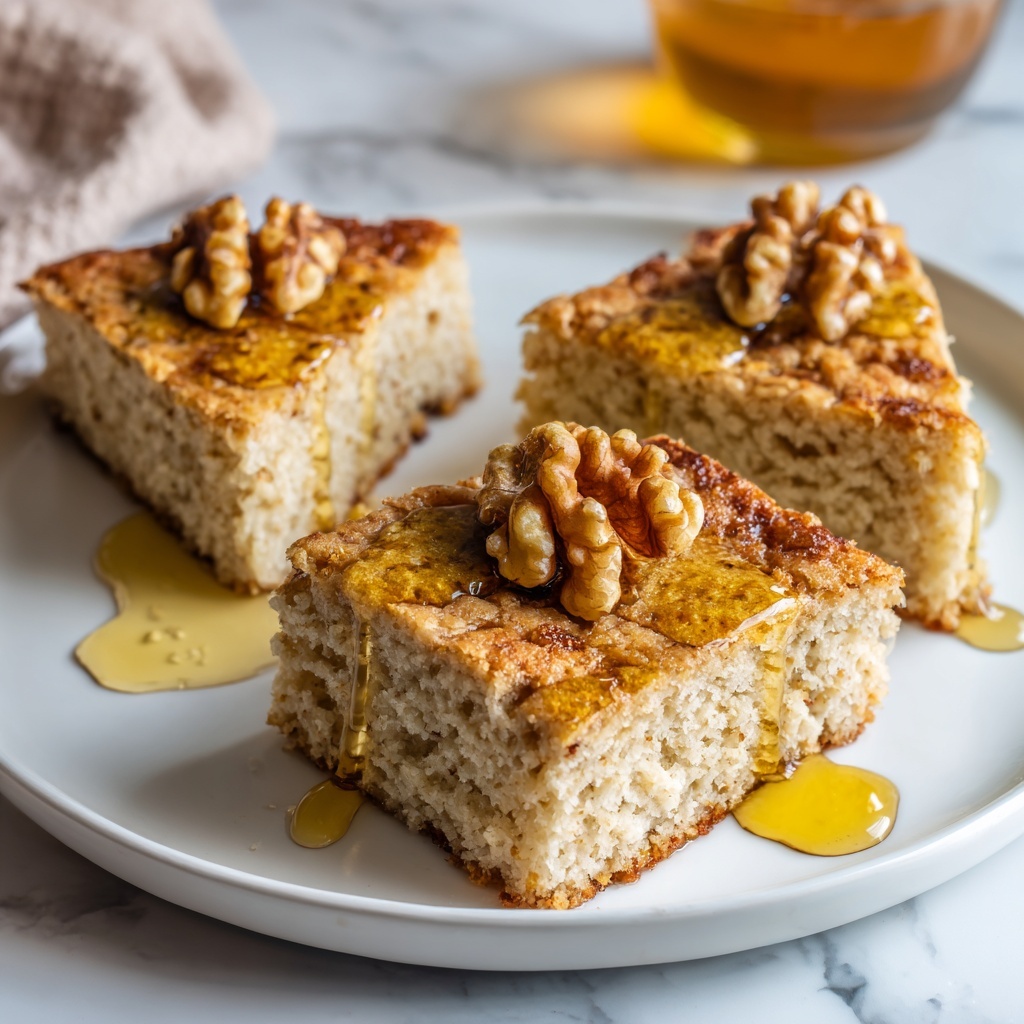
While these scones are fantastic as they are, you can elevate them with some garnishes. A light drizzle of extra maple syrup or a dusting of powdered sugar adds a lovely finishing touch. For a little extra indulgence, spread a pat of softened butter or a dollop of clotted cream.
Side Dishes
Complement your scones with sides that enhance their flavor without overpowering. Fresh fruit like sliced apples or berries, a warm cup of tea or coffee, or a simple yogurt parfait can make for a truly memorable breakfast or afternoon snack.
Creative Ways to Present
For a charming brunch, arrange the scones on a rustic wooden board lined with parchment paper alongside small bowls of preserves, cream cheese, and toasted nuts. You can also serve them warm in a basket with a cozy napkin for a casual, inviting vibe.
Make Ahead and Storage
Storing Leftovers
Leftover scones can be stored in an airtight container at room temperature for up to two days, keeping their texture tender and flavorful. For longer storage, refrigeration helps but wrap them well to prevent drying out.
Freezing
Maple Walnut Scones Recipe is freezer-friendly. Wrap individual scones tightly in plastic wrap and place them in a freezer bag. They freeze wonderfully for up to two months, so you can enjoy that homemade goodness anytime.
Reheating
To refresh your scones, pop them in a preheated oven at 350°F (175°C) for about 5-7 minutes, or microwave for 20-30 seconds at a time. This brings back the warmth and flakiness as if they were just baked.
FAQs
Can I use other nuts instead of walnuts?
Absolutely! Pecans or almonds are excellent substitutes and complement the maple flavor just as well. Just make sure to chop them finely to distribute evenly.
Is it possible to make this recipe dairy-free?
Yes, substitute the butter with a dairy-free margarine or coconut oil, and use a plant-based cream alternative. The texture will be slightly different but still delicious.
Can I add dried fruit to the scones?
Definitely! Dried cranberries or chopped dates pair beautifully with the maple and walnuts. Add about 1/3 cup alongside the nuts for a fruity twist.
How do I know when the scones are fully baked?
They should be golden on top and firm to the touch. You can also gently tap the bottom — it should sound hollow. If unsure, a toothpick inserted in the center should come out clean.
Can I make the dough ahead of time?
Yes! You can prepare the dough, shape it into a circle, wrap tightly, and refrigerate for up to 24 hours before baking. This can even improve flavor as it rests.
Final Thoughts
Making this Maple Walnut Scones Recipe is like wrapping yourself in a warm, cozy blanket of autumn flavors. Each bite offers that perfect blend of buttery flakiness and sweet nuttiness that feels both indulgent and wholesome. I encourage you to give it a go — sharing these scones with friends or family might just turn into your new favorite tradition. Enjoy every crumb!
Print
Maple Walnut Scones Recipe
- Prep Time: 15 minutes
- Cook Time: 20 minutes
- Total Time: 35 minutes
- Yield: 8 scones
- Category: Breakfast
- Method: Baking
- Cuisine: American
- Diet: Vegetarian
Description
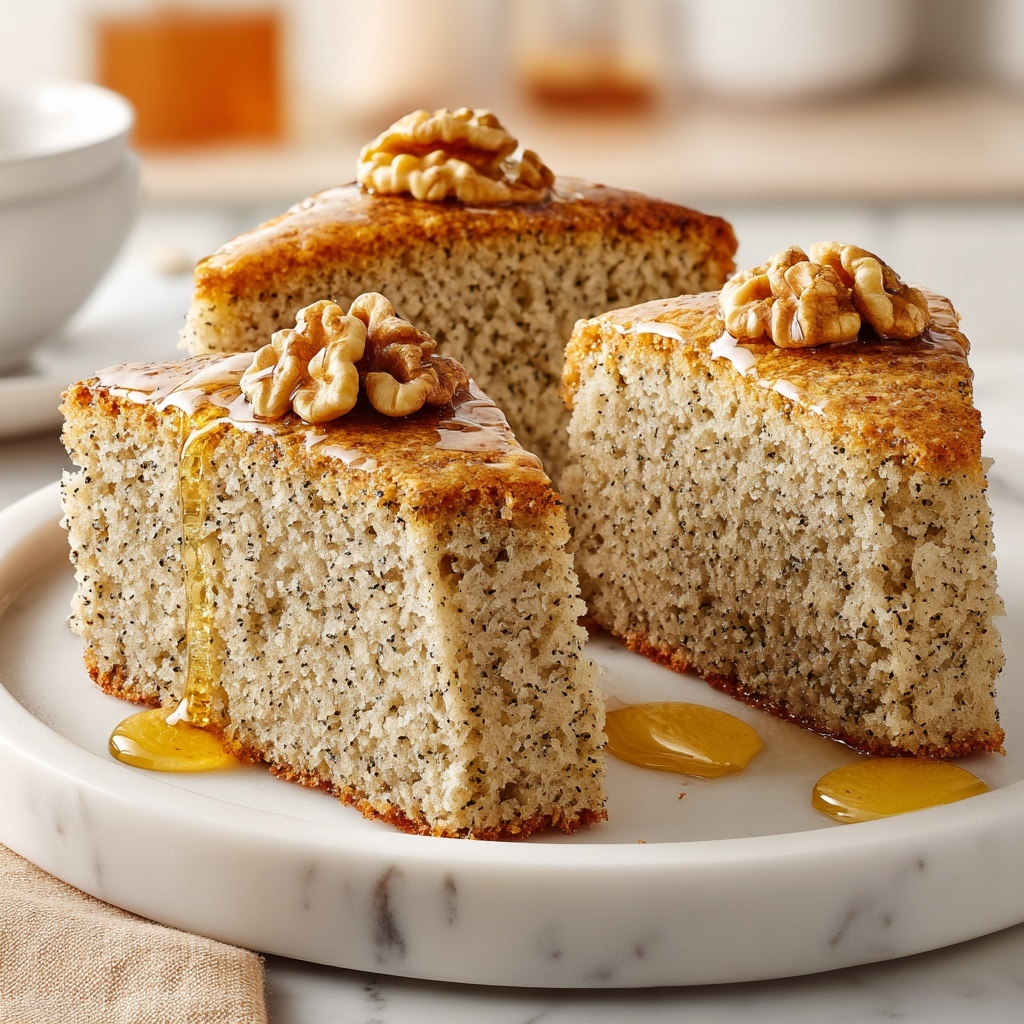
This Maple Walnut Scones recipe combines tender, flaky scones with the rich sweetness of maple syrup and the delightful crunch of walnuts. Perfect for a cozy breakfast or afternoon tea, these scones are easy to prepare and bake to golden perfection in under 35 minutes.
Ingredients
Dry Ingredients
- 2 cups all-purpose flour
- 1 tablespoon baking powder
- 1/2 teaspoon salt
- 1/2 cup chopped walnuts
Wet Ingredients
- 1/2 cup cold butter
- 1/4 cup maple syrup
- 1/2 cup heavy cream
- 1 egg
Instructions
- Preheat Oven: Preheat your oven to 400°F (200°C) to prepare for baking the scones.
- Mix Dry Ingredients: In a large bowl, combine the all-purpose flour, baking powder, and salt evenly.
- Add Butter: Cut the cold butter into small pieces and mix it into the dry ingredients until the mixture becomes crumbly, resembling coarse crumbs.
- Incorporate Walnuts: Stir the chopped walnuts into the crumbly mixture ensuring they are evenly distributed.
- Whisk Wet Ingredients: In a separate bowl, whisk together the maple syrup, heavy cream, and egg until smooth.
- Combine Mixtures: Pour the wet ingredients into the dry ingredients and gently mix until just combined, being careful not to overwork the dough.
- Shape Dough: Turn the dough out onto a floured surface, shape it into a round circle approximately 8 inches in diameter, then cut the dough into 8 equal wedges.
- Prepare for Baking: Arrange the scone wedges on a baking sheet lined with parchment paper, spacing them evenly.
- Bake: Bake the scones in the preheated oven for 15-20 minutes, or until they are golden brown on top.
- Cool and Serve: Remove from oven and allow the scones to cool slightly on a wire rack before serving warm.
Notes
- For crispier edges, you can brush the tops of the scones with a little cream or egg wash before baking.
- Chilling the dough for 15 minutes before shaping can help with easier handling, but is optional.
- Store leftovers in an airtight container for up to 2 days, or freeze for longer storage.
- Add a sprinkle of coarse sugar on top before baking for extra sweetness and crunch.


