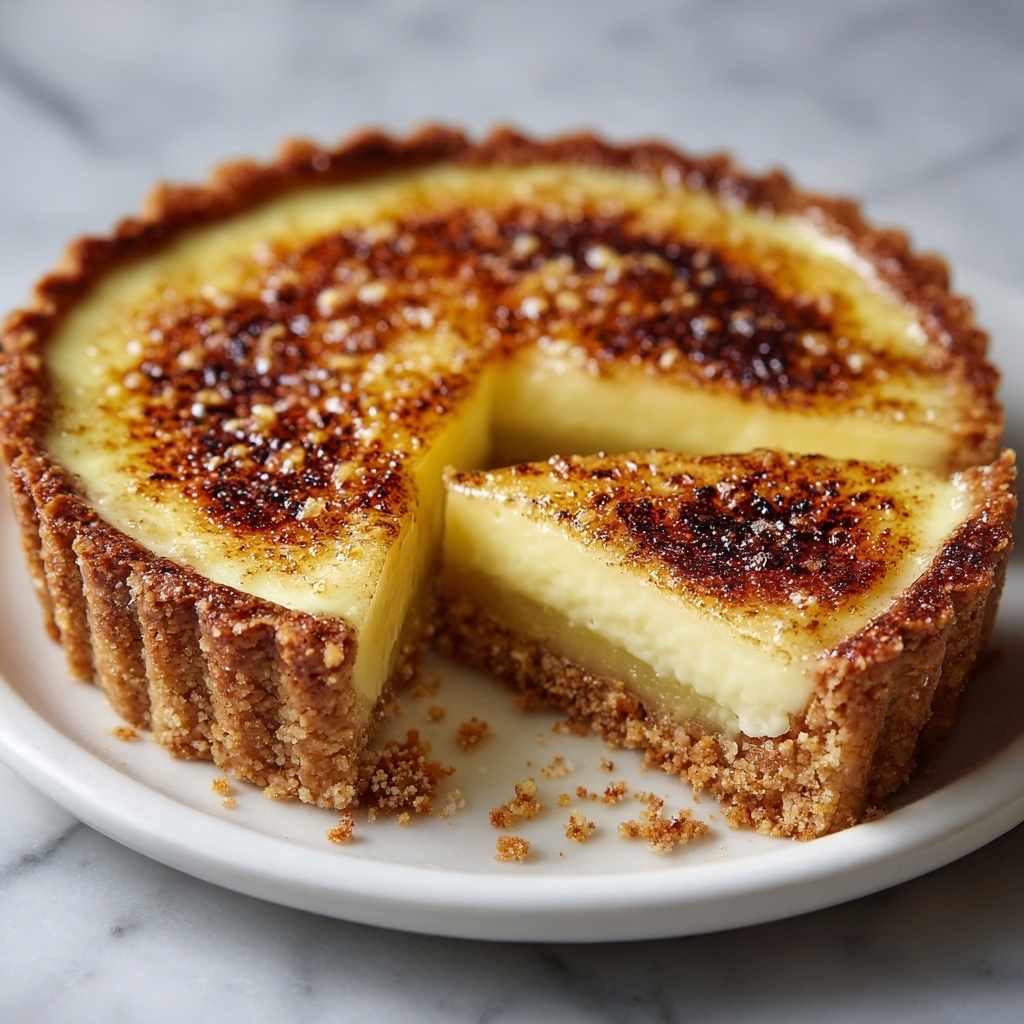
If you’ve been dreaming of a dessert that combines a luxuriously creamy filling with a perfectly crisp crust, then this Hokkaido Cheese Tart Recipe is exactly what you need in your life. Originating from the beautiful northern island of Japan, this tart offers a delightful balance of velvety cheese flavors and a subtle lemon zest brightness that will have you savoring every bite. The smooth mascarpone and cream cheese blend with a mild Parmesan kick, all nestled inside a buttery, melt-in-your-mouth tart shell—making it a show-stopping treat for any gathering or cozy night in.
Ingredients You’ll Need
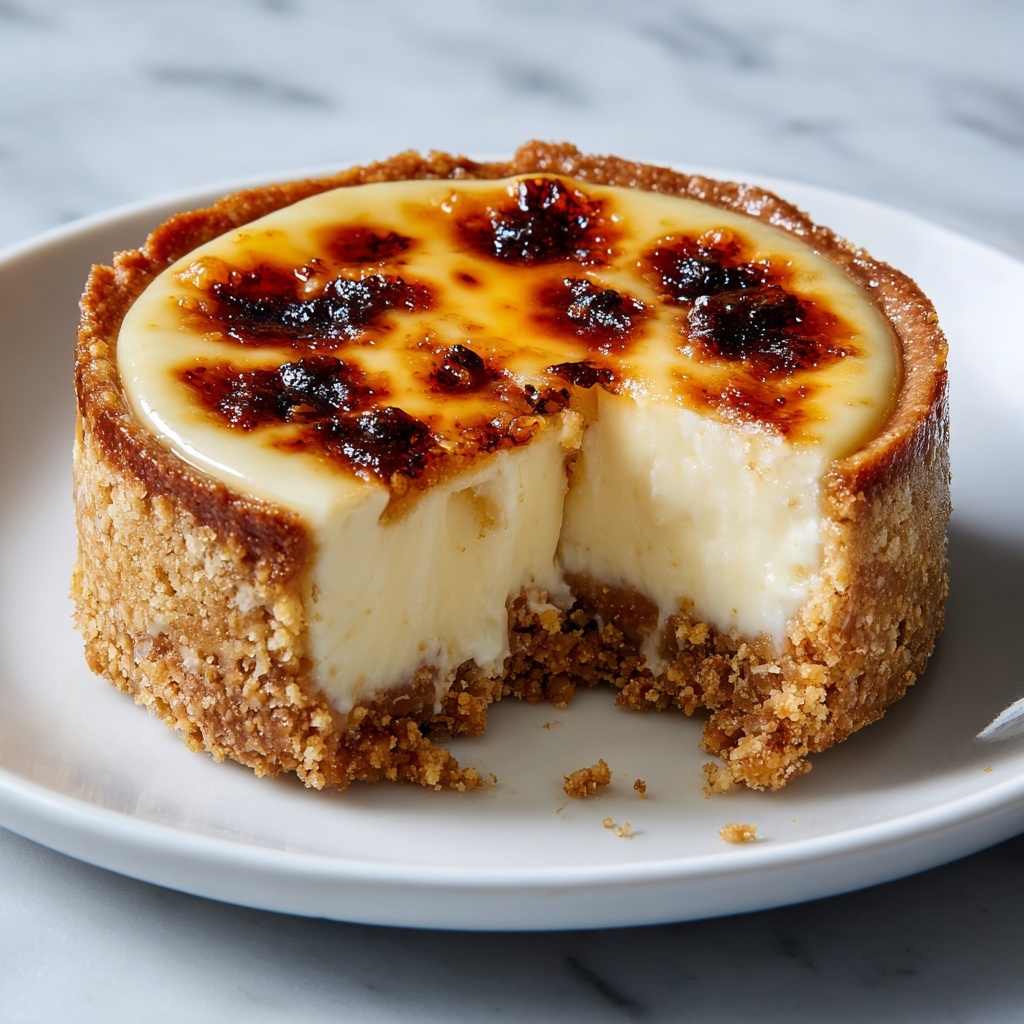
Every ingredient in this Hokkaido Cheese Tart Recipe plays a vital role in creating its signature texture and flavor. From the rich cream cheeses to the fresh lemon zest, each item is simple but absolutely essential to achieving that unforgettable, creamy perfection and delicate balance of sweetness.
- Unsalted butter (75g, softened): Adds richness and helps create a tender, flaky tart crust.
- Granulated sugar (25g): Sweetens the dough just enough without overpowering the cheese filling.
- Egg yolk (room temperature): Provides structure and adds richness to both the crust and filling.
- Vanilla extract (½ teaspoon): Enhances the depth of flavor with a sweet aroma.
- Lemon zest (from 1 lemon): Injects a fresh, citrusy brightness balancing the creamy filling.
- All-purpose flour (130g): The base for a sturdy yet delicate tart shell.
- Cream cheese (100g): The cornerstone of the luscious, smooth filling.
- Mascarpone cheese (100g): Adds a velvety, rich texture to the filling.
- Parmesan cheese (30g, grated): Provides a subtle savory note to elevate the flavor profile.
- Butter (30g): Incorporated in the filling for extra silkiness.
- Milk (80ml): Helps achieve that creamy custard consistency.
- Icing sugar (30g, sifted): Sweetens the filling smoothly without any grit.
- Corn starch (1 tablespoon, sifted): Thickens the filling beautifully for that perfect set.
- Lemon juice (1 tablespoon): Adds a tangy kick, balancing sweetness with acidity.
- Egg (1, lightly beaten): Incorporated into the filling to create a custard-like texture.
- Egg yolk (for egg wash): Used to brush the tart tops for a golden, glossy finish.
How to Make Hokkaido Cheese Tart Recipe
Step 1: Prepare the Tart Crust
Start by creaming the softened butter and granulated sugar together until light and fluffy; this is the foundation of your tart shell’s buttery flavor. Then, add the egg yolk, vanilla extract, and aromatic lemon zest, blending them in well to infuse the dough with layers of fragrant citrus and warmth. Gradually stir in the all-purpose flour, but make sure not to overmix—the key to tender pastry is gentle handling. Once your dough comes together, wrap it tightly in cling film and pop it into the fridge for an hour to chill and firm up.
Step 2: Make the Cheese Filling
While your dough chills, it’s time to prepare that dreamy filling. In a medium saucepan over medium heat, gently melt together the cream cheese, mascarpone, Parmesan, butter, and milk. Stir consistently until the mixture is silky smooth, careful to avoid lumps. Next, whisk in sifted icing sugar and corn starch, cooking until thickened to a luscious custard consistency. Turn off the heat and blend in the lightly beaten egg, vanilla extract, and fresh lemon juice. For ultimate smoothness, strain the filling through a fine sieve and allow it to cool completely.
Step 3: Form and Bake the Tart Shells
Remove your chilled dough from the fridge and press it evenly into your tart pans, ensuring an even layer with slightly raised edges to hold the decadent filling. Bake the shells at 340°F (170°C) for 15 minutes until they turn a delicate golden hue. Let the baked shells cool entirely so they firm up perfectly before adding the filling.
Step 4: Assemble and Set the Tarts
Fill each cooled tart shell with the creamy cheese filling using a piping bag or spoon for neatness. Place the assembled tarts into the freezer for about 30 minutes to allow the filling to set fully and gain that signature creamy firmness that melts in your mouth.
Step 5: Finish with a Golden Touch
Finally, brush the tops lightly with egg yolk to give your tarts a shiny, golden finish when baked. Pop them back into the oven for a few minutes just to brown the surface beautifully. Allow them to cool before indulging in this heavenly, creamy dessert.
How to Serve Hokkaido Cheese Tart Recipe
Garnishes
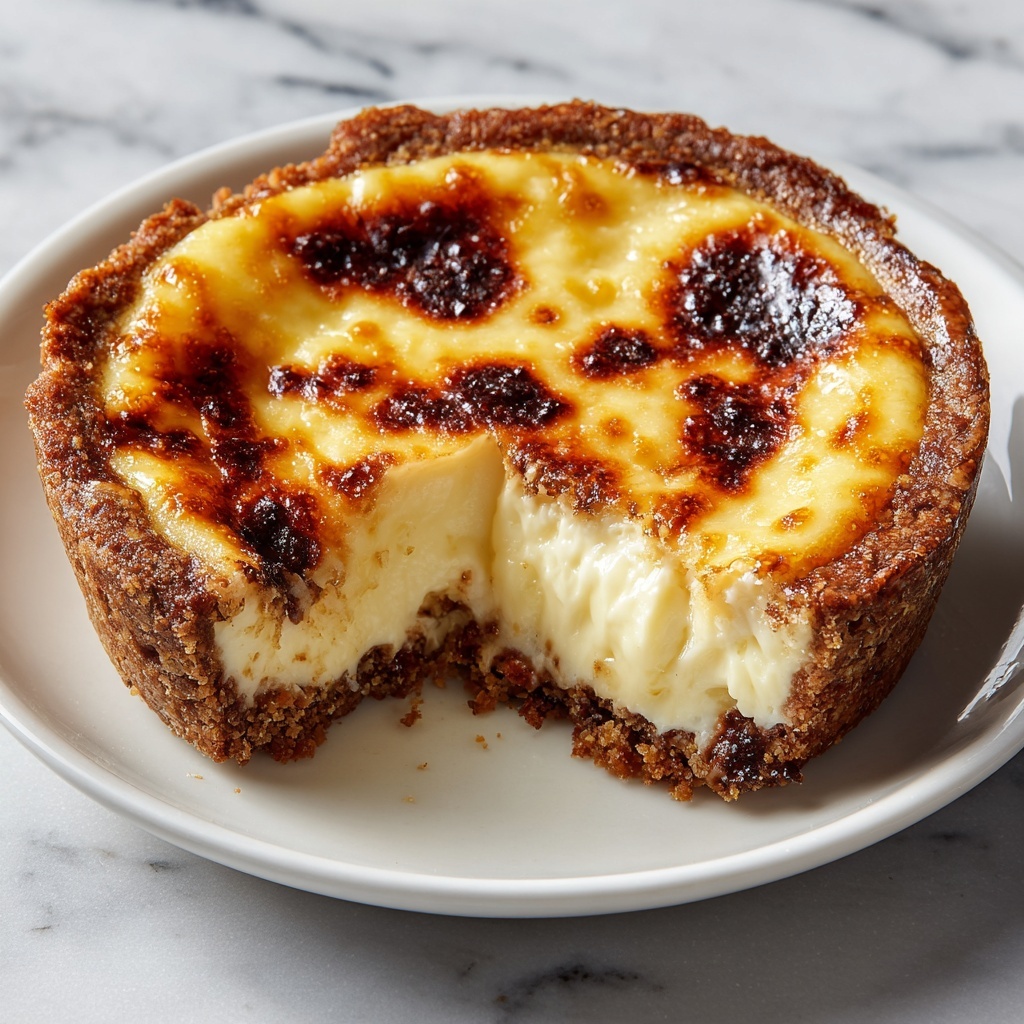
To elevate your Hokkaido Cheese Tart, consider light garnishes like a dusting of powdered sugar or a few fresh berries for a pop of color and tartness. A small sprig of mint can also add an inviting freshness, complementing the creamy and citrusy notes perfectly.
Side Dishes
This tart pairs delightfully with a crisp cup of green tea or lightly brewed jasmine tea, as their subtle flavors balance the rich, cheesy sweetness. For a more indulgent experience, serve alongside a small scoop of vanilla ice cream or a dollop of whipped cream.
Creative Ways to Present
Make your presentation sparkle by serving individual tarts on a delicate porcelain plate with a drizzle of berry coulis or caramel sauce around the edges. Alternatively, arrange mini tarts on a dessert platter for an elegant party spread, garnished with edible flowers to impress your guests visually and palatably.
Make Ahead and Storage
Storing Leftovers
If you happen to have leftovers, store them in an airtight container in the refrigerator. The tart will stay fresh for about 2 to 3 days, perfect for enjoying as a treat over the next couple of days without losing its fantastic texture and flavor.
Freezing
You can freeze the unbaked tart shells or the fully assembled tarts before the final bake. Wrap them tightly in plastic wrap and aluminum foil to avoid freezer burn. Frozen tarts can last up to a month, making the Hokkaido Cheese Tart Recipe a convenient dessert to prepare ahead for special occasions.
Reheating
To reheat, allow the tart to come to room temperature, then warm it gently in an oven at a low temperature (around 300°F or 150°C) for 5 to 7 minutes. This method preserves the creamy filling without drying out the crust, bringing back that fresh-baked charm.
FAQs
Can I use other cheeses instead of mascarpone or cream cheese?
While mascarpone and cream cheese provide the signature texture and flavor essential to this recipe, you could experiment with ricotta or Neufchâtel, but expect a slightly different taste and consistency.
Why does the filling need to be strained?
Straining removes lumps and ensures the filling has an ultra-smooth, custard-like texture that melts in your mouth, making each bite luxurious and consistent.
Can I make the tart shells in advance?
Absolutely! The tart shells can be baked and cooled a day ahead. Store them in an airtight container at room temperature, then fill and bake as directed when ready to serve.
Is it necessary to freeze the tarts before the final bake?
Freezing the filled tarts for 30 minutes helps the filling set firmly. This step ensures the tarts hold their shape and achieve the correct texture after the final baking and browning.
How do I prevent the crust from getting soggy?
Baking the tart shells before adding the filling creates a barrier that keeps the crust crisp. Also, chilling the dough thoroughly before baking prevents shrinkage and sogginess.
Final Thoughts
There’s something truly magical about the way the creamy, slightly tangy cheese filling and the crisp, buttery crust come together in this Hokkaido Cheese Tart Recipe. It’s not just a dessert; it’s an experience that brings a taste of Japan’s northern charm right into your kitchen. I wholeheartedly encourage you to try this recipe—it’s a joy to make, stunning to serve, and delightful to share with those you love.
Print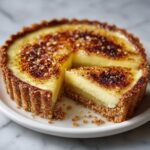
Hokkaido Cheese Tart Recipe
- Prep Time: 30 minutes
- Cook Time: 1 hour 15 minutes
- Total Time: 1 hour 45 minutes
- Yield: 6 servings
- Category: Dessert
- Method: Baking
- Cuisine: Japanese
Description
This Hokkaido Cheese Tart recipe features a buttery, tender crust filled with a rich, creamy cheese custard blending cream cheese, mascarpone, and Parmesan. Chilled and baked to perfection, these tarts offer a luscious, velvety texture with a hint of lemon zest and vanilla for a delightful balance of flavors, perfect for a special dessert or afternoon treat.
Ingredients
Crust Ingredients
- ⅓ cup unsalted butter (75g), softened
- 2 tablespoons granulated sugar (25g)
- 1 egg yolk (room temperature)
- ½ teaspoon vanilla extract
- Zest of 1 lemon
- 1 cup all-purpose flour (130g)
Filling Ingredients
- 3.5 oz cream cheese (100g)
- 3.5 oz mascarpone cheese (100g)
- 1 oz Parmesan cheese (30g), grated
- 2 tablespoons unsalted butter (30g)
- ⅓ cup milk (80ml)
- ¼ cup icing sugar (30g), sifted
- 1 tablespoon corn starch, sifted
- ½ teaspoon vanilla extract
- 1 tablespoon lemon juice
- 1 egg, lightly beaten
Egg Wash
- 1 egg yolk (for egg wash)
Instructions
- Make the crust: In a bowl, cream together the softened butter and granulated sugar until smooth and fluffy. Add the egg yolk, vanilla extract, and lemon zest, mixing well to combine all the flavors.
- Form the dough: Gradually add the all-purpose flour to the wet ingredients, mixing gently until the dough just comes together. Avoid overworking the dough to keep it tender. Wrap the dough in cling film and chill it in the refrigerator for 1 hour to firm up.
- Prepare the filling: While the dough chills, place a pot over medium heat and combine the cream cheese, mascarpone, Parmesan cheese, butter, and milk. Stir intermittently until all ingredients melt together into a smooth mixture.
- Cook the custard filling: Add the sifted icing sugar and corn starch to the melted cheese mixture. Cook while stirring until the mixture thickens to a custard-like consistency. Stir in the lightly beaten egg, vanilla extract, and lemon juice, continuing to cook gently until fully combined. Strain the filling through a sieve for smoothness and then allow it to cool.
- Bake tart shells: Remove the dough from the fridge and press it evenly into tart pans. Bake at 340°F (170°C) for 15 minutes or until the shells are lightly golden. Allow to cool completely before removing from the pans.
- Fill and chill: Pipe the cooled custard filling into the cooled tart shells. Place the filled tarts in the freezer for 30 minutes to set the filling firmly.
- Egg wash and final bake: Brush the tops of the chilled tarts with the egg yolk to give a shiny finish. Bake the tarts for a few minutes at 340°F (170°C) until the tops are lightly browned. Let the tarts cool before serving to enjoy their full flavor and texture.
Notes
- Be careful not to overwork the crust dough to keep it crumbly and tender.
- The cheese filling should be smooth and custard-like, do not overcook or it may curdle.
- Freezing the filled tarts before the final bake helps the filling set properly.
- Use fresh lemon zest and juice for the best citrus flavor.
- Ensure the egg used for the wash is fresh to achieve a glossy finish on the tarts.
- You may substitute mascarpone with additional cream cheese if unavailable, though mascarpone adds a creamier texture.