
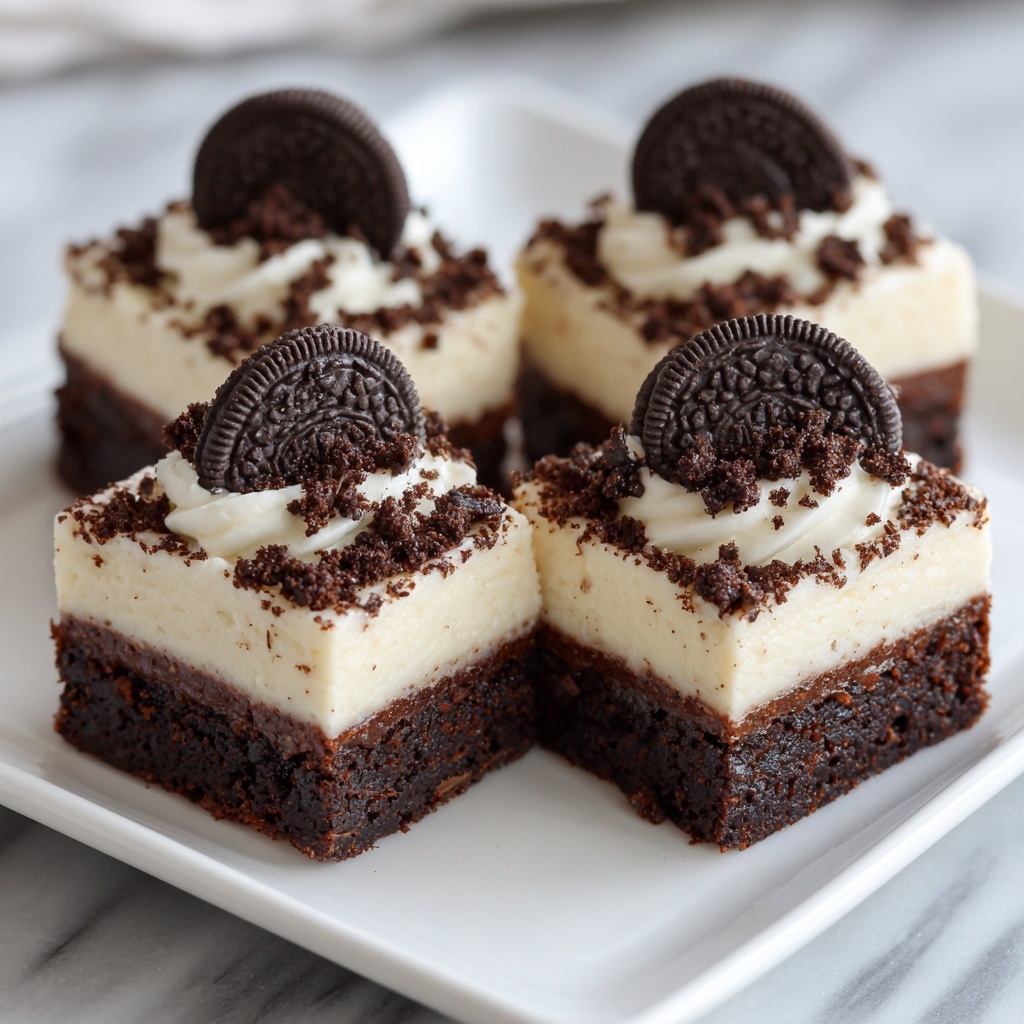
If you have a craving for something that is both decadently rich and delightfully unique, the Cookies & Cream Red Velvet Brownies Recipe is here to steal the show. Imagine the luxurious, moist texture of red velvet brownies perfectly complemented by a luscious cream cheese swirl and crunchy Oreo cookie topping. This dessert masterpiece brings together the classic charm of red velvet with the irresistible crunch and creaminess of cookies and cream, creating a treat that’s guaranteed to become your new favorite indulgence. Whether you’re baking for a special occasion or just because, this recipe delivers all the flavor magic in one beautiful tray.
Ingredients You’ll Need
Each ingredient in this recipe plays an essential role, creating the perfect balance of flavors, texture, and that signature red velvet color we all adore. Simple yet carefully chosen, these components turn basic pantry items into an unforgettable dessert.
- Red velvet cake mix: Provides the vibrant color and moist, tender crumb that are hallmarks of red velvet.
- Vegetable oil: Keeps the brownies moist and tender without overwhelming the flavors.
- Large eggs: Help bind the ingredients and add richness to the brownie base.
- Milk: Lightens the batter slightly for a perfect brownie texture.
- Vanilla extract: Enhances the overall sweetness and depth of flavor.
- Cream cheese, softened: Gives the iconic cream cheese swirl its smooth, tangy sweetness.
- Powdered sugar: Sweetens the cream cheese mixture without any grit.
- Oreo cookies, crushed: Adds the signature cookies and cream crunch on top that takes these brownies to the next level.
How to Make Cookies & Cream Red Velvet Brownies Recipe
Step 1: Preheat and Prepare Your Pan
Start by preheating your oven to 350°F (175°C). While that warms up, grease an 8×8-inch baking pan or line it with parchment paper to prevent sticking. This simple preparation sets the stage for beautifully shaped, easy-to-remove brownies, making cleanup a breeze.
Step 2: Make the Brownie Batter
In a large bowl, combine the red velvet cake mix, vegetable oil, eggs, milk, and vanilla extract. Stir everything together until the batter is smooth and uniform, ensuring a moist and tender brownie base. This mix forms the heart of the Cookies & Cream Red Velvet Brownies Recipe, balancing sweetness and classic red velvet flavor perfectly.
Step 3: Prepare the Cream Cheese Swirl
In a separate bowl, beat the softened cream cheese with powdered sugar and vanilla extract until silky smooth. This creamy mixture will give your brownies a luscious swirl that’s both tangy and sweet, creating a delightful contrast to the rich red velvet base.
Step 4: Create the Swirls
Drop spoonfuls of the cream cheese mixture evenly over the red velvet batter. Then, take a knife or a skewer and gently swirl the cream cheese into the batter to create beautiful marbled patterns. This step isn’t just about looks; it ensures every bite has that perfect blend of flavors.
Step 5: Add the Oreo Topping
Sprinkle the crushed Oreo cookies generously on top of the swirled batter. Press them lightly into the surface so they stick just right, adding a delightful crunchy texture that contrasts the soft interior and gives a fun twist on the traditional brownie.
Step 6: Bake to Perfection
Bake the pan for 30-35 minutes, or until a toothpick inserted in the center comes out with a few moist crumbs. This timing ensures the brownies are fully set but still incredibly moist and tender inside, with a slightly crisp Oreo-topped crust.
Step 7: Cool and Serve
Let your Cookies & Cream Red Velvet Brownies cool completely in the pan. Cooling helps the cream cheese swirl set and the texture to become just right for cutting into squares without crumbling or sticking. After that, you’re ready to slice and enjoy the magic you created!
How to Serve Cookies & Cream Red Velvet Brownies Recipe
Garnishes
For an extra touch of indulgence, consider adding a light dusting of powdered sugar or a drizzle of white chocolate on top. Fresh berries like strawberries or raspberries can also add a fresh, tangy pop to complement the sweetness of the brownies.
Side Dishes
Serve your brownies alongside a scoop of vanilla ice cream or a dollop of whipped cream for a dreamy dessert experience. A hot cup of coffee or creamy milk pairs wonderfully, balancing the richness of the Cookies & Cream Red Velvet Brownies Recipe perfectly.
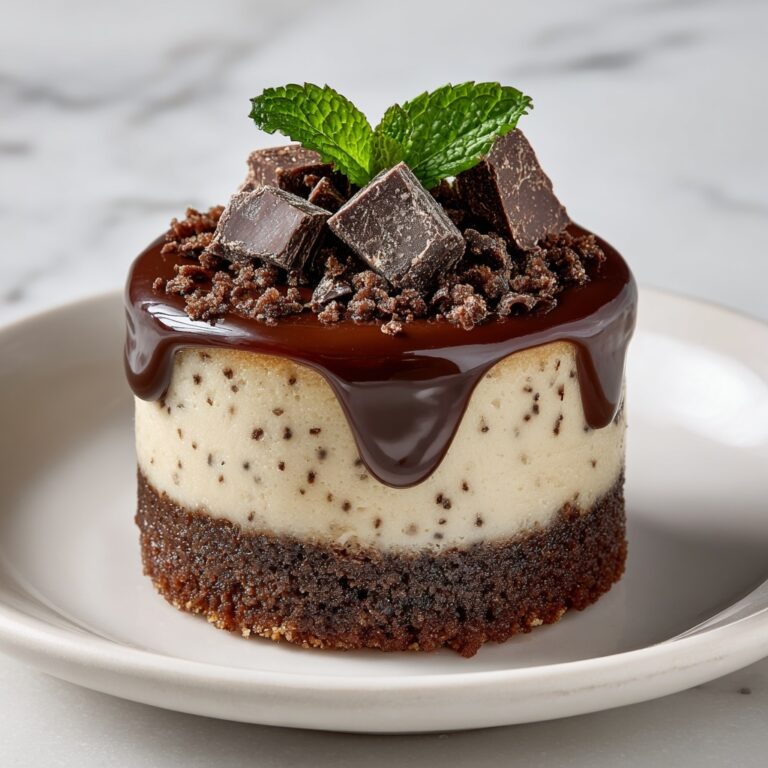
Creative Ways to Present
Try serving these brownies in mini ramekins or as brownie bites on a dessert platter, decorated with cookie crumbs and a tiny mint leaf for an elegant touch. You could also layer crumbled brownies into parfait glasses with whipped cream and crushed Oreos for an eye-catching treat.
Make Ahead and Storage
Storing Leftovers
Keep your leftover Cookies & Cream Red Velvet Brownies in an airtight container at room temperature for up to 3 days. This prevents them from drying out and keeps the cream cheese swirl fresh and creamy.
Freezing
You can freeze these brownies for longer storage by wrapping them tightly in plastic wrap and then placing them in a freezer-safe zip-top bag or container. They’ll keep well for up to 3 months, ready to be thawed whenever a sweet fix strikes.
Reheating
When you’re ready to enjoy frozen brownies, thaw them at room temperature or warm gently in the microwave for 15-20 seconds. This brings back the fresh-baked feel and gets the cream cheese swirl gooey and irresistible again.
FAQs
Can I use homemade red velvet brownie batter instead of cake mix?
Absolutely! If you prefer making your batter from scratch, just ensure it yields a moist and tender base, similar to the texture from the cake mix for best results in the Cookies & Cream Red Velvet Brownies Recipe.
Is it necessary to soften the cream cheese beforehand?
Yes, softening the cream cheese beforehand helps it blend smoothly with powdered sugar and vanilla extract, creating that perfect creamy swirl without lumps.
Can I substitute Oreos with another cookie?
Of course! While Oreos give the classic cookies and cream flavor, you can experiment with any chocolate sandwich cookies or even crushed chocolate chip cookies for a different twist.
How do I know when the brownies are done baking?
The best way is to insert a toothpick into the center. It should come out with a few moist crumbs attached but no raw batter—that’s your sign the Cookies & Cream Red Velvet Brownies Recipe are perfectly baked.
Can I double the recipe for a larger batch?
Definitely! Just double all ingredients and bake in a larger pan, adjusting the baking time accordingly—usually a bit longer. Keep an eye on the brownies and test for doneness as usual.
Final Thoughts
There’s something truly special about the Cookies & Cream Red Velvet Brownies Recipe that makes it stand out—rich, creamy, crunchy, and vibrant all at once. I can’t wait for you to try this recipe and experience every bite of its irresistible charm. Trust me, this will become a beloved favorite you’ll want to bake again and again!
Print
Cookies & Cream Red Velvet Brownies Recipe
- Prep Time: 10 minutes
- Cook Time: 35 minutes
- Total Time: 45 minutes
- Yield: 12 servings
- Category: Dessert
- Method: Baking
- Cuisine: American
Description
These Cookies & Cream Red Velvet Brownies combine the rich, chocolatey flavor of red velvet cake with a creamy, tangy cream cheese swirl and a crunchy Oreo cookie topping. Perfectly moist and indulgent, these brownies are a delightful twist on classic red velvet desserts, baked to perfection in just 45 minutes.
Ingredients
Brownie Base:
- 1 box of red velvet cake mix
- 1/2 cup vegetable oil
- 2 large eggs
- 1/4 cup milk
- 1 teaspoon vanilla extract
Cream Cheese Swirl:
- 8 oz cream cheese, softened
- 1/2 cup powdered sugar
- 1/2 teaspoon vanilla extract
Topping:
- 10 Oreo cookies, crushed
Instructions
- Preheat & Prep: Preheat your oven to 350°F (175°C). Grease an 8×8-inch baking pan or line it with parchment paper to prevent sticking and make cleanup easier.
- Make Brownie Batter: In a large mixing bowl, combine the red velvet cake mix, vegetable oil, eggs, milk, and vanilla extract. Mix until the batter is smooth and well incorporated. Spread the batter evenly into the prepared baking pan.
- Cream Cheese Swirl: In a separate bowl, beat the softened cream cheese, powdered sugar, and vanilla extract together until smooth and creamy, ensuring there are no lumps.
- Create Swirls: Drop spoonfuls of the cream cheese mixture evenly over the brownie batter. Use a knife or skewer to gently swirl the cream cheese into the batter, creating a marbled effect.
- Add Topping: Sprinkle the crushed Oreo cookies evenly over the top of the batter and cream cheese swirls, pressing them in lightly to help them stick.
- Bake: Place the pan in the preheated oven and bake for 30-35 minutes, or until a toothpick inserted into the center comes out with a few moist crumbs but no wet batter.
- Cool & Serve: Allow the brownies to cool completely in the pan on a wire rack before cutting into squares to serve. This lets the brownies set for clean cuts and better texture.
Notes
- Make sure the cream cheese is softened before mixing to avoid lumps in the swirl.
- Do not overbake the brownies; they should be moist inside when a toothpick is inserted.
- Pressing the Oreo crumbs into the batter helps them stay on top and adds a delightful crunch.
- You can substitute regular milk with almond or oat milk for a dairy-free option, though cream cheese would still be dairy unless substituted.
- This dessert is best enjoyed within 2-3 days stored in an airtight container at room temperature or refrigerated.


