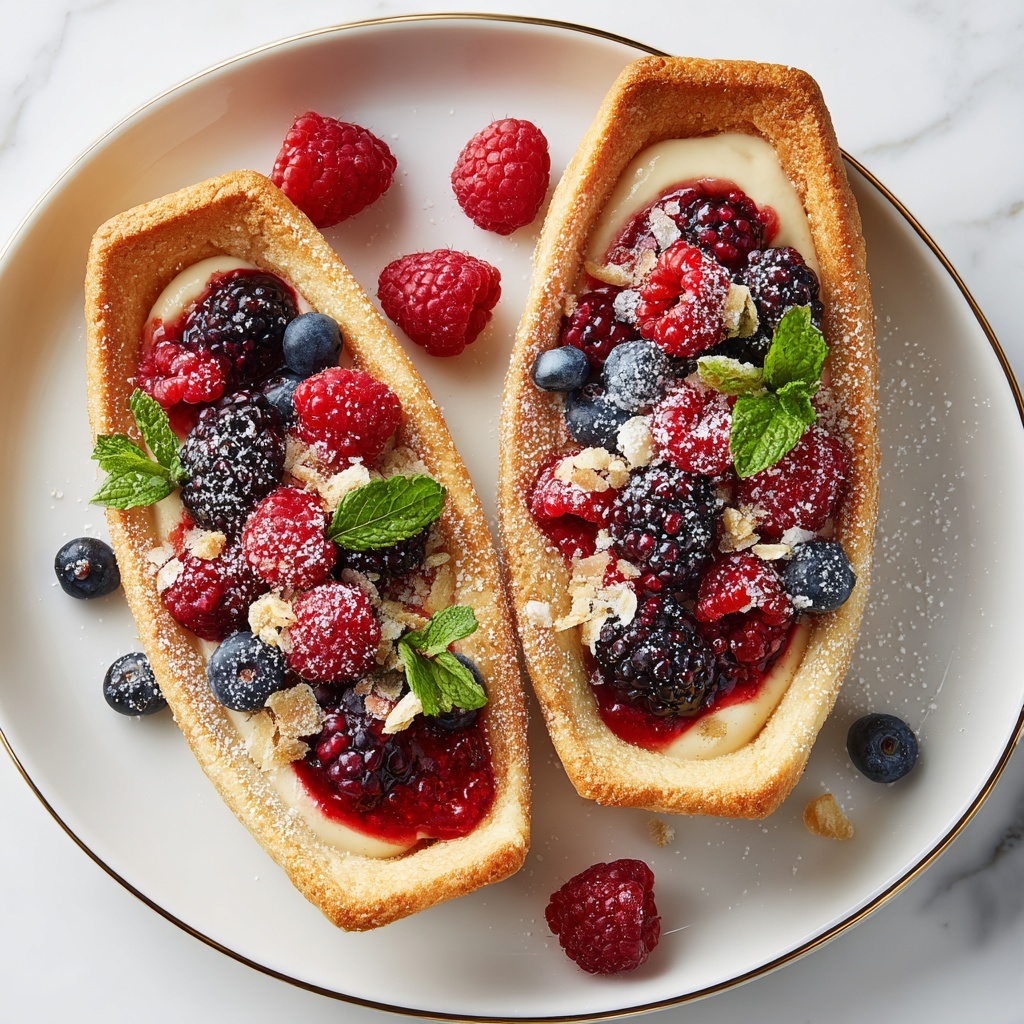
If you adore a dessert that’s as fun to eat as it is to make, you’re going to fall head over heels for this Berrylicious Cheesecake Tacos Recipe. Imagine crisp, golden taco shells giving way to a luscious, creamy cheesecake filling, all topped with vibrant blueberry and strawberry jams. It’s a playful twist on classic flavors that will brighten up any dessert table. This Berrylicious Cheesecake Tacos Recipe effortlessly combines textures and tastes for a crowd-pleasing treat that’s both impressive and surprisingly simple.
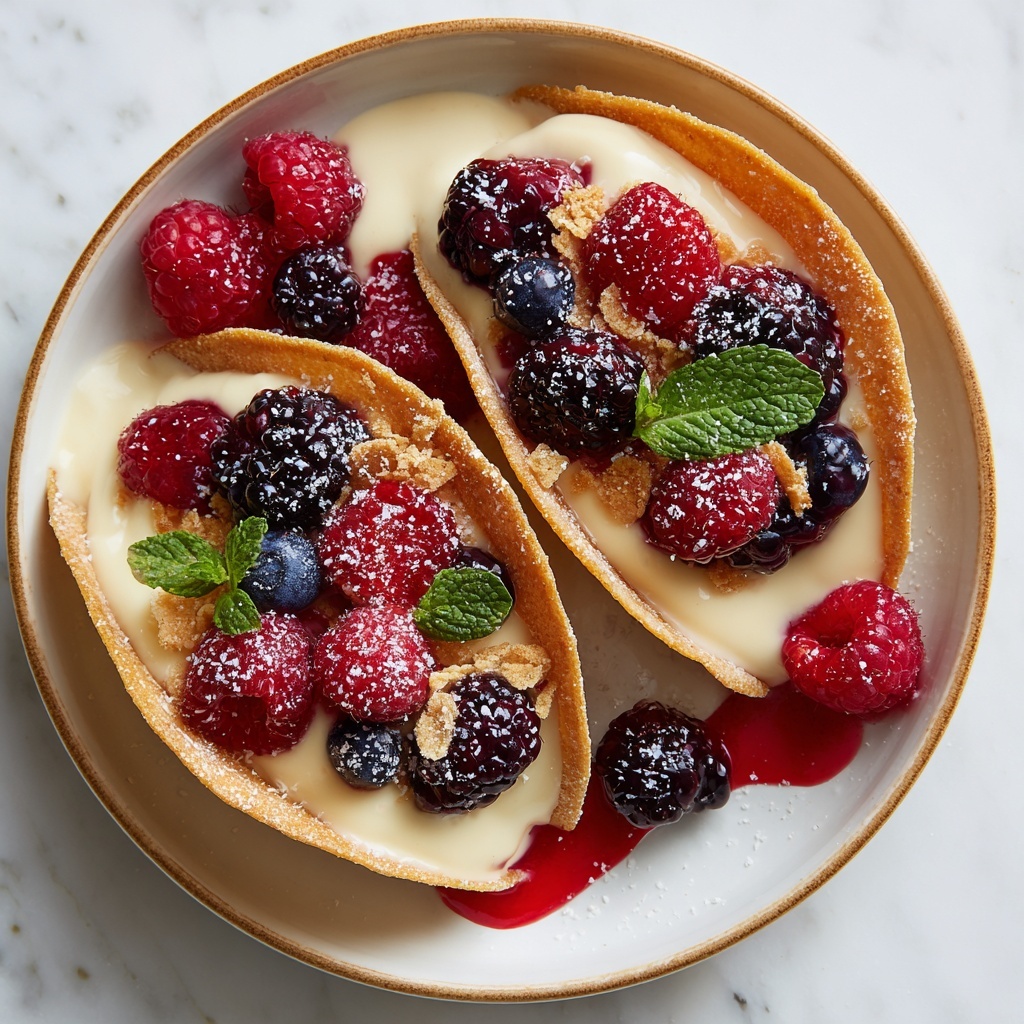
Ingredients You’ll Need
Gathering these straightforward ingredients will set you up for success, bringing together crunchy, creamy, sweet, and tangy elements to make each bite irresistible. The beauty of this recipe lies in how each component plays a crucial role in delivering the ultimate dessert experience.
- 8-inch tortillas (cut into ~1.5-inch rounds): The base for taco shells, these become crispy vessels after baking.
- 1/2 cup graham cracker crumbs: Coating the tortillas adds a sweet, crunchy texture that mimics traditional cheesecake crust.
- 1/4 cup unsalted butter, melted: Helps the graham cracker crumbs stick and enriches the shell’s flavor.
- 8 oz cream cheese, softened: The creamy heart of the cheesecake filling, smooth and tangy.
- 1/2 cup heavy cream: Whipped to fluffy perfection to lighten the filling’s texture.
- 1/3 cup powdered sugar: Sweetens the filling without any grainy texture.
- 1 tablespoon lemon juice: Adds a bright, fresh zing that lifts the cream cheese.
- 1 teaspoon vanilla extract: Brings warmth and depth to the cheesecake filling.
- 1/4 cup blueberry jam: Bursts of fruity sweetness and color contrast.
- 1/4 cup strawberry jam: Complementary flavor that’s classic and comforting.
How to Make Berrylicious Cheesecake Tacos Recipe
Step 1: Prepare and Bake Taco Shells
Start by preheating your oven to 400°F (200°C), then carefully cut the tortillas into small rounds around 1.5 inches wide. To prevent those little rounds from puffing up during baking, pierce each one gently with a fork. This step ensures your shells bake flat and can be shaped perfectly.
Step 2: Coat the Tortilla Rounds
Dip each tortilla round into the melted butter, then immediately press them into the graham cracker crumbs. This coating not only adds a sweet crunch but also helps your shells hold their form once baked, adding a delicious nod to the traditional cheesecake crust.
Step 3: Shape and Bake the Shells
Mold the coated rounds over the back of a muffin tin cup to form the taco shell shape. Pop them in the oven for 10 to 12 minutes or until they’re beautifully golden and crisp. Once baked, let them cool completely. This cooling step is key—it lets your shells set so they’re sturdy enough to hold the filling without cracking.
Step 4: Make the Cheesecake Filling
In a mixing bowl, beat the softened cream cheese with lemon juice and vanilla extract until the mixture becomes smooth and creamy. This combination delivers that classic cheesecake tanginess infused with a dash of fragrant vanilla, making every bite delightfully rich.
Step 5: Whip the Cream and Combine
In a separate bowl, whip the heavy cream with powdered sugar until stiff peaks form—this luscious, airy cream will lighten the cheesecake filling. Gently fold the whipped cream into the cream cheese mixture until fully blended, creating a fluffy and dreamy filling. Chill this mixture for at least 30 minutes to help it set properly before assembling your tacos.
Step 6: Assemble the Cheesecake Tacos
Once your taco shells and filling are ready, pipe or spoon the cheesecake filling generously into each shell. The contrast between the crunchy shell and the creamy filling makes these tacos incredibly addictive already.
Step 7: Add the Fruity Toppings
Top each filled taco with a spoonful of blueberry and strawberry jam. These vibrant jams add a luscious sweetness and a pop of color that make this Berrylicious Cheesecake Tacos Recipe feel festive and irresistible. Serve immediately for the best texture, or chill briefly to let the flavors meld.
How to Serve Berrylicious Cheesecake Tacos Recipe
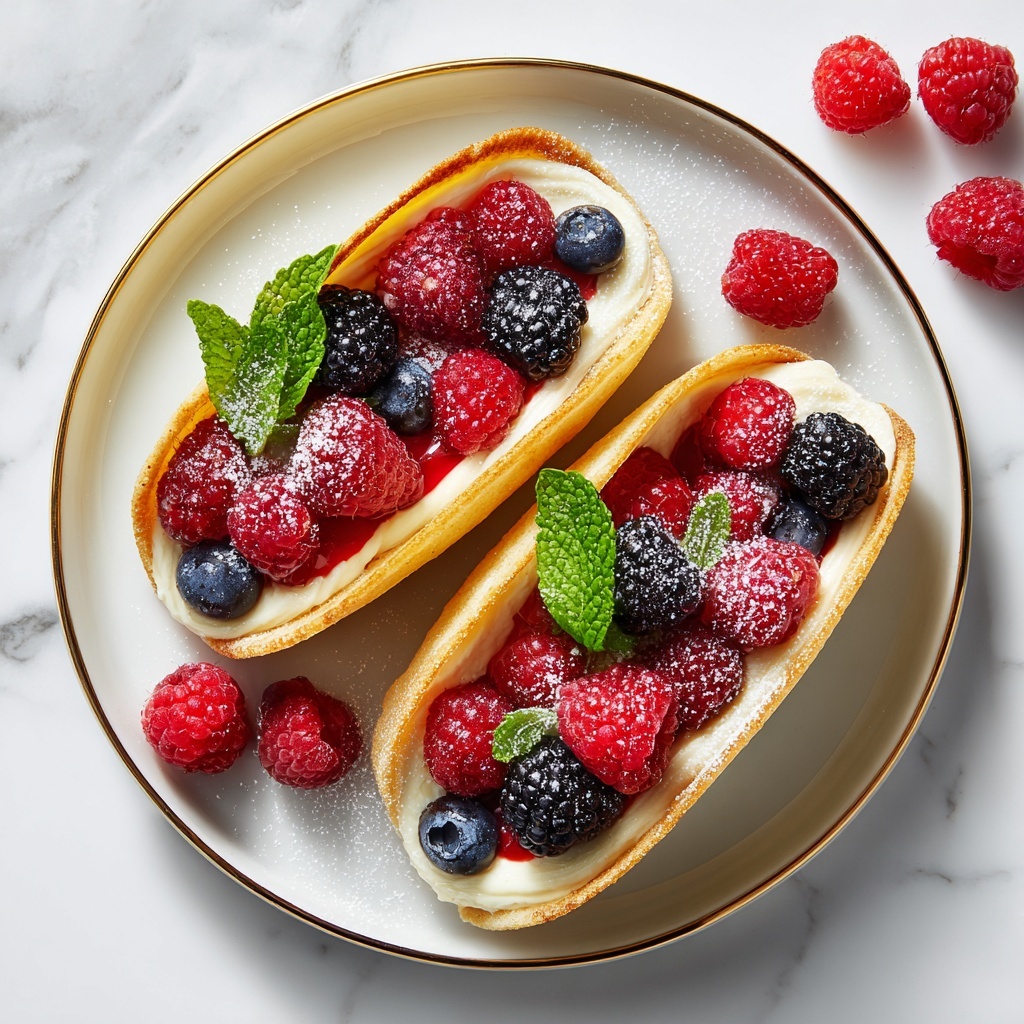
Garnishes
To elevate these cheesecake tacos even further, try garnishing with fresh berries, a sprinkle of powdered sugar, or a few mint leaves. These simple touches add freshness and visual appeal, making your dessert look as delightful as it tastes.
Side Dishes
Pair your Berrylicious Cheesecake Tacos Recipe with a light fruit salad or a scoop of vanilla ice cream for an extra indulgent treat. The fresh fruit complements the sweet, creamy tacos perfectly, balancing richness with natural brightness.
Creative Ways to Present
For a playful twist, serve these cheesecake tacos on a colorful dessert tray or arrange them standing upright in a taco holder. You can even drizzle chocolate or caramel sauce over them for a little extra flair—perfect for parties or special gatherings where presentation counts.
Make Ahead and Storage
Storing Leftovers
If you have any leftovers (though that’s rare with these tasty treats), store the assembled cheesecake tacos in an airtight container in the refrigerator. They’ll stay fresh for up to 2 days, though the tortilla shells may soften slightly over time.
Freezing
To freeze, keep the taco shells and cheesecake filling separate. Freeze the shells in an airtight bag to maintain crispiness and store the filling in a sealed container. When you’re ready to enjoy, thaw both in the fridge and reassemble. Freezing the assembled tacos is not recommended as textures can suffer.
Reheating
Since the shells are best crisp and the filling chilled, reheating is not ideal. If you want to warm the shells slightly, do so before filling by popping them in a low oven for a few minutes. Otherwise, enjoy this dessert chilled for the best experience.
FAQs
Can I use different types of tortillas?
Absolutely! Flour tortillas work best because they crisp up nicely, but you can experiment with corn tortillas for a different flavor. Just keep in mind that corn tortillas may be a bit less flexible and can break more easily.
Is there a non-dairy alternative for the cheesecake filling?
You can substitute cream cheese and heavy cream with plant-based alternatives like vegan cream cheese and coconut cream. The texture will be slightly different but still delicious and creamy.
How far in advance can I prepare these tacos?
You can prepare the shells a day ahead and store them in an airtight container. The filling can be made a few hours in advance and refrigerated. Assemble just before serving for the best texture and flavor.
Can I add other fruit toppings?
Definitely! Fresh fruits like raspberries, blackberries, or kiwifruit make lovely toppings, and you can also try other jams or fruit preserves to suit your taste.
What if I don’t have a piping bag for the filling?
No worries! You can use a spoon to dollop the cheesecake filling into the taco shells. If you want a cleaner look, filling a plastic zip-top bag and snipping off a corner works just as well.
Final Thoughts
If you’re craving a dessert that’s playful, delicious, and sure to impress, don’t hesitate to try this Berrylicious Cheesecake Tacos Recipe. It’s a perfect blend of creamy cheesecake, crisp shells, and fruity jams that will make your taste buds sing. Whether for a party or a cozy night in, these cheesecake tacos are destined to become a new favorite you’ll want to make again and again.
Print
Berrylicious Cheesecake Tacos Recipe
- Prep Time: 15 minutes
- Cook Time: 12 minutes
- Total Time: 55 minutes
- Yield: 25 servings
- Category: Dessert
- Method: Baking
- Cuisine: American
Description
Berrylicious Cheesecake Tacos are a delightful and creative dessert combining crispy, buttery graham cracker-coated tortilla shells with a creamy, luscious cheesecake filling, topped with sweet blueberry and strawberry jams. Perfect for serving at parties or as a fun treat, these tacos offer a unique twist on classic cheesecake with a crunchy, golden taco shell.
Ingredients
Taco Shells
- 8-inch tortillas, cut into ~1.5-inch rounds
- 1/2 cup graham cracker crumbs
- 1/4 cup unsalted butter, melted
Cheesecake Filling
- 8 oz cream cheese, softened
- 1/2 cup heavy cream
- 1/3 cup powdered sugar
- 1 tablespoon lemon juice
- 1 teaspoon vanilla extract
Toppings
- 1/4 cup blueberry jam
- 1/4 cup strawberry jam
Instructions
- Preheat Oven: Preheat your oven to 400°F (200°C). Cut the 8-inch tortillas into small rounds approximately 1.5 inches in diameter, then pierce them lightly to prevent bubbling during baking.
- Prepare Tortilla Rounds: Dip each tortilla round into the melted unsalted butter to coat completely, then dredge them in graham cracker crumbs to cover all sides. This will form the crispy taco shell base.
- Shape and Bake Shells: Carefully shape each coated tortilla round over the back of a muffin tin cup, creating a taco shell form. Bake these shells in the preheated oven for about 10 to 12 minutes or until they turn golden brown and crisp. Remove from oven and allow them to cool completely to retain their shape and crunch.
- Make Cheesecake Filling: In a mixing bowl, beat the softened cream cheese with lemon juice and vanilla extract until the mixture is smooth and creamy, ensuring no lumps remain.
- Whip Cream: In a separate bowl, whip the heavy cream together with powdered sugar until stiff peaks form. This adds lightness and sweetness to the filling.
- Combine and Chill Filling: Gently fold the whipped cream into the cream cheese mixture until fully blended. Chill the combined cheesecake filling in the refrigerator for at least 30 minutes to set and firm up slightly.
- Assemble Cheesecake Tacos: Using a piping bag or a spoon, fill the cooled taco shells generously with the chilled cheesecake filling.
- Add Toppings and Serve: Top each filled taco shell with a spoonful of blueberry jam and strawberry jam for a fruity, colorful finish. Serve immediately for best texture or chill briefly to set before serving.
Notes
- Ensure the tortillas are pierced before baking to avoid bubbling and maintain a flat shell shape.
- Use room temperature cream cheese for smooth mixing without lumps.
- The taco shells can be made ahead and stored in an airtight container once cooled.
- For easier filling, chill the cheesecake mixture to firm it slightly before piping.
- Feel free to swap jams for other fruit preserves based on preference.