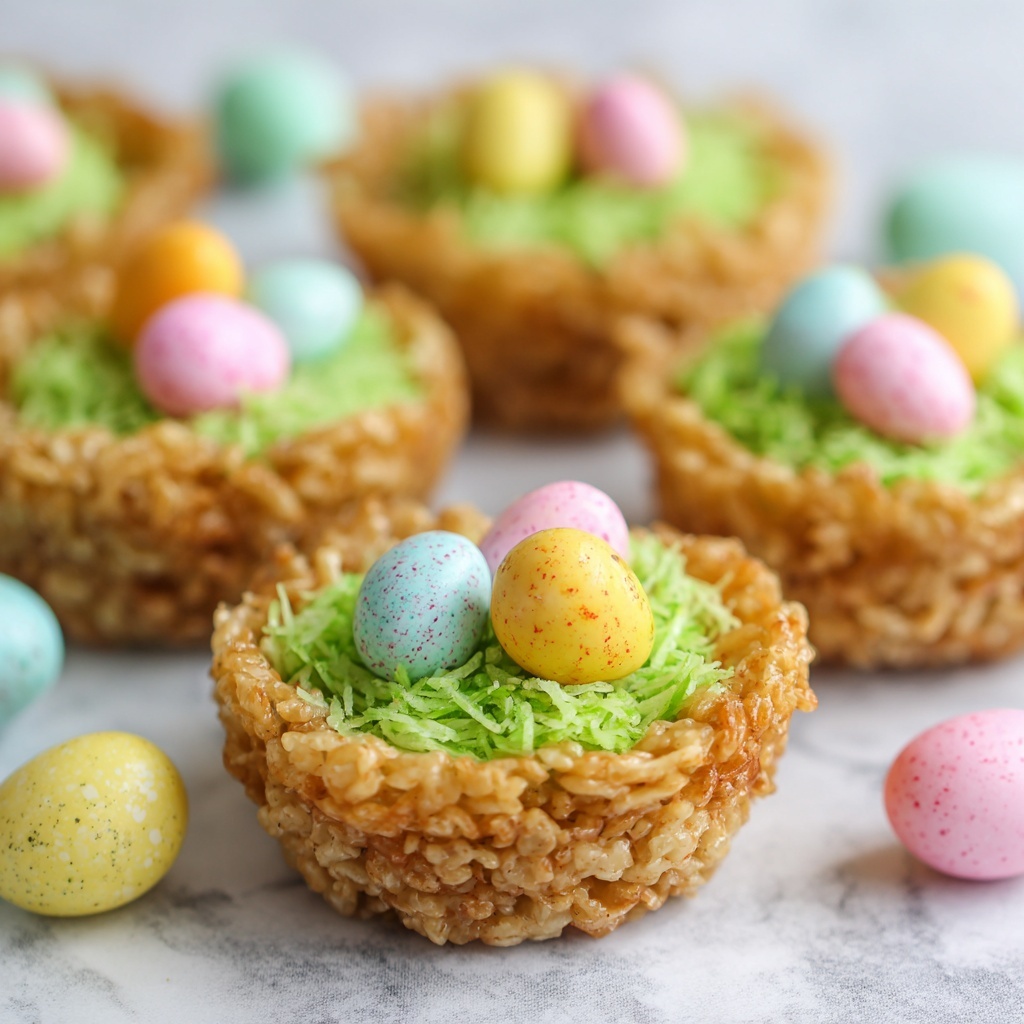
If you’re looking for a fun, festive treat that’s as delightful to make as it is to eat, the Adorable Rice Krispie Nests Recipe is an absolute must-try. These charming little nests not only bring a burst of nostalgic flavor with their crispy, marshmallowy base but also add a playful twist with vibrant green coconut “grass” and candy robin eggs perched perfectly on top. They’re perfect for celebrations, springtime gatherings, or whenever you need a little sweet whimsy in your day. Trust me, once you try this recipe, these nests will become a favorite that everyone will ask for again and again.
Ingredients You’ll Need
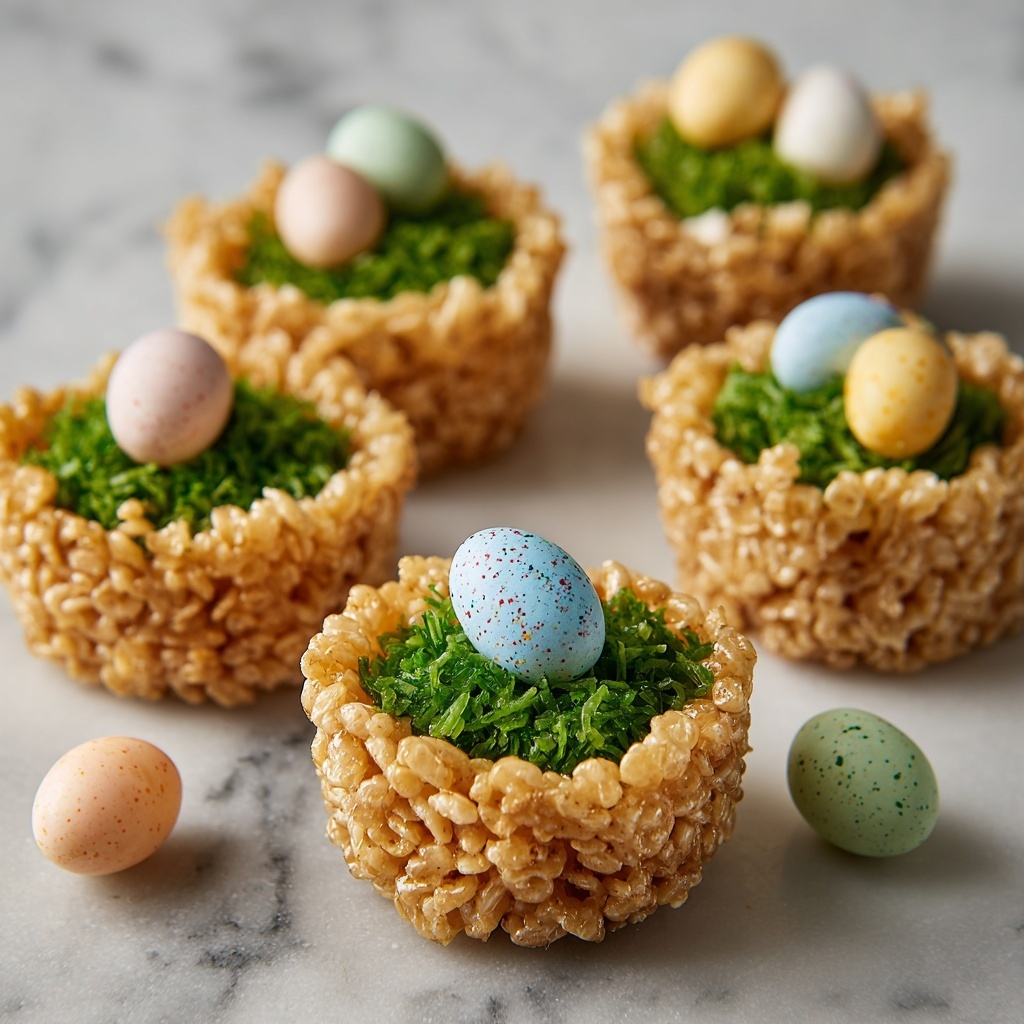
The beauty of the Adorable Rice Krispie Nests Recipe lies in its simplicity. Each ingredient plays a crucial role, from creating a soft, gooey base to adding that fresh pop of color and texture that makes these nests truly stand out.
- 4 Tbsp unsalted butter: Adds richness and helps melt the marshmallows smoothly for that perfect chewy texture.
- 10 oz marshmallows (regular or mini): The sweet, sticky glue that binds everything together with classic marshmallow goodness.
- 1 ½ tsp vanilla extract: Enhances the flavor, giving the nests a comforting, warm note.
- ¼ tsp salt: Balances sweetness and deepens overall flavor.
- 5 cups Rice Krispies cereal: The crispy foundation that gives these nests their iconic crunch.
- 1 cup sweetened shredded coconut: Provides a delightful chew and mimics grass once colored green.
- Green food coloring: Brings the shredded coconut to life with vibrant “grass” colors perfect for the nest effect.
- 48 mini candy robin eggs: The adorable finishing touch that looks just like tiny bird eggs.
How to Make Adorable Rice Krispie Nests Recipe
Step 1: Prepare the muffin pans
Begin by spraying two muffin pans generously with baking spray. This simple step makes all the difference when it comes to easily removing your nests after they set, preserving their delicate, adorable shape perfectly.
Step 2: Create the marshmallow mixture
In a large pot or Dutch oven over medium-low heat, melt the butter completely and then add the marshmallows. Stir continuously until everything is melted and fused into one luscious, sticky mixture. Once melted, take the pot off the heat and stir in the vanilla extract and salt for that extra layer of flavor depth.
Step 3: Incorporate the cereal
Now, fold the Rice Krispies cereal into the marshmallow mixture, making sure each crispy piece is evenly coated. This is the base that will give your nests that iconic snap and chew combo everyone loves.
Step 4: Form the nests
Spoon a heaping ¼ cup of the cereal mixture into each of 16 muffin cups. Using a 1-tablespoon measuring spoon, gently press down in the center of each mound to create the perfect little hollow nest shape. Patience here pays off with adorable, consistent nests that hold together beautifully.
Step 5: Allow to set
Let your nests rest and firm up in the pan for about one hour. This hour is key to giving them structure so they don’t fall apart when you transfer them for decorating. It’s a great time to prep your coconut grass!
Step 6: Prepare the coconut “grass”
Place the shredded coconut inside a large resealable plastic bag. Add 3 to 4 drops of green food coloring to the bag, seal it, and shake vigorously to distribute the color evenly. This colorful, fluffy coconut will add a playful and realistic grass effect once added to your nests.
Step 7: Decorate the nests
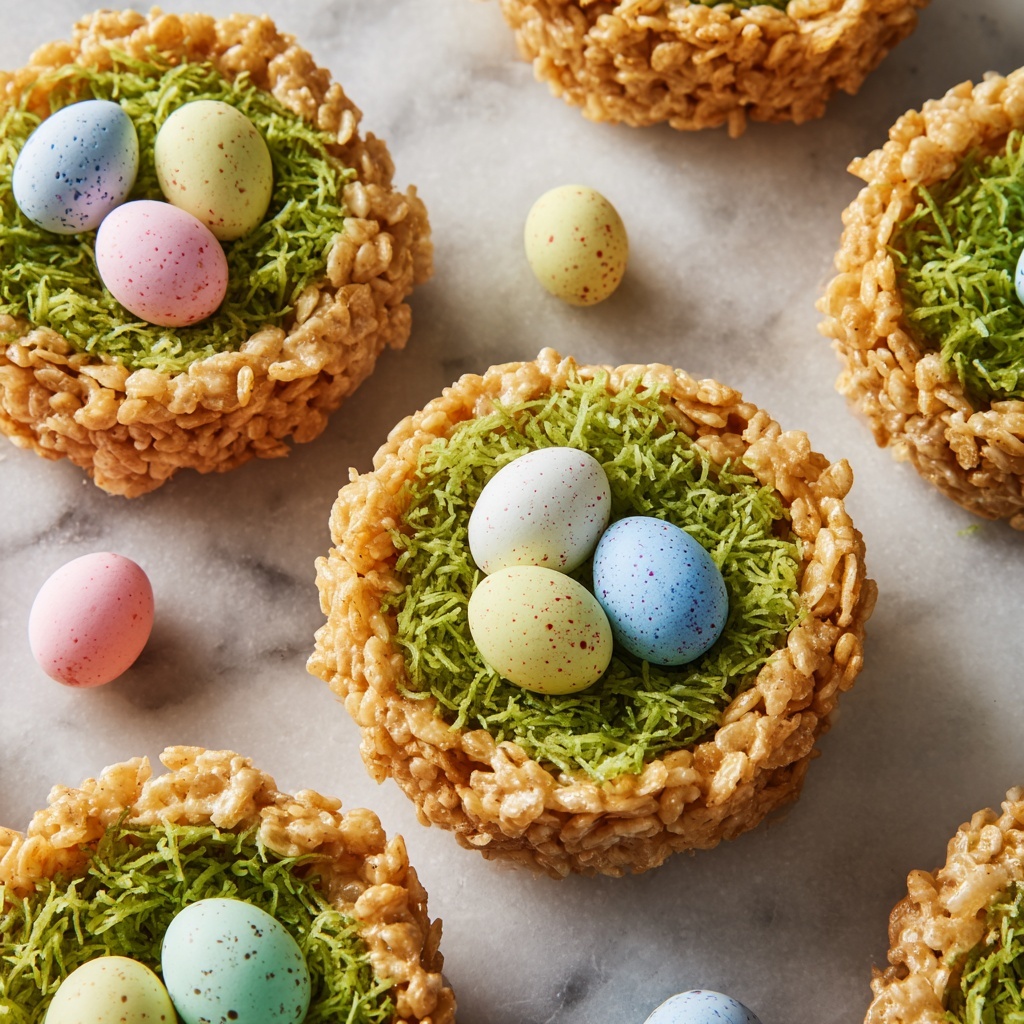
Once your nests have set, remove them gently from the muffin pans and transfer to a serving board or platter. Add about one tablespoon of the green coconut “grass” to the center of each nest, then carefully nestle three mini candy robin eggs on top. This finishing touch makes each nest irresistibly charming and ready to wow everyone.
How to Serve Adorable Rice Krispie Nests Recipe
Garnishes
Besides the classic green coconut and candy eggs, consider adding tiny pastel sprinkles or edible glitter around the edges for a sparkly, festive look. Fresh edible flowers or small sugar butterflies also pair beautifully if you want to elevate the presentation for special occasions.
Side Dishes
These nests are sweet and light, so they pair brilliantly with fresh fruit platters or a tangy yogurt dip to balance out the sugar. For a party, serve alongside lemon bars or citrusy treats for a bright, complementary flavor profile.
Creative Ways to Present
Think beyond the platter! Display your nests in pastel-colored cupcake liners for easy individual servings or arrange them on a rustic wooden board with sprigs of fresh mint or rosemary as a natural “nest” backdrop. For a childhood throwback, serve them on vintage floral plates to ignite smiles and nostalgia.
Make Ahead and Storage
Storing Leftovers
Store any leftover nests in an airtight container at room temperature. They’ll stay fresh and chewy for about 3 to 4 days, perfect for enjoying later or saving for little surprises throughout the week.
Freezing
To keep your Adorable Rice Krispie Nests Recipe for longer, freeze them in an airtight container layered with parchment paper between each nest. They freeze well for up to one month. When ready, just thaw at room temperature for a few hours before serving.
Reheating
No need to heat these treats for eating since they’re best enjoyed chewy and cool. However, if they’ve been in the freezer, simply let them come to room temperature before serving to enjoy their classic texture and flavor.
FAQs
Can I use gluten-free Rice Krispies cereal?
Absolutely! Just ensure that the Rice Krispies cereal you choose is labeled gluten-free. This recipe is easily adaptable for gluten-sensitive friends without sacrificing any of the fun or flavor.
What if I don’t have green food coloring?
No worries! You can omit the food coloring and serve the shredded coconut plain for a more natural look or mix in matcha powder for a subtle green tint and a hint of earthy flavor.
Can I make these nests without marshmallows?
Marshmallows are essential for binding the cereal together, so they can’t be skipped entirely. However, you could experiment with homemade marshmallow fluff or a similar sticky sweet binder like melted white chocolate for a creative twist.
How do I prevent stuck Rice Krispie nests?
Spraying the muffin pans thoroughly with baking spray and allowing the nests to fully set before removing them ensures they pop out easily without breaking apart.
Are mini candy robin eggs necessary?
They’re the signature decoration that makes these nests truly adorable, but you can substitute with any small candy eggs, jellybeans, or even chocolate chips if you prefer. The key is to keep the fun, egg-like appearance.
Final Thoughts
I cannot recommend enough trying the Adorable Rice Krispie Nests Recipe the next time you want a sweet, charming treat that brings joy to any table. It’s such a simple recipe yet so full of whimsy and flavor, perfect for sharing with family, friends, and little ones. Once you make them, you’ll see why they’ve got that special spot among everyone’s favorite sweet creations. Go ahead, dive in and make some magic!
Print
Adorable Rice Krispie Nests Recipe
- Prep Time: 15 minutes
- Cook Time: 10 minutes
- Total Time: 1 hour 15 minutes
- Yield: 16 servings
- Category: Dessert
- Method: Stovetop
- Cuisine: American
- Diet: Vegetarian
Description
This Adorable Rice Krispie Nests recipe transforms classic marshmallow treats into charming little nests perfect for springtime or Easter celebrations. Crispy Rice Krispies cereal is combined with melted butter and marshmallows, then shaped into nest molds and decorated with green-colored shredded coconut ‘grass’ and mini candy robin eggs for a festive touch.
Ingredients
Main Ingredients
- 4 Tbsp unsalted butter
- 10 oz marshmallows (regular or mini)
- 1 ½ tsp vanilla extract
- ¼ tsp salt
- 5 cups Rice Krispies cereal
- 1 cup sweetened shredded coconut
- Green food coloring (3-4 drops)
- 48 mini candy robin eggs
Instructions
- Prepare the muffin pans: Spray two muffin pans thoroughly with baking spray to ensure the Rice Krispie nests will release easily after setting.
- Create the marshmallow mixture: In a large pot or Dutch oven, melt the butter over medium-low heat. Add the marshmallows and stir continuously until they are completely melted and well combined with the butter. Remove from heat and immediately stir in the vanilla extract and salt for flavor balance.
- Incorporate the cereal: Add the Rice Krispies cereal to the melted marshmallow mixture. Stir gently until the cereal is evenly coated with the marshmallow mixture, ensuring consistent texture throughout.
- Form the nests: Using a heaping ¼ cup of the mixture, place it into each muffin cup (total of 16 nests). Use a 1-tablespoon measuring spoon to press down the center of each mound to create a nest-shaped indentation.
- Allow to set: Let the formed nests cool and set in the muffin pans for about one hour to firm up before decorating or removing.
- Prepare the coconut “grass”: Place the shredded coconut in a large resealable plastic bag, add 3-4 drops of green food coloring, and shake vigorously until the coconut is evenly tinted green, resembling grass.
- Decorate the nests: Sprinkle about 1 tablespoon of the green coconut ‘grass’ into the center of each nest. Top each nest with three mini candy robin eggs to complete the festive decoration.
Notes
- For easier shaping, lightly grease your hands or the measuring spoon when forming nests to prevent sticking.
- You can substitute vanilla extract with almond extract for a different flavor profile.
- If you prefer less sweetness, consider using fewer marshmallows or a mix of marshmallows and white chocolate chips.
- Store finished nests in an airtight container at room temperature for up to 3 days.
- These nests can be a fun activity for kids to help assemble and decorate.