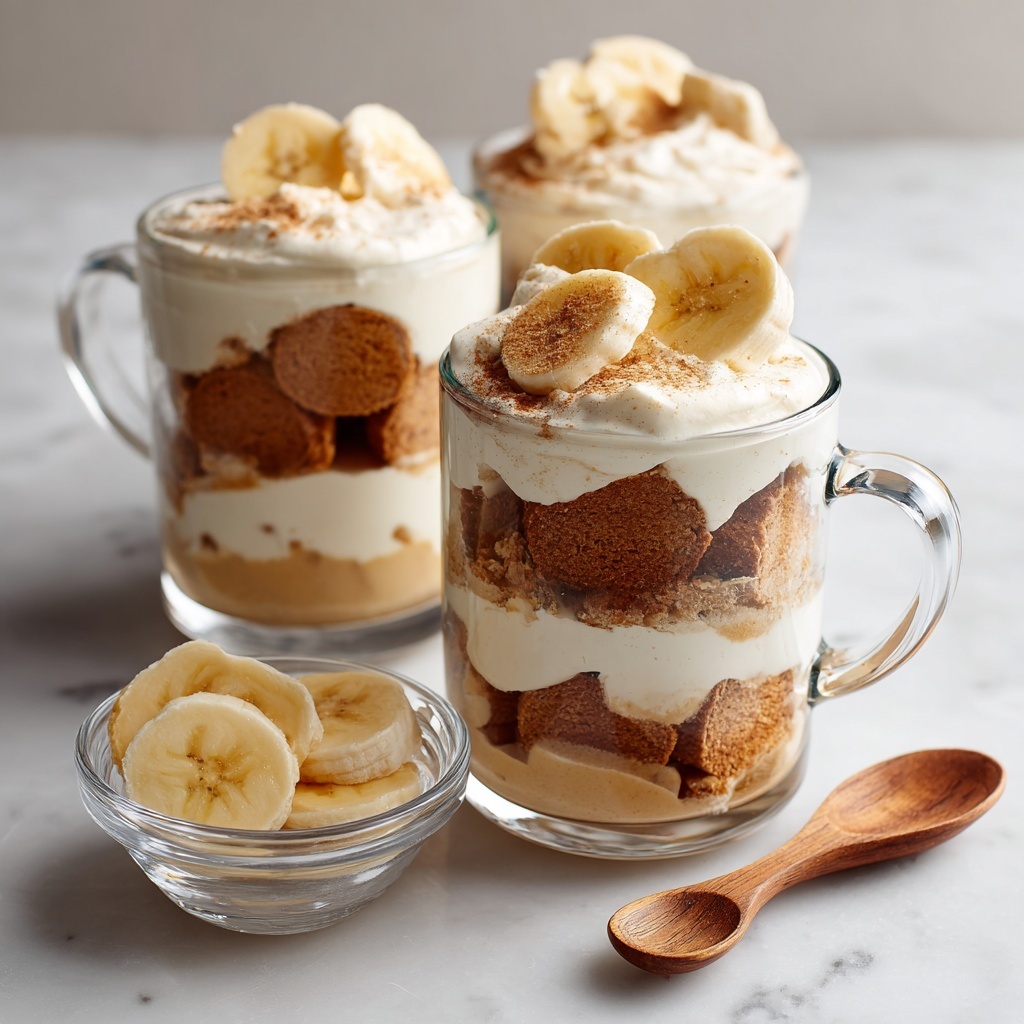
If you’re craving a dessert that feels like a warm hug on a plate, look no further than this Easy No-Bake Banana Pudding with Vanilla Wafers Recipe. It’s a classic Southern treat that brings together creamy vanilla pudding, perfectly ripe bananas, and crisp vanilla wafers in a no-fuss, no-bake delight. Each spoonful offers a heavenly blend of silky textures and sweet flavors, effortlessly creating a nostalgic crowd-pleaser that everyone will adore. Whether it’s for a family gathering or a simple indulgence at home, this banana pudding recipe is truly a charming staple you’ll want to keep close to your heart.
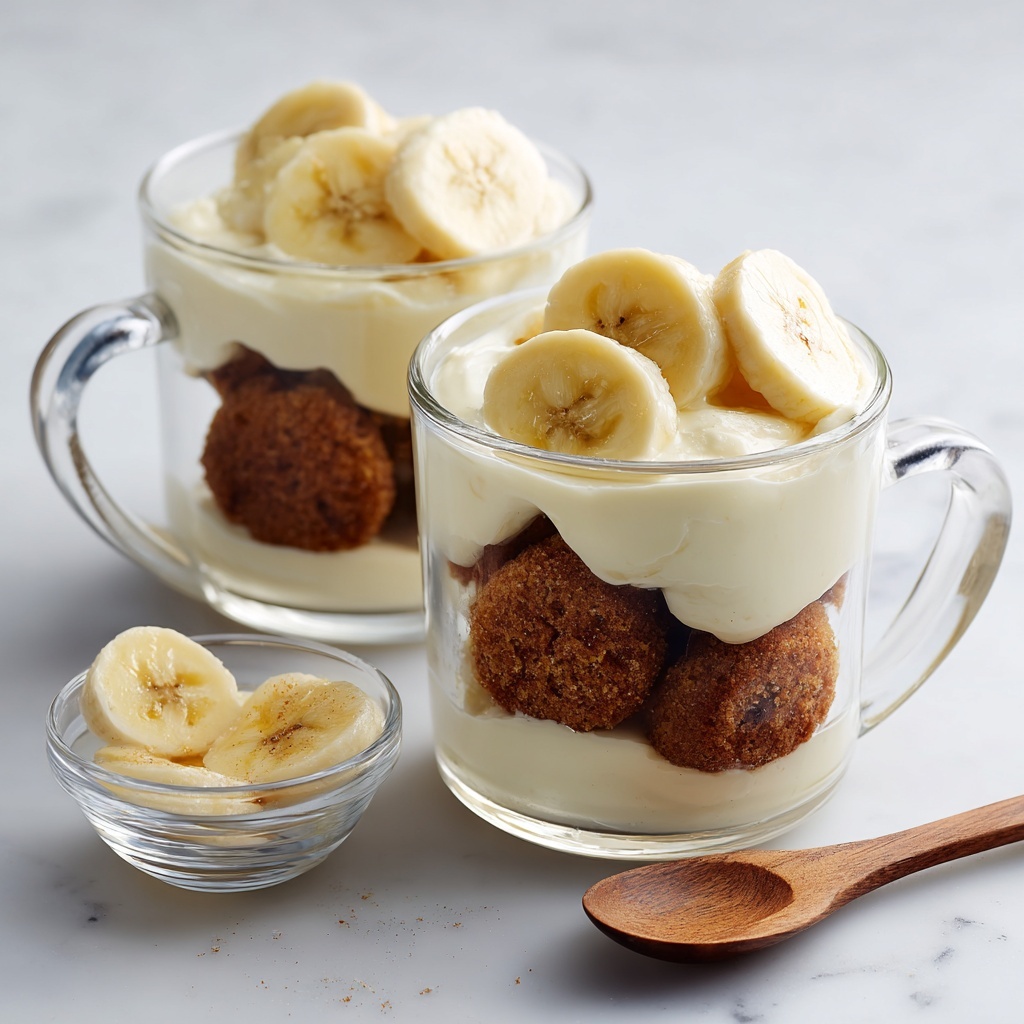
Ingredients You’ll Need
Gathering these simple but essential ingredients is the first step to creating a dessert that’s as delightful in flavor as it is easy to make. Each one plays a special role—from the creamy pudding base to the tender bananas and crisp cookies, every element harmonizes perfectly to create the ultimate banana pudding experience.
- Instant vanilla pudding mix (5.1 ounces): This mix provides a rich, smooth vanilla flavor that’s the foundation of your pudding.
- Cold whole milk (3 cups): Essential for dissolving the pudding mix and adding creamy body to the dessert.
- Vanilla extract (1 teaspoon): A splash adds depth and enhances the pudding’s sweet aroma.
- Sweetened condensed milk (1 can, 14 ounces): Brings irresistible sweetness and luscious creaminess to the pudding.
- Heavy whipping cream (2 cups): When whipped, this makes the pudding light and airy to balance the dense flavors.
- Powdered sugar (1/4 cup): Sweetens the whipped cream gently without graininess.
- Ripe bananas (4, sliced): The star fruit delivering natural sweetness and a tender texture.
- Vanilla wafer cookies (1 box, 11 ounces): These crunchy wafers soften beautifully in the pudding layers, adding nostalgic charm.
How to Make Easy No-Bake Banana Pudding with Vanilla Wafers Recipe
Step 1: Prepare the pudding base
Start by whisking together the instant vanilla pudding mix, cold whole milk, vanilla extract, and sweetened condensed milk in a large bowl. Keep whisking until the mixture is smooth and begins to thicken—that velvety texture is your cue that the base is ready. This creamy foundation is the secret to the pudding’s irresistibly rich flavor.
Step 2: Whip the cream
In a separate bowl, beat the heavy whipping cream along with the powdered sugar until stiff peaks form. This means when you lift the beaters, the cream should hold firm peaks without drooping—a sure sign your whipped cream is perfectly ready to fold into the pudding.
Step 3: Fold whipped cream into pudding
Gently fold the fluffy whipped cream into the thick pudding mixture. Take your time and use a spatula to combine them evenly while keeping as much air in the whipped cream as possible. This step is what makes your banana pudding light and dreamy rather than dense and heavy.
Step 4: Assemble the layers
Grab a trifle bowl or a 9×13-inch baking dish and start layering. Begin with a layer of vanilla wafer cookies spread evenly on the bottom to form a sturdy base. Follow with a layer of sliced bananas, then a generous layer of pudding mixture. Keep repeating these layers and end with a smooth layer of pudding on top. This layering creates the perfect balance of textures and flavors in every bite.
Step 5: Chill to perfection
Cover your assembled pudding with plastic wrap and refrigerate for at least 4 hours or preferably overnight. Allowing it to chill is key because it lets the cookies soften and the flavors meld, transforming the individual ingredients into a harmonious, luscious dessert.
How to Serve Easy No-Bake Banana Pudding with Vanilla Wafers Recipe
Garnishes
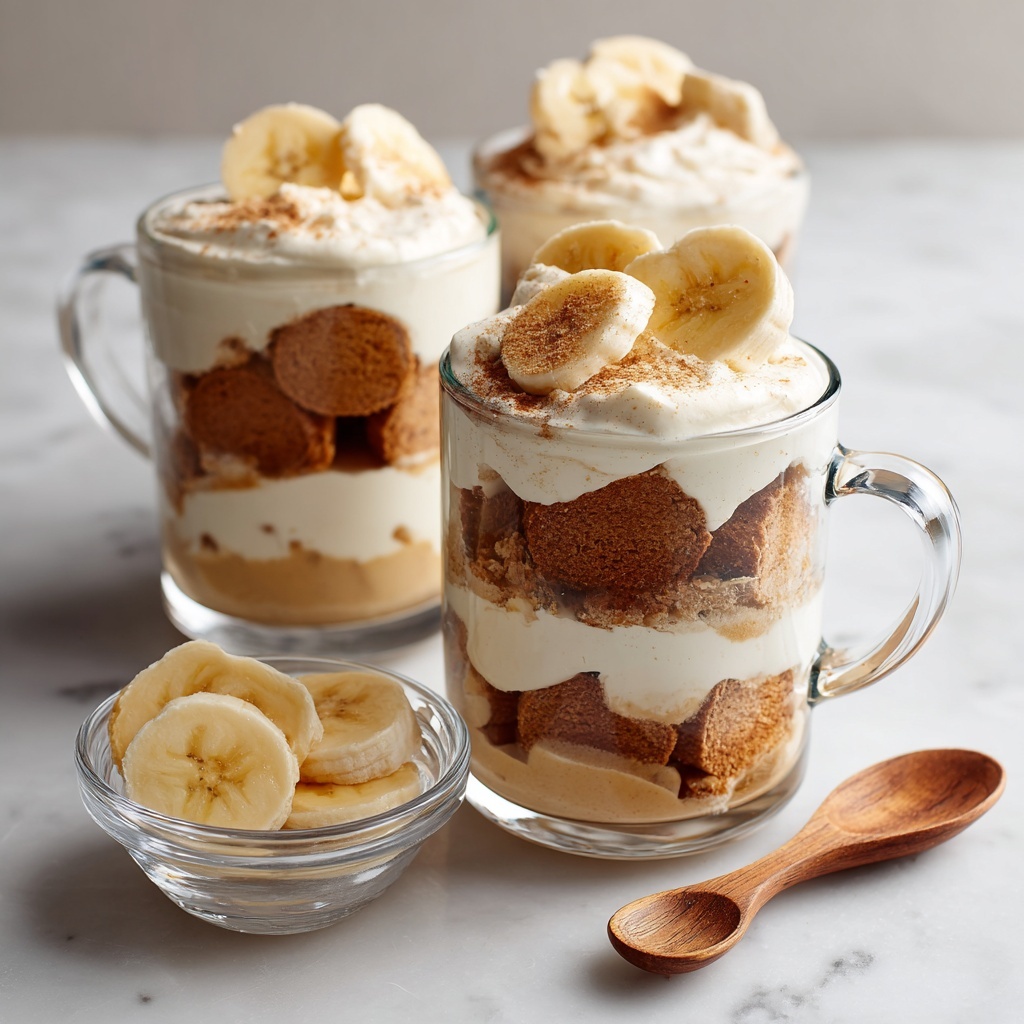
Before serving, add a personal touch by garnishing your banana pudding with crushed vanilla wafers or a few fresh banana slices on top. These simple additions bring a lovely visual appeal and a delightful hint of extra texture that invites everyone to dig in eagerly.
Side Dishes
This pudding pairs beautifully with light, refreshing sides like a crisp mint tea or sparkling lemonade—perfect companions that balance the dessert’s sweetness. For gatherings, serving alongside fresh berries adds a juicy pop of color and flavor, making the dessert table even more inviting.
Creative Ways to Present
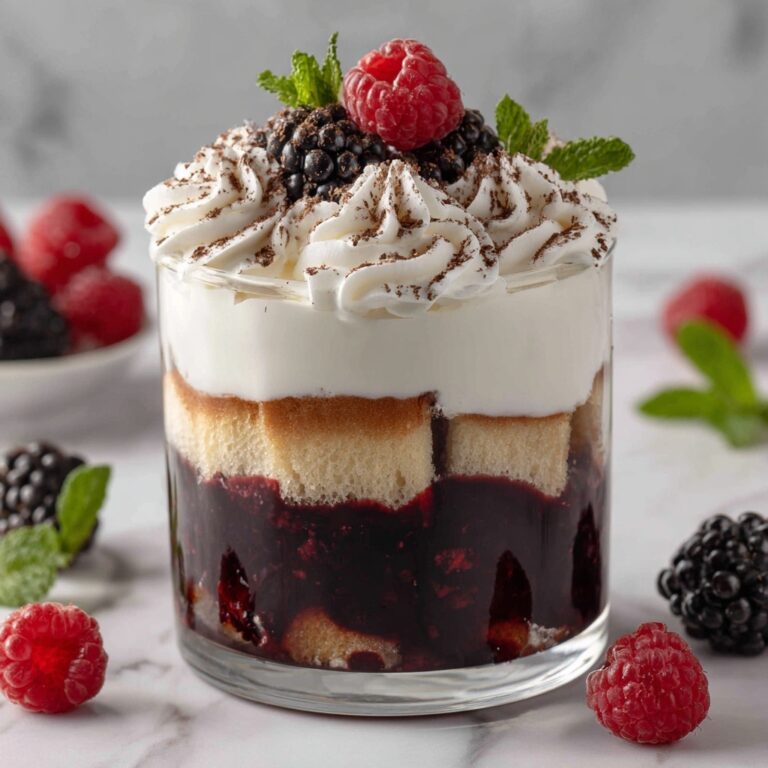
Take your presentation up a notch by layering your pudding in individual clear glass jars or mini trifle cups. This not only makes serving effortless but also lets the vibrant layers shine through, turning your Easy No-Bake Banana Pudding with Vanilla Wafers Recipe into a party-ready showstopper that will wow your guests visually as well as with taste.
Make Ahead and Storage
Storing Leftovers
Store any leftover banana pudding in an airtight container in the refrigerator. It will stay fresh and delicious for up to two days. Keep in mind that the texture is best enjoyed fresh, as the bananas may darken slightly and the wafers continue softening over time.
Freezing
Freezing banana pudding isn’t recommended because the bananas and cookies tend to become watery and mushy when thawed. For the best taste and texture, stick to enjoying this dessert chilled fresh from the fridge.
Reheating
This Easy No-Bake Banana Pudding with Vanilla Wafers Recipe is designed to be served cold and does not require reheating. Simply scoop out your desired portion and serve chilled to enjoy its perfect creamy consistency.
FAQs
Can I use a homemade vanilla pudding instead of instant pudding mix?
Absolutely! Homemade pudding can add a richer, more personalized flavor. Just be sure it’s thick enough to hold the layers together well in your banana pudding.
What type of bananas are best for this recipe?
Use ripe but firm bananas. They should be sweet but not overly soft or brown to prevent your pudding from becoming too mushy or bitter.
Can I substitute the vanilla wafers with another cookie?
Yes, but vanilla wafers have the perfect delicate sweetness and texture that complements the pudding. If you try others, opt for something light and crisp like shortbread for the best effect.
How long should I let the pudding chill?
Chilling for at least 4 hours is essential to allow the flavors to meld and the wafers to soften. Overnight chilling is even better if you have the time.
Is this recipe suitable for vegetarians?
Yes, this recipe is vegetarian-friendly as it contains no meat or gelatin. Just double-check that your vanilla wafers are free from animal-based ingredients if this is a concern.
Final Thoughts
This Easy No-Bake Banana Pudding with Vanilla Wafers Recipe is one of those sweet treasures that feels like a celebration every time you dig in. Its creamy, dreamy layers and effortless prep make it a perfect dessert for both casual family dinners and festive occasions. Give it a try, and I promise you’ll have a new go-to favorite that brings smiles all around the table!
Print
Easy No-Bake Banana Pudding with Vanilla Wafers Recipe
- Prep Time: 20 minutes
- Cook Time: 0 minutes
- Total Time: 4 hours 20 minutes
- Yield: 10 servings
- Category: Dessert
- Method: No-Cook
- Cuisine: Southern
- Diet: Vegetarian
Description
This classic Southern Banana Pudding features layers of creamy vanilla pudding, ripe banana slices, and crunchy vanilla wafer cookies. Made with instant pudding mix, sweetened condensed milk, and homemade whipped cream, this no-bake dessert is rich, luscious, and perfect for gatherings or a comforting treat. The pudding melds beautifully after refrigeration, softening the wafers while maintaining distinct layers of flavor and texture.
Ingredients
Pudding Mixture
- 1 box instant vanilla pudding mix (5.1 ounces)
- 3 cups cold whole milk
- 1 teaspoon vanilla extract
- 1 can sweetened condensed milk (14 ounces)
Whipped Cream
- 2 cups heavy whipping cream
- 1/4 cup powdered sugar
Other Ingredients
- 4 ripe bananas, sliced
- 1 box vanilla wafer cookies (11 ounces)
Instructions
- Prepare the pudding mixture: In a large bowl, whisk together the instant vanilla pudding mix, cold whole milk, vanilla extract, and sweetened condensed milk until the mixture becomes smooth and thickened, ensuring no lumps remain.
- Make whipped cream: In a separate large bowl, beat the heavy whipping cream and powdered sugar using an electric mixer until stiff peaks form. This homemade whipped cream will add a light, creamy texture.
- Combine whipped cream and pudding: Gently fold the whipped cream into the pudding mixture until fully incorporated, being careful not to deflate the whipped cream too much, resulting in a fluffy, smooth filling.
- Assemble the banana pudding: In a trifle dish or a 9×13-inch baking dish, start by layering vanilla wafer cookies on the bottom, then add a layer of sliced bananas, followed by a layer of the pudding mixture. Repeat these layers, finishing with a final layer of pudding on top for a beautiful presentation.
- Chill the pudding: Cover the assembled dessert with plastic wrap and refrigerate for at least 4 hours, or overnight if possible. This resting time allows the flavors to meld and the cookies to soften nicely into the pudding.
- Serve and garnish: Before serving, optionally garnish the top with additional crushed vanilla wafers or banana slices for extra texture and visual appeal. Scoop portions and enjoy your creamy, layered banana pudding.
Notes
- For the best flavor and texture, use ripe but firm bananas to avoid excessive mushiness.
- Homemade whipped cream provides a lighter, fresher texture compared to store-bought whipped topping.
- This dessert is best served within 2 days to enjoy optimal freshness and texture.
- Make ahead and store refrigerated, making it convenient for parties and gatherings.