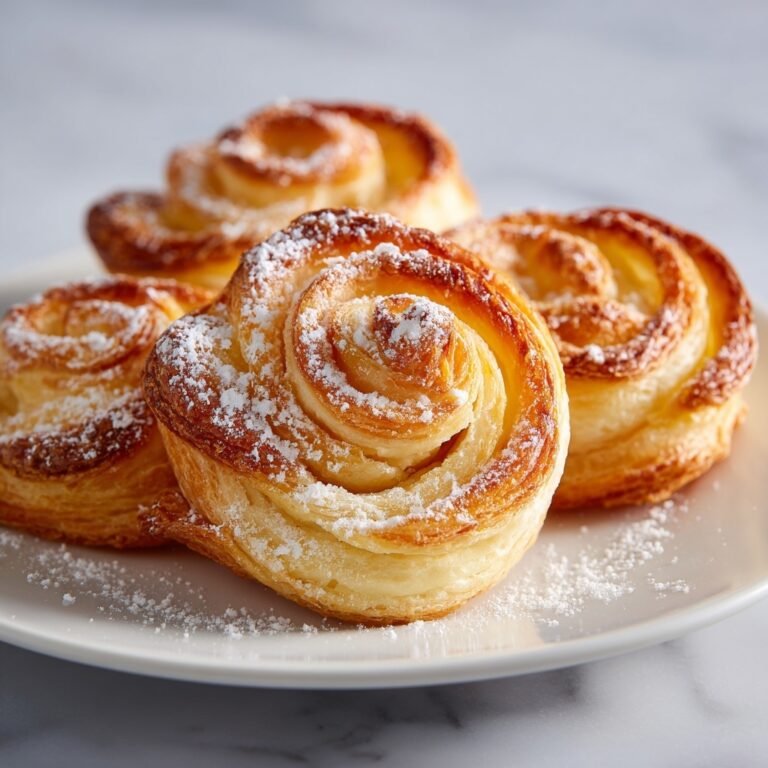
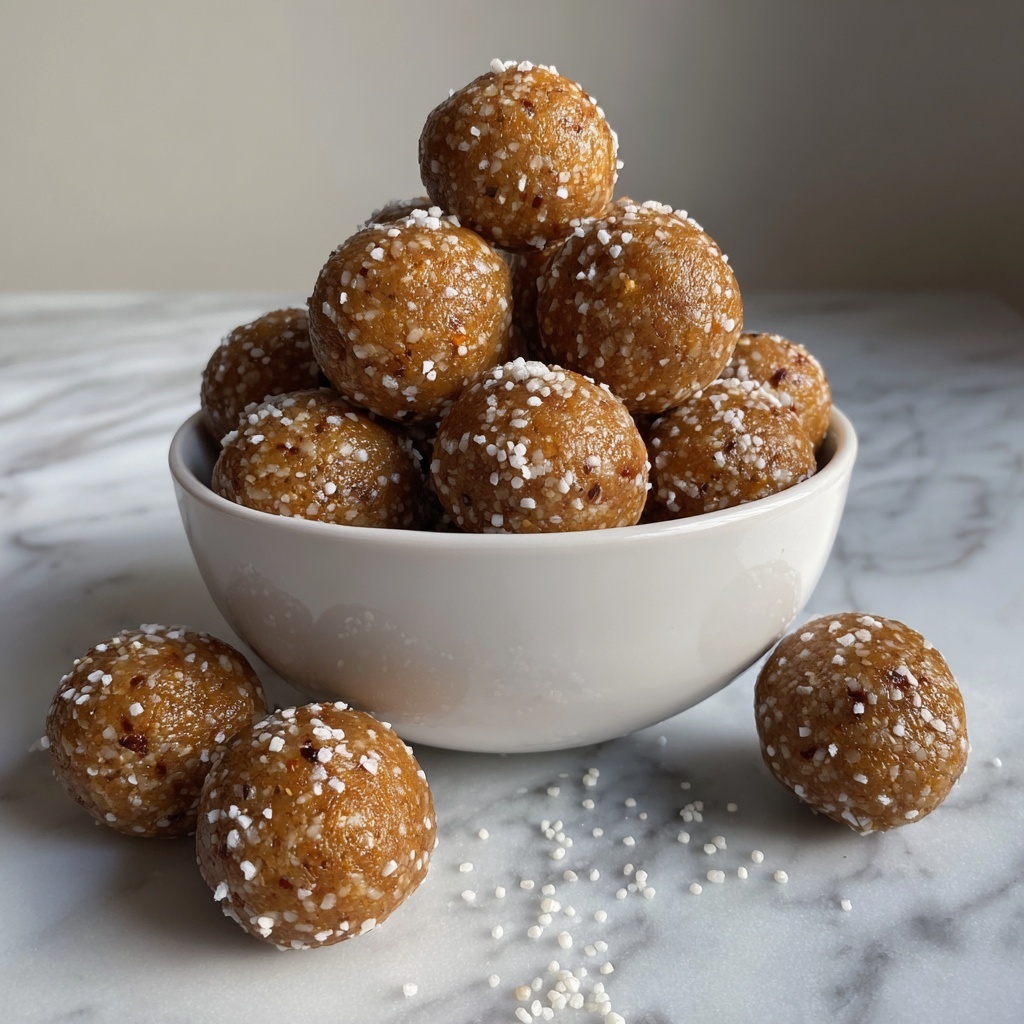
If you’re on the hunt for a quick, wholesome, and downright delicious snack, this No Bake Protein Balls Recipe is an absolute game-changer. Imagine soft, chewy bites packed with wholesome oats, creamy peanut butter, and a boost of protein powder, plus the subtle crunch of chia and flaxseeds—all coming together without ever turning on the oven. These little power-packed gems are perfect for breakfast on-the-go, post-workout fuel, or just a naturally sweet treat to keep your energy steady throughout the day. Trust me, once you make these, they’ll become your go-to snack for any time you need a nourishing lift.
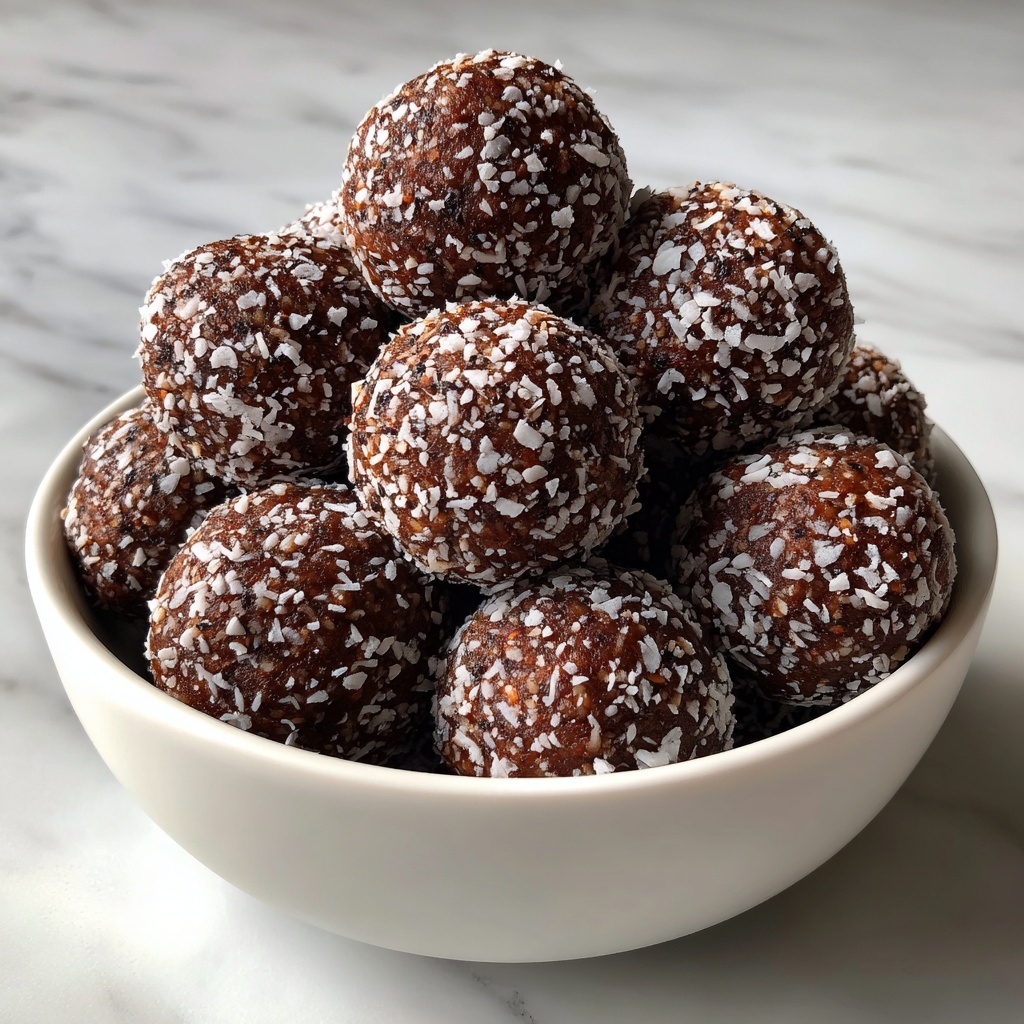
Ingredients You’ll Need
Getting the ingredients right is key to nailing this recipe, but don’t worry—it’s wonderfully simple. Each ingredient plays its part to create the perfect balance of texture, flavor, and nutrition, making the final protein balls irresistibly tasty yet wholesome.
- 1 cup oats (old-fashioned or quick oats): Adds hearty texture and slow-release energy to these bites.
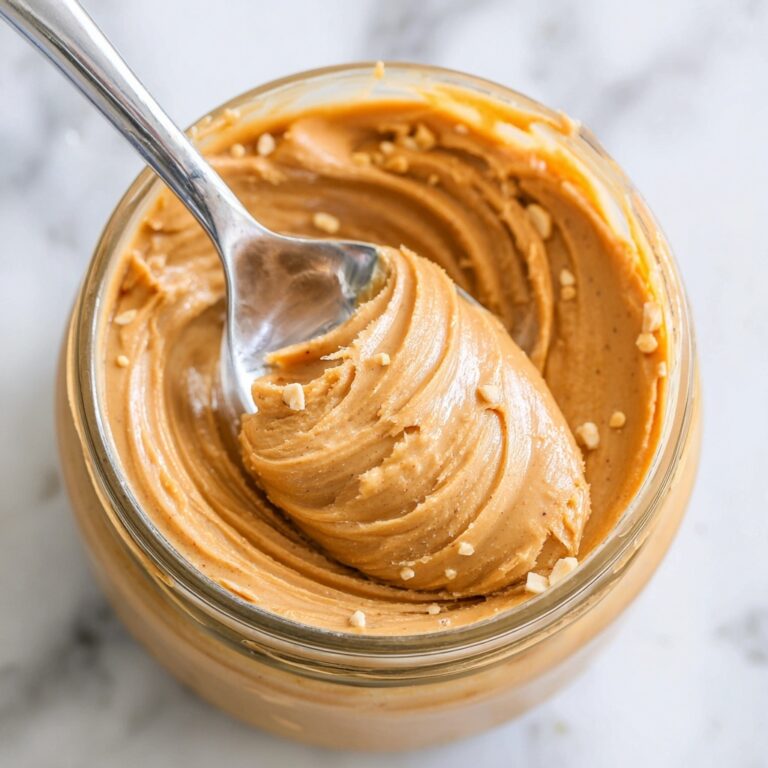
- 1/2 cup peanut butter (or almond butter): Brings creaminess and nutty richness that holds everything together.
- 1/3 cup honey (or maple syrup): Naturally sweetens and gives a subtle sticky binding effect.
- 1/2 cup protein powder (vanilla or chocolate): Infuses each ball with muscle-friendly protein and lovely flavor.
- 1/4 cup chia seeds (optional): Adds tiny bursts of crunch plus omega-3 goodness.
- 1/4 cup flaxseed meal (optional): Boosts fiber content along with a gentle nutty undertone.
- 1/4 cup mini chocolate chips (optional): Sprinkles of chocolatey delight make every bite feel indulgent.
- 1 tsp vanilla extract: A little dash of warmth that enhances all the flavors beautifully.
How to Make No Bake Protein Balls Recipe
Step 1: Mix the Dry Ingredients
Start by combining the oats, protein powder, chia seeds, flaxseed meal, and mini chocolate chips in a large bowl. Mixing these dry ingredients thoroughly makes sure every protein ball has a perfect texture and a bit of crunchy surprise in every bite.
Step 2: Add the Wet Ingredients
Next, stir in the peanut butter, honey, and vanilla extract to the dry mix. This is where the magic happens—your mixture will start to come together but might be a bit sticky, so don’t hesitate to use your hands to knead it well until it’s thoroughly combined.
Step 3: Shape the Balls
Now for the fun part! Scoop out about 1 to 2 tablespoons of the mixture and roll it between your palms into bite-sized balls. Placing them on a parchment-lined baking sheet keeps cleanup easy and helps the balls hold their shape.
Step 4: Chill to Set
Pop the tray into the refrigerator and let your protein balls firm up for at least 30 minutes. Chilling helps them hold together and firms up the texture so they’re perfectly chewy but not crumbly.
Step 5: Ready to Enjoy
After chilling, your No Bake Protein Balls are ready to be devoured! You can eat them straight away or pack them up for a handy snack throughout your day.
How to Serve No Bake Protein Balls Recipe
Garnishes
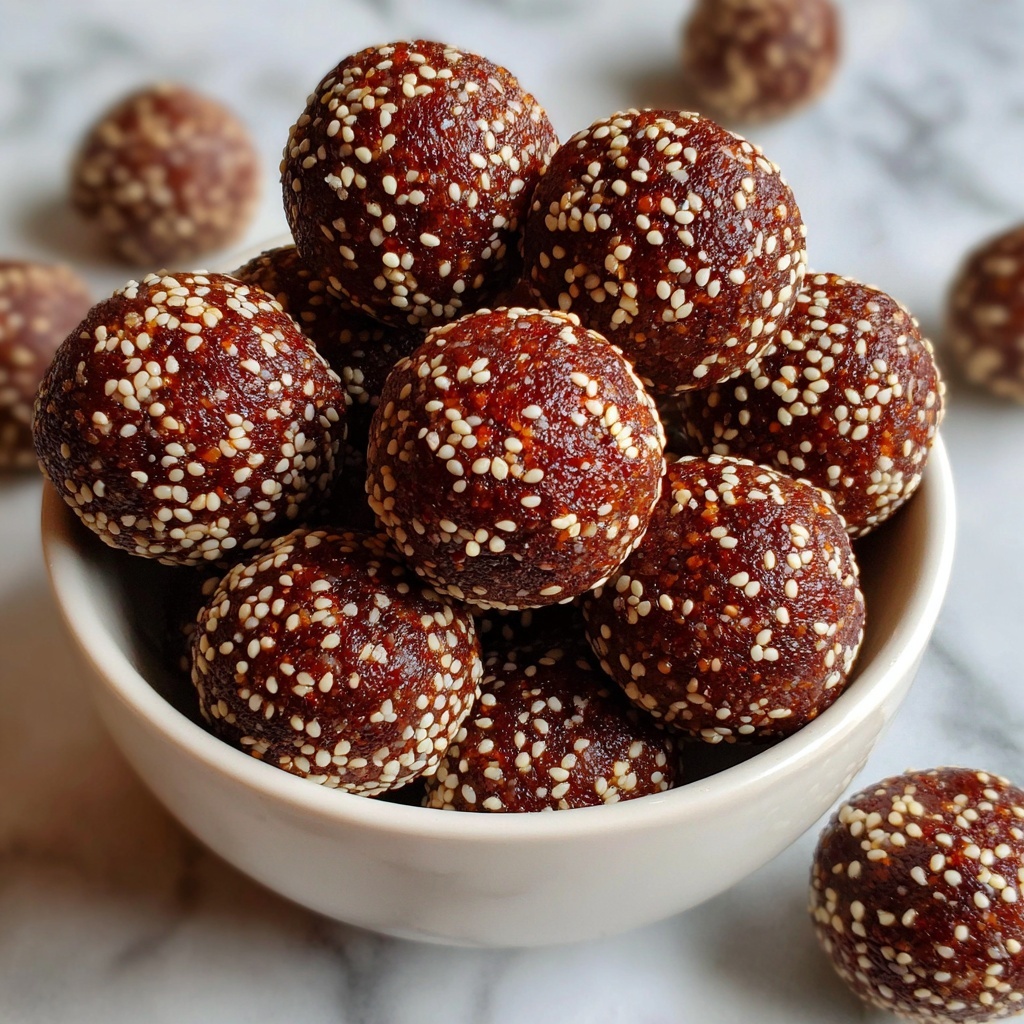
While the protein balls are delicious on their own, adding a light dusting of cocoa powder or rolling them in shredded coconut or crushed nuts makes for a pretty presentation and an extra layer of flavor. A sprinkle of sea salt atop each ball can also create a delightful sweet-salty balance.
Side Dishes
These protein balls pair wonderfully with a fresh fruit salad or a creamy yogurt dip to round out a snack or light breakfast. For a cozy twist, serve them alongside a warm cup of your favorite tea or coffee—the combo will keep you satisfied and energized.
Creative Ways to Present
Try stacking the protein balls on a pretty plate with fresh berries or arranging them in small mason jars as grab-and-go snack packs. Wrapping a few in parchment paper tied with twine makes for an adorable and thoughtful homemade gift for friends or family who could use a nutritious pick-me-up.
Make Ahead and Storage
Storing Leftovers
If you’re lucky enough to have leftovers, store the protein balls in an airtight container in the refrigerator. They will keep their freshness for up to one week, making it easy to enjoy wholesome snacks all week long without any fuss.
Freezing
These protein balls freeze beautifully, so if you want to make a big batch ahead of time, just place them in a freezer-safe container or bag. Frozen, they can last for up to three months—perfect for when you’re craving a quick, nutrient-packed treat straight from the freezer.
Reheating
Because these are no bake and best enjoyed cold or at room temperature, reheating isn’t necessary. If you prefer a softer texture, simply allow frozen protein balls to thaw in the fridge before enjoying them.
FAQs
Can I substitute peanut butter with another nut butter?
Absolutely! Almond butter, cashew butter, or even sunflower seed butter can be used and will each bring their own unique flavor and creaminess to the protein balls.
Do I have to use protein powder in this recipe?
While protein powder is key to the nutritional punch of these balls, you can omit it if you prefer. The texture will be slightly different, and you might want to add a little more oats or nut butter to help bind the mixture together.
Are these protein balls suitable for kids?
Yes! These bites are a great option for kids as a healthy snack packed with energy, protein, and fiber. Just keep an eye on portion sizes and consider reducing or omitting any added sweeteners if you’re concerned about sugar.
Can I make these balls vegan?
Definitely. Use maple syrup instead of honey and choose a plant-based protein powder to keep this No Bake Protein Balls Recipe completely vegan-friendly and just as delicious.
How can I make these balls less sticky?
If your mixture feels too sticky to handle, pop it in the fridge for 10-15 minutes before rolling, or dust your hands lightly with oats or flaxseed meal to make shaping easier.
Final Thoughts
You really can’t go wrong with this No Bake Protein Balls Recipe. It’s ridiculously simple, endlessly customizable, and packed with wholesome ingredients that leave you feeling good inside and out. Whether you’re looking for a quick bite during a busy day or a nutritious snack to fuel your workout, these protein balls will quickly become a beloved staple. Go ahead, give them a try, and prepare to fall in love with this easy yet satisfying treat!
Print
No Bake Protein Balls Recipe
- Prep Time: 15 minutes
- Cook Time: 0 minutes
- Total Time: 45 minutes (including chilling time)
- Yield: 20 protein balls
- Category: Snack
- Method: No-Cook
- Cuisine: American
- Diet: Vegetarian
Description
These No Bake Protein Balls are a quick, nutritious, and delicious snack packed with oats, protein powder, and optional superfoods like chia seeds and flaxseed meal. Sweetened naturally with honey or maple syrup and bound with creamy peanut butter, they require no baking and firm up in the refrigerator, making them perfect for a grab-and-go energy boost or post-workout fuel.
Ingredients
Dry Ingredients
- 1 cup oats (old-fashioned or quick oats)
- 1/2 cup protein powder (vanilla or chocolate)
- 1/4 cup chia seeds (optional)
- 1/4 cup flaxseed meal (optional)
- 1/4 cup mini chocolate chips (optional)
Wet Ingredients
- 1/2 cup peanut butter (or almond butter)
- 1/3 cup honey (or maple syrup)
- 1 tsp vanilla extract
Instructions
- Combine Dry Ingredients: In a large mixing bowl, add the oats, protein powder, chia seeds, flaxseed meal, and mini chocolate chips if using. Stir them together to evenly distribute all the dry components.
- Add Wet Ingredients: Pour in the peanut butter, honey, and vanilla extract into the dry mixture. Use a spoon or your hands to stir and mix everything thoroughly until a sticky, cohesive dough forms.
- Form the Balls: Scoop out portions of the mixture, approximately 1 to 2 tablespoons each, and roll them firmly between your hands to create small, round balls. Place them on a baking sheet lined with parchment paper for easy handling.
- Chill: Refrigerate the shaped protein balls for at least 30 minutes. This helps them firm up and hold their shape.
- Store Properly: Transfer the chilled protein balls into an airtight container. Store them in the refrigerator for up to one week or freeze them to extend their shelf life.
Notes
- You can substitute peanut butter with almond or sunflower seed butter for different flavors or allergy considerations.
- Oats can be either old-fashioned or quick oats depending on your texture preference; toasted oats add a nutty flavor.
- Optional ingredients like chia seeds and flaxseed meal boost fiber and omega-3 content but can be omitted if unavailable.
- Mini chocolate chips add sweetness and texture but can be replaced with dried fruit or nuts.
- For a vegan version, opt for maple syrup instead of honey.
- If your mixture feels too wet, add a bit more oats or protein powder to firm it up.
- Store in a cool place and consume within one week for freshness and best flavor.