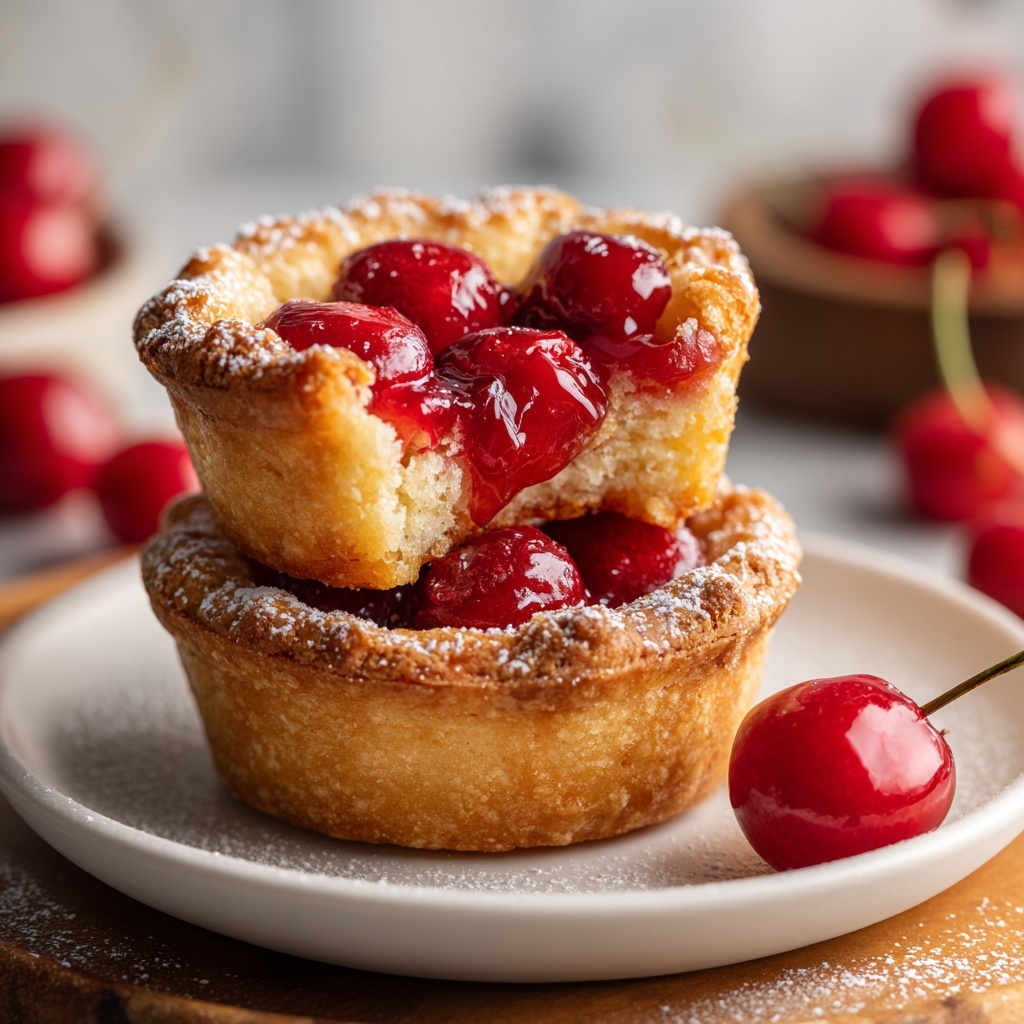
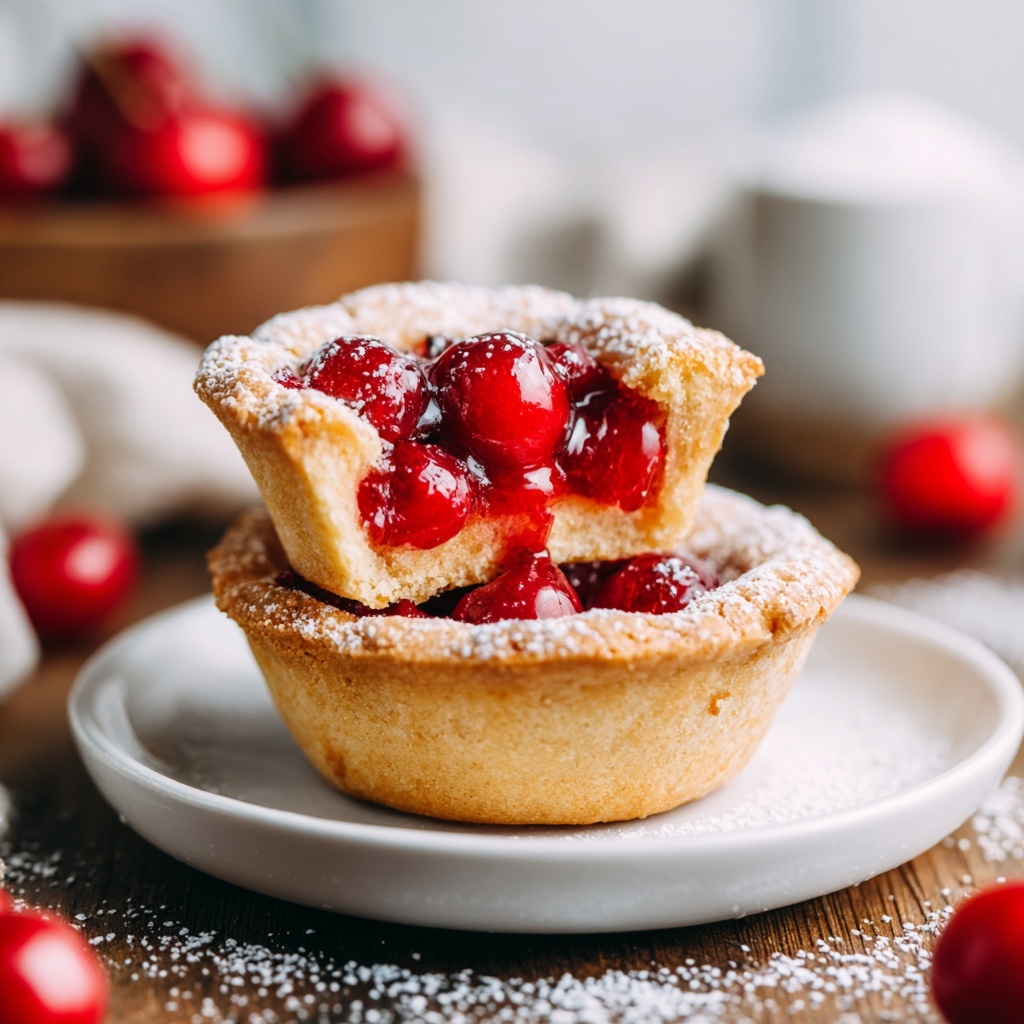
If you’re craving the perfect bite-sized treat that brings together the bright, sweet tang of fresh cherries and buttery, flaky crust, then you are absolutely going to adore this Mini Cherry Pies Recipe. These charming little pies are like a burst of summer in every single morsel, combining a luscious cherry filling with a golden, crisp crust that’s utterly irresistible. Whether you’re baking for a family gathering, a festive occasion, or just treating yourself on a quiet afternoon, these mini pies promise a delightful experience that’s both comforting and impressive.
Ingredients You’ll Need
Gathering the right ingredients is the first joyful step toward making these mini cherry pies truly shine. Each item contributes a specific texture, flavor, or visual appeal that together creates this snack-sized treasure.
- 2 cups fresh cherries (pitted and halved): The star of the show, fresh cherries bring natural sweetness and vibrant color.
- 1/2 cup granulated sugar: Balances the tartness of cherries perfectly while adding a touch of caramelization during baking.
- 2 tbsp cornstarch: Acts as a thickening agent so the filling isn’t runny but wonderfully luscious.
- 1 tbsp lemon juice: Adds just the right amount of acidity to brighten the flavor and cut through the sweetness.
- 1 package (14 oz) pie crust (store-bought or homemade): Provides that flaky, buttery base and top that make every pie irresistible.
- 1 egg (for egg wash): Brushed on top to give a stunning golden glaze and help seal the pies.
How to Make Mini Cherry Pies Recipe
Step 1: Preheat and Prepare Filling
First things first, set your oven to 375°F (190°C) so it’s ready to go when you need it. Then, mix the fresh halved cherries with sugar, cornstarch, and lemon juice in a bowl. Letting this mixture sit for about 10 minutes allows the flavors to meld and the cherries to release their juices, making a luscious, thick filling that’s bursting with cherry goodness.
Step 2: Roll and Cut the Dough
Next, roll out your chilled pie crust on a lightly floured surface to a nice thinness, about 1/8 inch thick—this ensures a delicate but sturdy crust. Use a round cutter roughly 4 inches in diameter to create uniform circles, which will become the base and top of each mini pie. This step is fun and sets the stage for exactly the right pie size.
Step 3: Assemble the Mini Pies
Now the fun part—line each cup of a muffin tin with a dough circle, gently pressing to fit the shape. Spoon about one tablespoon of your cherry filling into each crust-lined cup. Then, top with another dough circle and press warmly around the edges, crimping them to seal the filling inside. This helps keep the beautiful juices contained during baking.
Step 4: Add Egg Wash and Vent
Brush the tops of each mini pie with beaten egg to achieve that perfect golden glow while baking. Don’t forget to cut a few small slits on top of each pie—this allows steam to escape, preventing any messy blowouts and giving the pies their classic look.
Step 5: Bake to Perfection
Place your pies in the oven and bake for 20 to 25 minutes, until they’re beautifully golden brown and the cherry filling bubbles up invitingly. The aromas wafting through your kitchen at this point are downright irresistible!
How to Serve Mini Cherry Pies Recipe
Garnishes
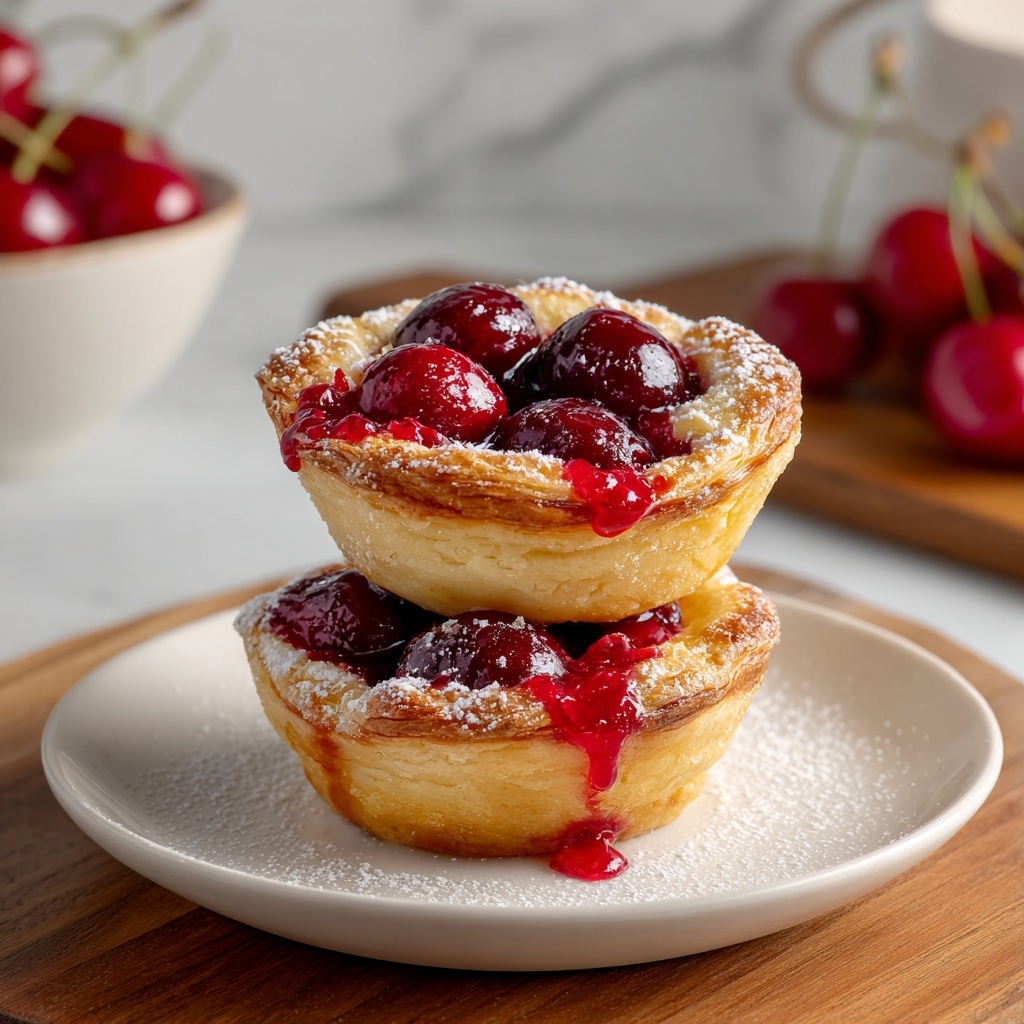
While these mini cherry pies are irresistible on their own, a dusting of powdered sugar or a dollop of whipped cream can elevate their charm. Fresh mint leaves add a pop of green and a subtle freshness that pairs wonderfully with the cherries.
Side Dishes
Consider serving these pies alongside a scoop of vanilla ice cream or a spoonful of creamy mascarpone. Their cool, smooth textures complement the warm, fruity filling and flaky crust perfectly, making each bite an experience to savor.
Creative Ways to Present
Miniature tiered cake stands or rustic wooden platters bring a gorgeous visual appeal to your dessert table. For a casual touch, wrap each mini pie in a colorful napkin tied with twine—perfect for picnics or gifting friends and family.
Make Ahead and Storage
Storing Leftovers
Once cooled, store your mini cherry pies in an airtight container at room temperature for up to two days, or refrigerate to keep them fresh for up to five days. This allows you to enjoy them over a few days without losing any of their delightful texture or flavor.
Freezing
These pies freeze beautifully, making them a great make-ahead option. Wrap each pie securely in plastic wrap and then place them in a freezer-safe bag or container. They’ll keep well for up to three months and thaw quickly when you’re ready to indulge.
Reheating
Warm your mini cherry pies in a preheated oven at 350°F (175°C) for about 10 minutes. This revives the flaky crust and restores the gooey filling to its perfect oozy state. Avoid microwaving if possible, as it might yield a soggy crust.
FAQs
Can I use frozen cherries instead of fresh?
Absolutely! Just be sure to thaw and drain them well before mixing with the sugar and cornstarch to reduce excess moisture. This helps maintain the filling’s perfect consistency in your mini pies.
Is there an easy way to prevent the crust from getting soggy?
Yes! Sprinkling a thin layer of finely crushed graham crackers or almond meal on the bottom crust before adding the cherry filling can soak up extra moisture and keep the crust crisp.
Can I make these pies vegan-friendly?
Certainly! Use a plant-based pie crust and substitute the egg wash with non-dairy milk or a mixture of maple syrup and water for that golden color on top.
How do I store the mini pies if I want to transport them?
Place them in a sturdy container with parchment paper between layers to prevent sticking or damage. Keep them cool during transport, and reheat gently when ready to serve.
Can I customize the filling with other fruits?
Definitely! While this Mini Cherry Pies Recipe is perfect with cherries, feel free to experiment with blueberries, peaches, or even a combination of fruits for a delightful twist.
Final Thoughts
There’s something truly magical about baking these mini cherry pies that fills your kitchen with warmth and anticipation. I hope this Mini Cherry Pies Recipe inspires you to pick up some fresh cherries and create these adorable, delicious pies that are perfect for sharing or savoring all on your own. Happy baking and even happier eating!
Print
Mini Cherry Pies Recipe
- Prep Time: 15 minutes
- Cook Time: 25 minutes
- Total Time: 40 minutes
- Yield: 12 mini pies
- Category: Dessert
- Method: Baking
- Cuisine: American
Description
These Mini Cherry Pies are delightful bite-sized treats perfect for any occasion. Made with fresh cherries, a sweet and tangy filling, and a flaky pie crust, they bake to golden perfection with a crispy exterior and juicy interior. Ideal for serving at gatherings or enjoying as a sweet snack, this recipe offers an easy way to create classic cherry pies in a convenient mini form.
Ingredients
Filling
- 2 cups fresh cherries, pitted and halved
- 1/2 cup granulated sugar
- 2 tbsp cornstarch
- 1 tbsp lemon juice
Crust and Assembly
- 1 package (14 oz) pie crust (store-bought or homemade)
- 1 egg (for egg wash)
Instructions
- Preheat the oven: Preheat your oven to 375°F (190°C) to ensure it reaches the right temperature for baking your mini pies evenly.
- Prepare the filling: In a mixing bowl, combine the halved cherries, granulated sugar, cornstarch, and lemon juice. Stir gently to combine and allow the mixture to sit for 10 minutes. This resting time helps the flavors meld and thickens the filling slightly.
- Roll out the crust: On a lightly floured surface, roll out the chilled pie crust dough to about 1/8 inch thickness. Using a round cutter approximately 4 inches in diameter, cut out circles to form the bases and tops of the mini pies.
- Assemble the pies: Place each dough circle into a muffin tin cup, pressing gently to line the cup. Spoon about 1 tablespoon of the cherry filling into each dough-lined cup. Cover with a second dough circle and crimp the edges firmly to seal the pies to prevent filling leakage during baking.
- Apply egg wash and vent: Beat the egg and brush the tops of each mini pie with the egg wash to give them a beautiful golden color when baked. Cut small slits in the tops of each pie to allow steam to escape during baking.
- Bake the pies: Place the muffin tin in the preheated oven and bake for 20 to 25 minutes or until the pies are golden brown on top and the filling is bubbly. Remove from oven and allow to cool slightly before serving.
Notes
- Make sure cherries are pitted properly to avoid any hard bites.
- Chilling the pie crust before rolling makes it easier to handle.
- If you prefer a sweeter or tarter pie, adjust the sugar or lemon juice accordingly.
- Let pies cool before removing them from the muffin tin to keep them intact.
- These can be made ahead and stored refrigerated; reheat gently before serving.