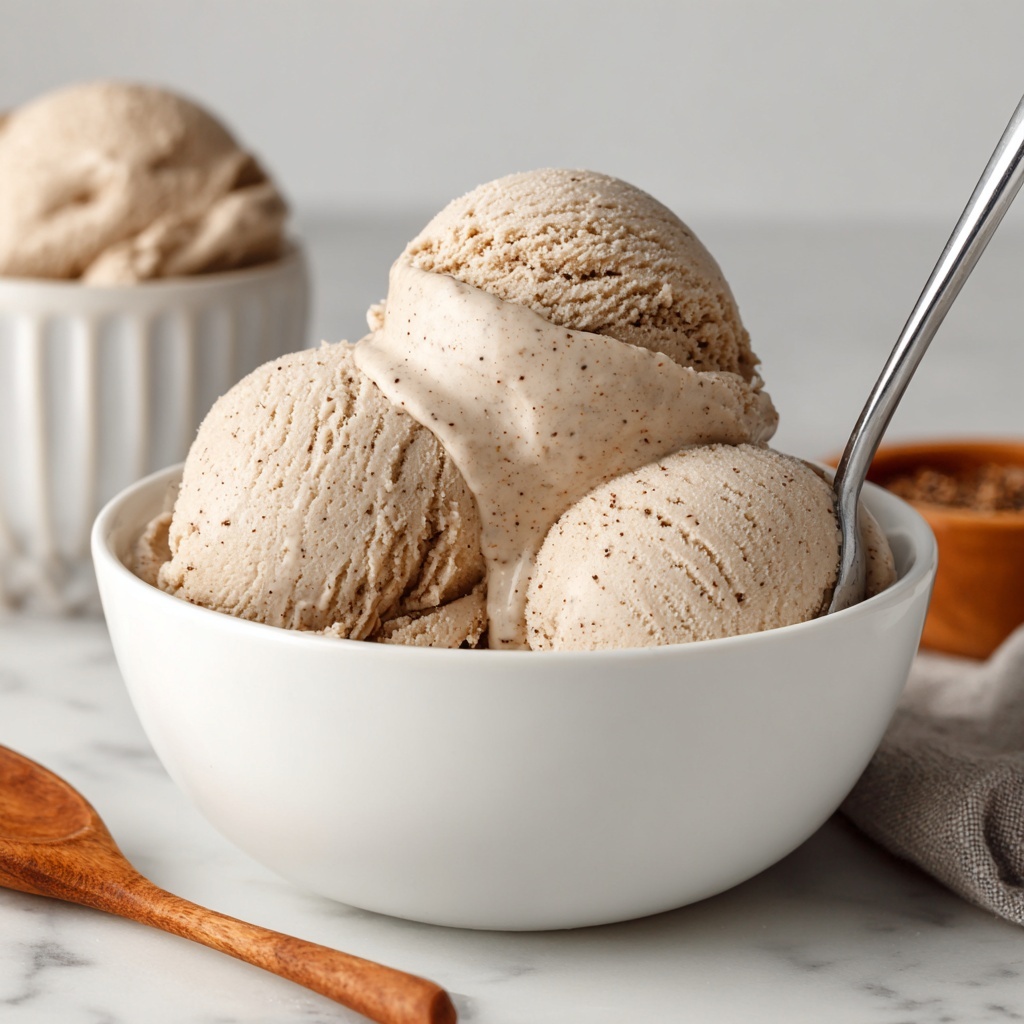
If you’ve ever dreamed of the perfect dairy-free treat that tastes indulgent yet feels light and refreshing, then you’re going to fall head over heels for Vanilla Vegan Ice Cream: An Incredible Ultimate Recipe. This luscious frozen delight combines the rich creaminess of coconut milk with the warm, comforting aroma of pure vanilla, creating a dessert that’s not only dreamy but also surprisingly easy to make at home. Whether you’re new to vegan desserts or a seasoned plant-based foodie, this recipe will quickly become your go-to favorite for hot summer days or anytime you crave something sweet, creamy, and totally guilt-free.
Ingredients You’ll Need
Every ingredient in this Vanilla Vegan Ice Cream: An Incredible Ultimate Recipe plays a vital role in bringing out its creamy texture and authentic vanilla flavor. The combination is simple, but each component works harmoniously to create a perfectly balanced, smooth, and luscious ice cream experience.
- 2 cans full-fat coconut milk (13.5 ounces each): Provides the rich, creamy base essential for that indulgent, silky texture.
- 3/4 cup organic cane sugar: Adds natural sweetness and helps mellow the coconut flavor.
- 2 tablespoons pure maple syrup: Enhances the depth of sweetness with a subtle, earthy note.
- 1 tablespoon pure vanilla extract: Injects that classic, comforting vanilla scent and flavor.
- 1 teaspoon vanilla bean paste (optional): Adds the beautiful flecks of vanilla bean and intensifies the vanilla aroma.
- 1/4 teaspoon fine sea salt: Balances the sweetness and elevates the overall flavor profile.
How to Make Vanilla Vegan Ice Cream: An Incredible Ultimate Recipe
Step 1: Whisk Together Your Base
Start by combining your coconut milk, organic cane sugar, maple syrup, vanilla extract, vanilla bean paste if you’re using it, and sea salt in a medium mixing bowl. Whisk everything together until the sugar completely dissolves and the mixture feels smooth and unified. This step is crucial because it sets the foundation for your creamy, flavorful ice cream.
Step 2: Chill the Mixture
Cover your bowl tightly and pop it into the refrigerator for at least 2 hours. Chilling the base helps the flavors develop and ensures that when you churn the ice cream, it will freeze quickly into a perfectly creamy consistency without ice crystals.
Step 3: Churn Your Ice Cream
Once chilled thoroughly, pour the mixture into your ice cream maker. Follow the manufacturer’s instructions carefully—usually, it takes about 20 to 25 minutes to reach that ideal soft-serve texture. Watching it transform right before your eyes is one of the most rewarding parts of this recipe!
Step 4: Freeze Until Firm
Transfer the churned ice cream into a freezer-safe container and spread it out evenly. Seal it tightly and freeze for at least 3 to 4 hours until firm. This resting period lets the ice cream set up to the perfect scoopable consistency, ready to impress your taste buds.
Step 5: Serve Like a Pro
Before digging in, allow your ice cream to rest at room temperature for 5 to 10 minutes. This brief thaw softens it just enough to scoop easily without melting away too fast, giving you the perfect mouthfeel every time you dig in.
How to Serve Vanilla Vegan Ice Cream: An Incredible Ultimate Recipe

Garnishes
To elevate your Vanilla Vegan Ice Cream: An Incredible Ultimate Recipe, consider garnishing with a handful of crunchy toasted coconut flakes, a drizzle of pure maple syrup, or even some fresh berries. These little extras bring texture, bursts of flavor, and make your creation look stunning when serving guests or treating yourself.
Side Dishes
This ice cream pairs beautifully with warm desserts like vegan apple pie or a rich chocolate brownie. The cold, creamy vanilla contrasts perfectly with warm, gooey textures, creating a symphony of flavors that will thrill your palate.
Creative Ways to Present
For a fun twist, serve the ice cream in homemade waffle cones or hollowed-out fruit bowls like pineapple or watermelon halves. You can also layer it with berry compote or vegan cookie crumbles in parfait glasses for a visually stunning and delicious treat.
Make Ahead and Storage
Storing Leftovers
Your Vanilla Vegan Ice Cream: An Incredible Ultimate Recipe keeps well when stored properly. Keep any leftovers tightly sealed in an airtight container to prevent ice crystals and freezer burn, preserving its creamy texture and fresh flavor for several days.
Freezing
If you want to make this ice cream ahead of time, freeze it in suitable containers with a tight lid. Avoid repeatedly thawing and refreezing, as this affects the texture, but otherwise, your ice cream stays deliciously fresh for up to two weeks.
Reheating
Vanilla vegan ice cream isn’t typically reheated, but if it freezes too hard, simply let it sit at room temperature for about 5 to 10 minutes before serving. This softens it just enough without compromising the creamy texture.
FAQs
Can I make this ice cream without an ice cream maker?
Absolutely! You can pour the chilled mixture into a shallow container and freeze it, stirring every 30 minutes to break up ice crystals until creamy. It takes longer, but the results are still delicious!
What if I don’t have vanilla bean paste? Can I skip it?
Yes, the vanilla bean paste is optional. It just adds a richer vanilla flavor and pretty specks, but pure vanilla extract alone creates plenty of wonderful vanilla aroma and taste.
Can I use another plant-based milk instead of coconut milk?
Full-fat coconut milk is key for creaminess here. Alternative milks tend to be thinner and may result in icier ice cream. You can experiment by replacing half the coconut milk with cashew cream for a milder coconut flavor.
Is this recipe refined sugar-free?
This recipe uses organic cane sugar and pure maple syrup, both unrefined natural sweeteners. If you want to reduce sugar further, you can slightly reduce the cane sugar, but keep in mind the texture and freezing point might be affected.
How long does homemade vegan ice cream last in the freezer?
When properly stored in a sealed container, this ice cream retains its best quality for up to two weeks. After that, it may develop ice crystals or lose some creaminess but is still safe to eat.
Final Thoughts
I genuinely hope you give this Vanilla Vegan Ice Cream: An Incredible Ultimate Recipe a whirl—it’s hands down one of the most satisfying and comforting vegan treats you can make in your own kitchen. With its velvety texture and pure vanilla goodness, it’s a reminder that vegan dessert can be indulgent, simple, and downright delicious all at once. Happy churning and scooping!
Print
Vanilla Vegan Ice Cream: An Incredible Ultimate Recipe
- Prep Time: 10 minutes
- Cook Time: 25 minutes
- Total Time: 4 hours 35 minutes
- Yield: 6 servings
- Category: Dessert
- Method: Churning
- Cuisine: American
- Diet: Vegan
Description
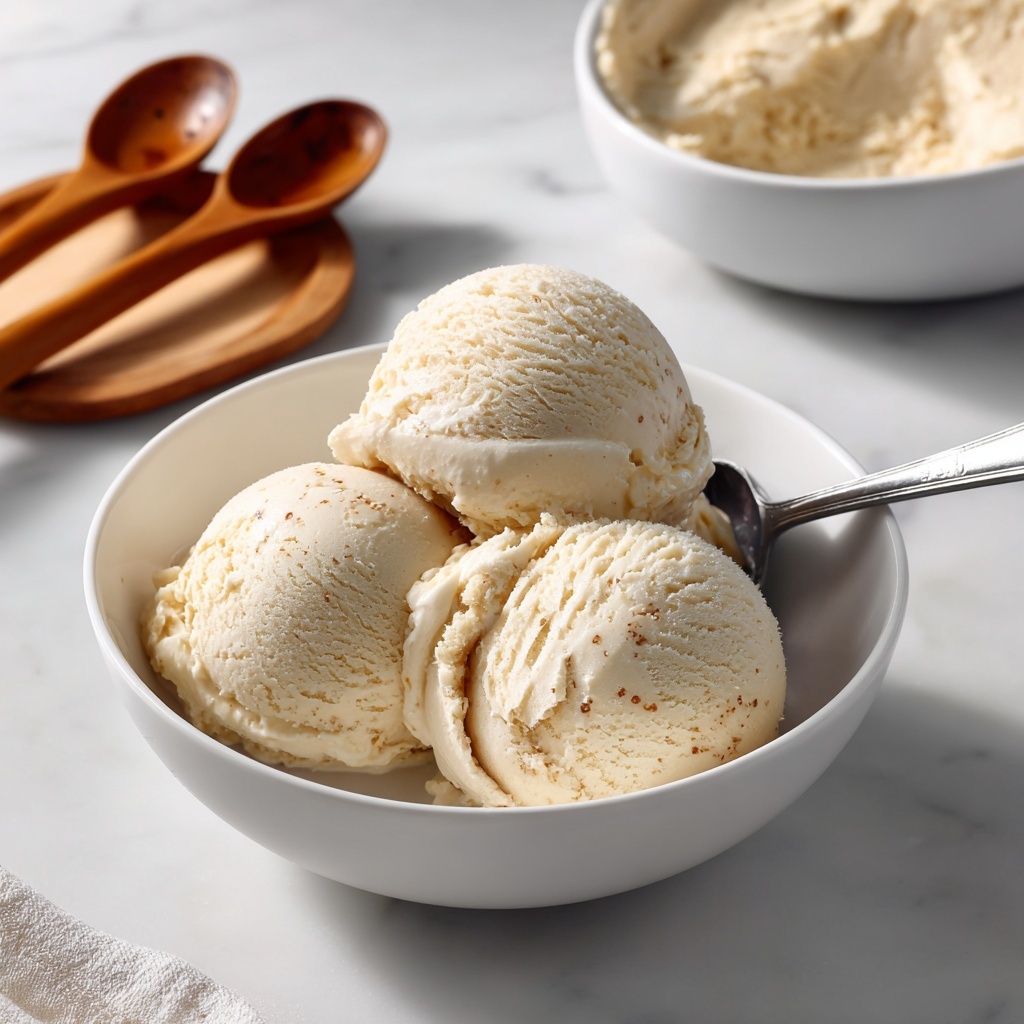
This Vanilla Vegan Ice Cream recipe offers a creamy, delicious homemade treat free from dairy and gluten. Made with full-fat coconut milk and natural sweeteners, it delivers a rich vanilla flavor with a smooth, soft-serve texture achieved by churning in an ice cream maker. Perfect for those seeking a vegan-friendly dessert that’s easy to prepare and endlessly customizable.
Ingredients
Ice Cream Base
- 2 cans full-fat coconut milk (13.5 ounces each)
- 3/4 cup organic cane sugar
- 2 tablespoons pure maple syrup
- 1 tablespoon pure vanilla extract
- 1 teaspoon vanilla bean paste (optional)
- 1/4 teaspoon fine sea salt
Instructions
- Mix Ingredients: In a medium mixing bowl, whisk together the coconut milk, cane sugar, maple syrup, vanilla extract, vanilla bean paste (if using), and sea salt until the sugar is completely dissolved and the mixture is smooth.
- Chill the Mixture: Cover the bowl and refrigerate the mixture for at least 2 hours or until it is thoroughly chilled, which helps in achieving a better ice cream texture.
- Churn the Ice Cream: Pour the chilled mixture into an ice cream maker and churn according to the manufacturer’s instructions, typically for 20 to 25 minutes, until it reaches a soft-serve consistency.
- Freeze to Set: Transfer the churned ice cream into a freezer-safe container, spread it evenly, cover tightly, and freeze for at least 3 to 4 hours until firm.
- Serve: Remove the ice cream from the freezer and let it sit at room temperature for 5 to 10 minutes before scooping. This allows it to soften slightly for the best texture.
Notes
- For extra creaminess, blend the mixture in a high-speed blender before chilling.
- You can substitute cashew cream for one can of coconut milk for a milder coconut flavor.
- Stir in dairy-free chocolate chips or crushed cookies during the last few minutes of churning for variations.


