
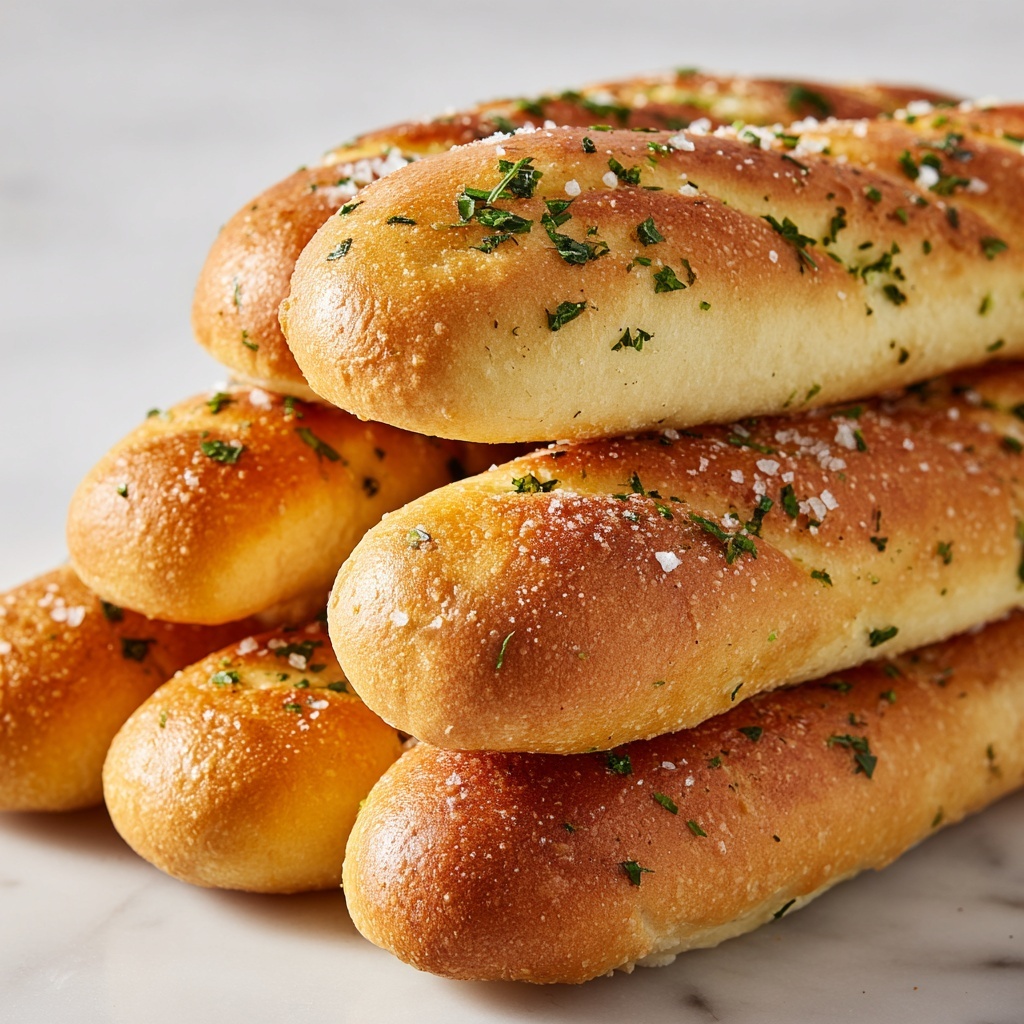
If you ever wondered how to bring that warm, buttery, garlicky magic from your favorite restaurant right into your own kitchen, this Olive Garden Breadsticks Recipe is exactly what you need. These soft, fluffy breadsticks are perfectly golden, bursting with garlic and parsley flavor, and have that irresistible slightly chewy inside that pairs wonderfully with almost any meal. Whether you’re looking to impress guests, elevate your pasta night, or simply satisfy a carb craving, this recipe captures the essence of that beloved Olive Garden classic with every delightful bite.
Ingredients You’ll Need
Getting these breadsticks just right is all about using straightforward ingredients that work harmoniously to create the perfect texture and flavor. Each component, from the warm water activating the yeast to the garlic salt with parsley sprinkles, plays an essential role in making these breadsticks light, fluffy, and packed with savory goodness.
- 1 cup warm water: Perfectly warm to activate the yeast without killing it, a crucial start to the dough rising process.
- 1 tablespoon active dry yeast: The magical ingredient that helps the breadsticks rise and become soft and airy.
- 2 tablespoons sugar: Just the right amount to feed the yeast and add a subtle touch of sweetness.
- 1 teaspoon salt: Enhances all the flavors, balancing the sweetness while strengthening the dough.
- 3 tablespoons vegetable oil: Keeps the dough moist and tender throughout the baking process.
- 2 ½ cups all-purpose flour: Provides structure to the dough, with a bit more added gradually for the perfect texture.
- 2 tablespoons melted butter: Brushed on warm breadsticks to add that signature rich, silky finish.
- ½ teaspoon garlic salt with parsley flakes: The iconic seasoning that gives these breadsticks their distinctive flavor and prettiness.
How to Make Olive Garden Breadsticks Recipe
Step 1: Activate the Yeast
Start by mixing warm water, active dry yeast, and sugar in a large bowl. Let it sit undisturbed for 5 to 10 minutes until the top becomes foamy. This process wakes up the yeast, which means your dough will rise beautifully and get that soft texture we all crave.
Step 2: Combine Ingredients
Once your yeast mixture is bubbly and alive, add salt, vegetable oil, and 2 cups of flour. Stir everything together until it starts to form a loose dough. This first mix is critical because the salt and oil help balance the yeast’s work and ensure a tender breadstick.
Step 3: Knead the Dough
Slowly add the remaining ½ cup of flour, ¼ cup at a time. You want the dough to pull away from the bowl but still feel soft and slightly sticky. Turn it out onto a lightly floured surface and knead for about 5 to 7 minutes. Adding small amounts of flour as you go helps prevent sticking without drying the dough out.
Step 4: First Rise
Place your kneaded dough in a greased bowl and cover it with a clean kitchen towel. Now patience is key—let it rise at room temperature for at least 30 minutes, or until it doubles in size. This resting time allows the yeast to develop flavor and texture that you’ll notice with every bite.
Step 5: Shape the Breadsticks
Once your dough has doubled, punch it down gently to release any air bubbles. Divide it into 12 equal portions—you want nicely sized breadsticks that are easy to grab and perfectly portioned. Roll each piece into a 9-inch rope and lay them out on a parchment-lined baking sheet.
Step 6: Second Rise
Cover your shaped breadsticks with a towel and let them rise again for 20 to 30 minutes. This second rise gives them that lovely lift and fluffiness we associate with Olive Garden breadsticks, making them soft but with a slight chew.
Step 7: Bake and Finish
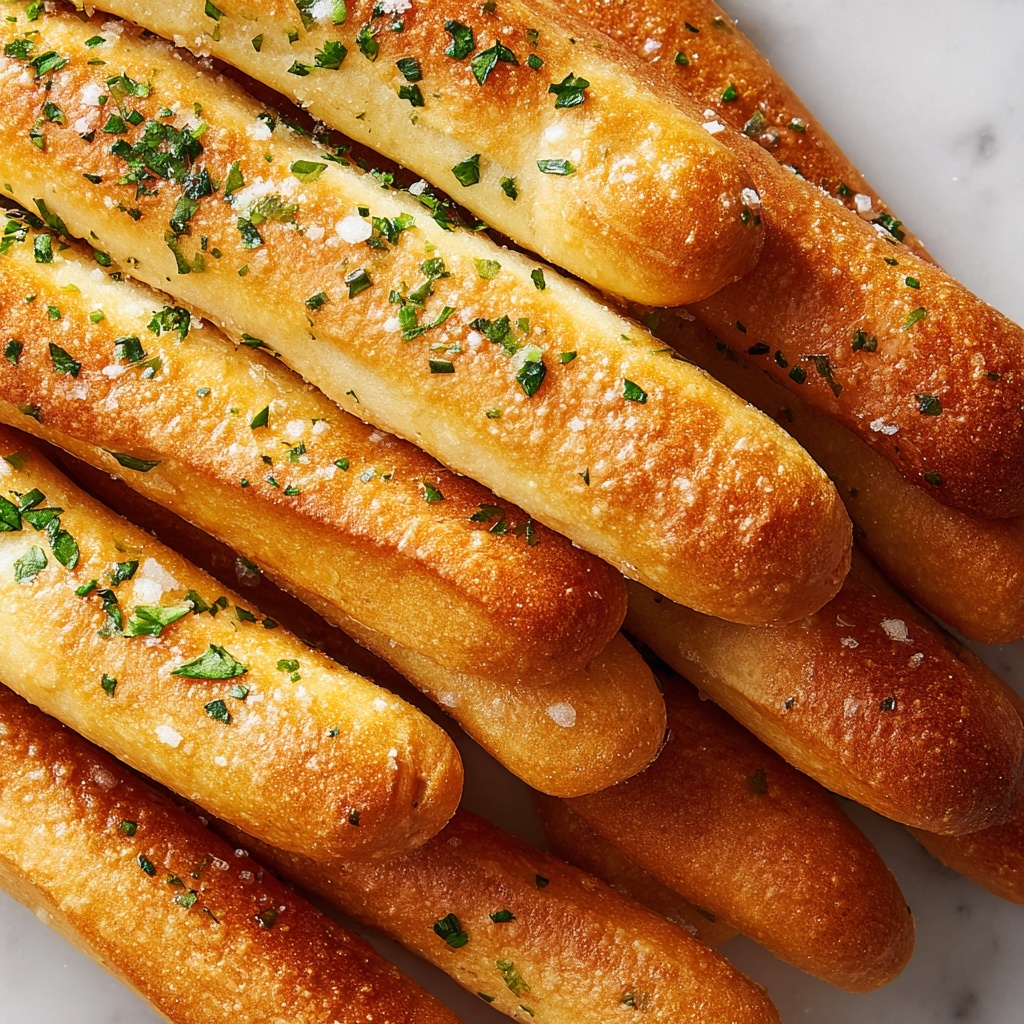
Bake your breadsticks in a preheated oven until they turn a gorgeous golden color. While still warm, brush each breadstick with melted butter and sprinkle the garlic salt with parsley flakes generously. This last touch infuses them with that classic savory aroma and a hint of herbal freshness.
How to Serve Olive Garden Breadsticks Recipe
Garnishes
The traditional sprinkle of garlic salt and parsley flakes is what sets these breadsticks apart. If you want to get creative, try adding a light dusting of freshly grated Parmesan cheese right after buttering. Fresh chopped herbs like rosemary or oregano can also add a delightful twist.
Side Dishes
These breadsticks are absolute champions alongside soups, salads, and pasta dishes—especially Italian favorites like marinara spaghetti or creamy alfredo. They also make fantastic dippers for a rich tomato sauce, melted cheese dips, or even a basil pesto.
Creative Ways to Present
For a fun twist, serve the breadsticks in a rustic breadbasket lined with a cozy cloth napkin to keep them warm. You can also skewer a few together for easy sharing or pair them with a trio of dipping sauces—think marinara, garlic butter, and ranch—to surprise your guests with variety.
Make Ahead and Storage
Storing Leftovers
If you find yourself with extra breadsticks, wrap them tightly in aluminum foil or place them in an airtight container at room temperature. They will keep fresh for up to 2 days, maintaining much of their soft texture when reheated.
Freezing
To extend their shelf life, freeze unbuttered breadsticks after the first bake. Wrap them individually or in batches with plastic wrap and store in a freezer bag. They can last up to three months frozen and thaw quickly when needed.
Reheating
Reheat breadsticks by wrapping them in foil and warming in a 350°F oven for about 10 minutes. Once heated through, brush with melted butter and a sprinkle of garlic salt and parsley to revive that fresh-out-of-the-oven flavor and aroma perfectly.
FAQs
Can I use instant yeast instead of active dry yeast?
Absolutely! If using instant yeast, you can mix it directly with the flour and skip the initial activation step, but make sure your warm water is not too hot to preserve the yeast’s effectiveness.
How do I make the breadsticks extra soft?
Ensuring your dough is slightly sticky and not dry when kneading, and allowing the dough to rise properly, will help keep your breadsticks soft. Brushing them with melted butter immediately after baking also helps lock in moisture.
Can I add cheese inside the breadsticks?
Yes! For a delicious cheesy surprise, roll small pieces of mozzarella inside each dough rope before baking to create melty stuffed breadsticks that everyone will love.
What if I don’t have garlic salt with parsley flakes?
You can make your own by mixing garlic powder, salt, and finely chopped fresh or dried parsley. This homemade blend works wonderfully and allows you to adjust seasoning to your liking.
How long do breadsticks take to bake?
Breadsticks typically bake in about 12 to 15 minutes at 375°F, or until they turn a nice golden brown. Keep an eye on them to avoid drying out or burning.
Final Thoughts
Making this Olive Garden Breadsticks Recipe at home is such a joyful experience, and the reward is simply unbeatable. Each warm, buttery, garlicky breadstick feels like a little hug from your favorite Italian restaurant, delivered fresh from your oven. Share them with friends, enjoy them with meals, or just sneak a few on their own—you really can’t go wrong. Give this recipe a try and prepare to fall in love with homemade breadsticks all over again!
Print
Olive Garden Breadsticks Recipe
- Prep Time: 15 minutes
- Cook Time: 15 minutes
- Total Time: 1 hour
- Yield: 12 breadsticks
- Category: Bread
- Method: Baking
- Cuisine: Italian
Description
These Olive Garden-style breadsticks are soft, buttery, and infused with garlic and parsley, making them the perfect homemade accompaniment to any Italian meal. Soft on the inside with a slight crisp on the outside, these breadsticks are easy to make from scratch with simple ingredients and straightforward steps, resulting in a deliciously satisfying treat.
Ingredients
Dough Ingredients
- 1 cup warm water
- 1 tablespoon active dry yeast
- 2 tablespoons sugar
- 1 teaspoon salt
- 3 tablespoons vegetable oil
- 2 ½ cups all-purpose flour
Topping Ingredients
- 2 tablespoons melted butter
- ½ teaspoon garlic salt with parsley flakes
Instructions
- Activate Yeast: In a large bowl, combine warm water, active dry yeast, and sugar. Let the mixture sit for 5-10 minutes until it becomes foamy, indicating the yeast is activated and ready to use.
- Mix Dough Base: Add salt, vegetable oil, and 2 cups of the all-purpose flour to the yeast mixture. Stir until the ingredients are well combined.
- Add Remaining Flour: Gradually add the remaining ½ cup flour in ¼ cup increments. Continue mixing until the dough pulls away from the sides of the bowl and has a soft yet slightly sticky consistency.
- Knead Dough: Turn the dough onto a lightly floured surface and knead for 5-7 minutes, adding flour as necessary to prevent sticking. The dough should be smooth and elastic when done.
- First Rise: Place the kneaded dough into a lightly greased bowl, cover with a clean kitchen towel, and let it rise for at least 30 minutes, or until it doubles in size.
- Divide and Shape: Punch down the risen dough gently, then divide it into 12 equal portions. Roll each portion into a 9-inch rope shape.
- Prepare for Second Rise: Place the shaped breadsticks on a parchment-lined baking sheet, cover them with a towel, and let them rise again for 20-30 minutes until slightly puffed.
- Bake and Finish: Preheat the oven to 375°F (190°C). Bake the breadsticks for 12-15 minutes, or until golden brown on top. Immediately brush them with melted butter mixed with garlic salt and parsley flakes for authentic flavor.
Notes
- Make sure the water is warm but not hot to avoid killing the yeast.
- Kneading is important to develop gluten for a soft texture; do not skip or shorten this step.
- Allowing the dough to rise twice helps create airy, fluffy breadsticks.
- Brush with garlic butter immediately after baking for the best flavor and shine.
- Can be frozen after shaping and risen; bake from frozen adding a few extra minutes.

