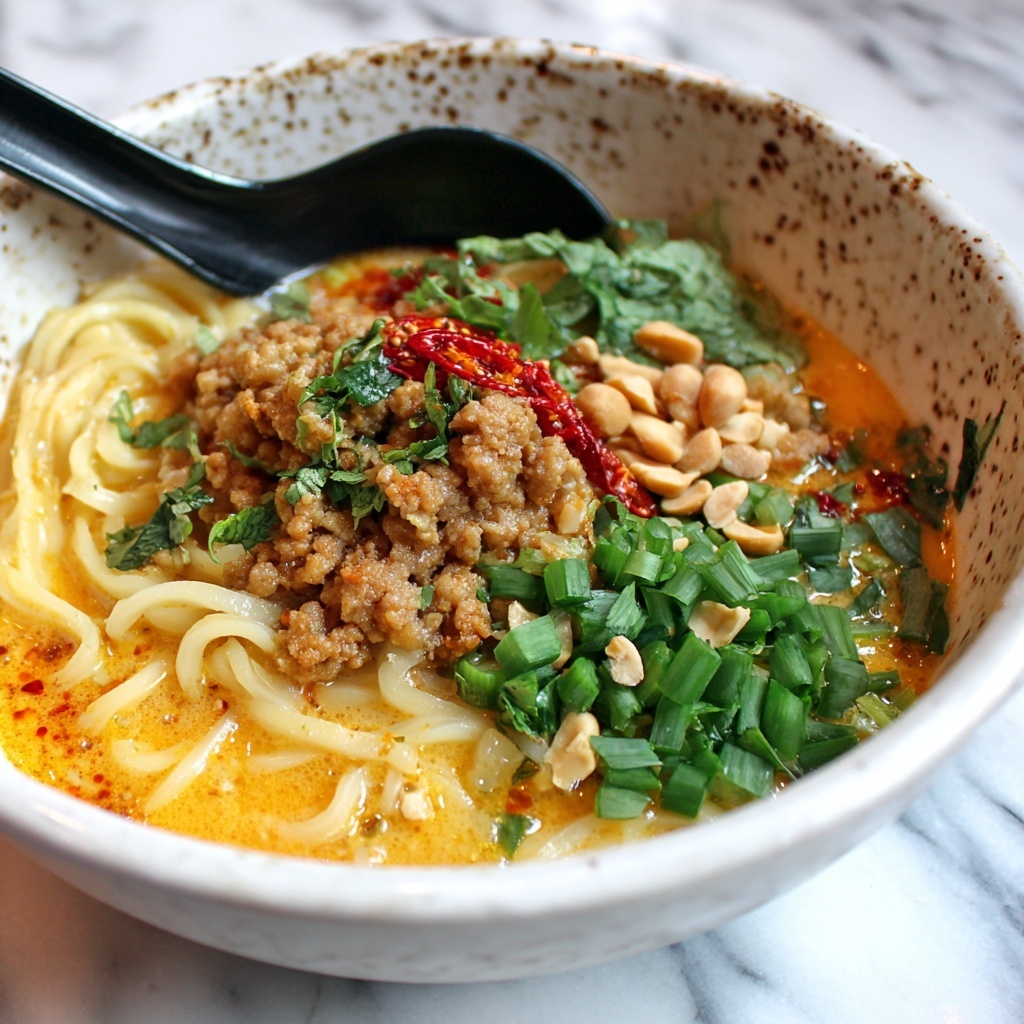
If you’re craving something that perfectly balances bold flavors with irresistible textures, you’re going to love this Crispy Thai Peanut Chicken Ramen Recipe. Imagine tender chicken breasts coated in a satisfyingly crunchy crust, draped over velvety peanut sauce–infused noodles with fresh veggies that brighten every bite. It’s a delightful fusion of Thai-inspired richness and classic ramen comfort, all rolled into one unforgettable dish that’s surprisingly simple to make but wildly impressive to serve.
Ingredients You’ll Need
The ingredients for this Crispy Thai Peanut Chicken Ramen Recipe are refreshingly straightforward yet essential, each bringing its own little magic to the plate. From the crispy coating that gives the chicken its crunch to the creamy peanut sauce that ties every element together, these components combine to create a symphony of flavors and textures you’ll want to enjoy again and again.
- 2 boneless, skinless chicken breasts: The star protein, tender and perfect for crisping up.
- 1/2 cup all-purpose flour: Creates a light base layer for the crispy coating.
- 1/4 teaspoon salt: Enhances all the flavors gently.
- 1/4 teaspoon pepper: Adds just a hint of warmth.
- 1/2 teaspoon garlic powder: Infuses a mellow garlic flavor throughout the breading.
- 1/2 teaspoon paprika: Brings subtle smokiness and color to the coating.
- 1 large egg, beaten: Helps the breadcrumbs stick perfectly to the chicken.
- 1/2 cup panko breadcrumbs: Provides the signature crunchy texture that’s absolutely addictive.
- 2 tablespoons vegetable oil (for frying): Ensures a crisp, golden crust without overwhelming the chicken.
- 1/3 cup creamy peanut butter: The heart of the sauce, rich and nutty.
- 2 tablespoons soy sauce: Adds umami depth to the peanut sauce.
- 1 tablespoon rice vinegar: Brings a subtle tang that balances the richness.
- 1 tablespoon honey or maple syrup: Sweetens the sauce naturally and beautifully.
- 1 teaspoon sesame oil: Delivers that unmistakable toasted aroma.
- 1 teaspoon grated ginger: Provides warmth and zing to the sauce.
- 1 garlic clove, minced: Adds a punch of fresh garlicky flavor.
- 2 tablespoons warm water (to thin sauce): Perfects the sauce consistency for coating noodles.
- 2 packages ramen noodles (discard the seasoning packet): Soft yet springy noodles that soak up the sauce beautifully.
- 1 cup shredded carrots: Adds vibrant color and crunch.
- 1/2 cup chopped green onions: Brings freshness and bite.
- 1/4 cup chopped cilantro (for garnish): Elevates the dish with herbal notes.
- 1 tablespoon sesame seeds (optional, for garnish): Adds subtle nutty texture and visual appeal.
- Lime wedges (for serving): Offers a zesty brightness to finish each bowl.
How to Make Crispy Thai Peanut Chicken Ramen Recipe
Step 1: Prepare the Chicken
Begin by seasoning and dredging the chicken breasts to create that coveted crunchy crust. Combine the flour, salt, pepper, garlic powder, and paprika in one shallow dish. Dip each chicken breast first into the flour mixture, then into the beaten egg, and finally coat thoroughly with panko breadcrumbs, pressing gently so they adhere well. This layering ensures a crispy, flavorful coating after frying.
Step 2: Cook the Chicken
Heat vegetable oil over medium-high heat in a large skillet, making sure it’s hot enough to sizzle when the chicken hits the pan. Carefully place the breaded chicken breasts in the oil and let them cook for about 4 to 5 minutes on each side until golden brown and deliciously crispy. Remove to a paper-towel-lined plate to drain excess oil and let the chicken rest for a few minutes — this helps keep it juicy inside. Then slice thinly into strips, ready to crown your noodles.
Step 3: Make the Peanut Sauce
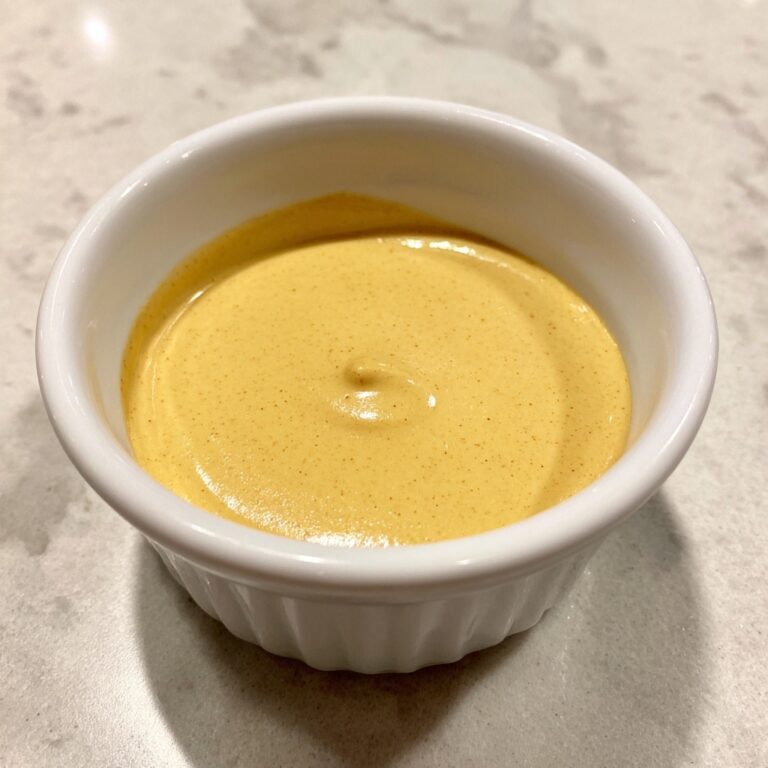
While the chicken rests, whisk together your creamy peanut butter, soy sauce, rice vinegar, honey (or maple syrup), sesame oil, grated ginger, minced garlic, and warm water in a bowl until smooth and luscious. This luscious sauce is where all the flavors come alive, balancing sweet, salty, tangy, and nutty notes perfectly, making your ramen noodles incredibly irresistible.
Step 4: Cook the Ramen
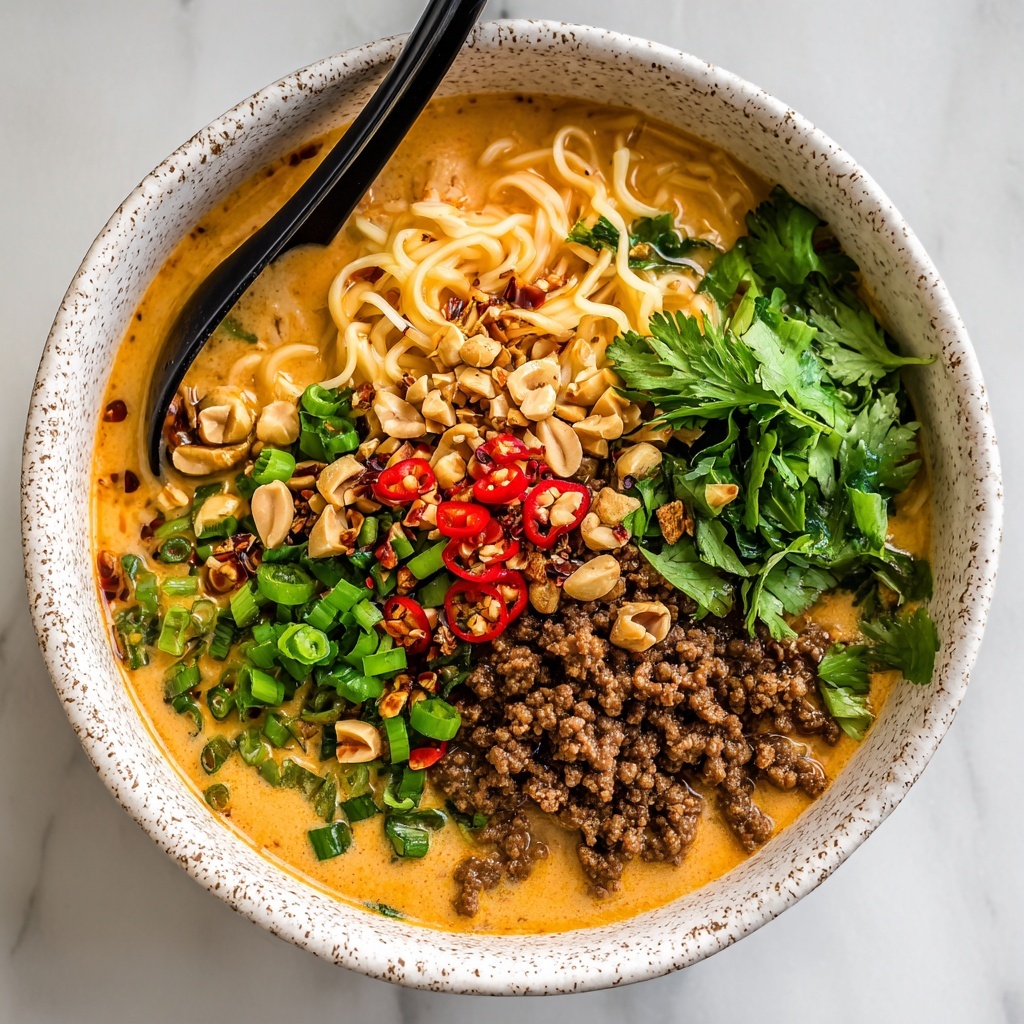
Prepare the ramen noodles according to package instructions, but skip any seasoning packets. Drain and toss the warm noodles immediately with the peanut sauce, shredded carrots, and chopped green onions. This warms the veggies slightly, giving your noodles lovely color and crunch that contrast beautifully with the silky sauce.
Step 5: Assemble the Dish
Divide the peanut-coated noodle mixture between two bowls, then pile your crispy chicken strips on top. The visual contrast of the golden chicken against the glossy peanut noodles and vibrant garnishes makes this meal as stunning as it is satisfying.
How to Serve Crispy Thai Peanut Chicken Ramen Recipe

Garnishes
Fresh garnishes elevate this dish to the next level. Sprinkle chopped cilantro and sesame seeds over the chicken and noodles for bursts of herbal brightness and additional texture. Finish with a squeeze of lime juice from the wedges on the side—this acidic element cuts through the richness of the peanut sauce, creating a perfect balance in every bite.
Side Dishes
Keep sides simple and fresh to complement the richness of the Crispy Thai Peanut Chicken Ramen Recipe. A light cucumber salad or steamed snap peas dressed with a splash of rice vinegar would bring refreshing crispness. Alternatively, a crunchy Asian slaw adds color and texture contrasts that feel like a perfect foil to the creamy peanut noodles.
Creative Ways to Present
To wow your guests or elevate a weeknight meal, serve your ramen bowls on dark-colored dishes that make the vibrant colors pop. Consider stacking the crispy chicken strips neatly like little towers atop the noodles for a restaurant-style presentation. For a fun twist, try serving this dish in individual hot stone bowls to keep everything warm while adding rustic charm.
Make Ahead and Storage
Storing Leftovers
If you find yourself with leftovers (though it’s easy to devour this all in one go), store the peanut chicken, noodles, and sauce separately in airtight containers in the refrigerator. This keeps the crispy texture of the chicken better than combining everything right away.
Freezing
While the peanut sauce and noodles don’t freeze particularly well, you can freeze the cooked breaded chicken for up to one month. Wrap the chicken tightly and reheat it in the oven to maintain as much crispiness as possible when ready to enjoy again.
Reheating
Reheat leftover chicken in a hot oven or toaster oven at 375°F for about 10 minutes to restore its crunch. Warm the peanut noodles gently on the stove or microwave, adding a splash of water if they seem dry. Then toss together and garnish fresh before serving to revive that vibrant homemade flavor.
FAQs
Can I use peanut butter alternatives for the sauce?
Absolutely! If you have a peanut allergy or want a different flavor, almond or cashew butter work wonderfully as substitutes, creating a similar creamy texture with their own unique nuttiness.
Is this recipe spicy?
This Crispy Thai Peanut Chicken Ramen Recipe is mild and flavorful without heat. However, you can easily add chili flakes, sriracha, or fresh sliced chilies to the peanut sauce or as a garnish if you prefer a spicy kick.
Can I make this recipe vegetarian?
Yes! Swap the chicken breasts for tofu or tempeh, and fry them using the same breading technique. The peanut sauce and noodle mixture stay the same, giving you a delicious vegetarian-friendly meal full of texture and flavor.
What type of ramen noodles should I use?
Standard fresh or dry ramen noodles both work well. Just be sure to discard any seasoning packets and cook them according to package directions so they stay tender but not mushy.
How do I ensure the chicken coating stays crispy?
Pat the chicken dry before breading and make sure the vegetable oil is hot enough before adding the chicken to the pan. Also, resting the cooked chicken on a wire rack instead of paper towels helps preserve its crispness.
Final Thoughts
I can’t recommend this Crispy Thai Peanut Chicken Ramen Recipe enough if you want a comforting yet exciting meal that’s packed with flavor and texture. It’s perfect for when you want something a little different but totally satisfying, and once you try it, it might just become your new go-to favorite. So, gather your ingredients, dig in, and enjoy every delightful bite!
Print
Crispy Thai Peanut Chicken Ramen Recipe
- Prep Time: 15 minutes
- Cook Time: 20 minutes
- Total Time: 35 minutes
- Yield: 2 servings
- Category: Main Course
- Method: Frying
- Cuisine: Thai Fusion
Description
This Crispy Thai Peanut Chicken Ramen recipe combines crunchy breaded chicken breasts with a creamy, savory peanut sauce tossed with tender ramen noodles and fresh vegetables. It’s a flavorful fusion dish that delivers the comforting satisfaction of ramen with the satisfying crunch of Thai-inspired peanut chicken, garnished with fresh cilantro, sesame seeds, and lime wedges for a bright finish.
Ingredients
Chicken & Coating
- 2 boneless, skinless chicken breasts
- 1/2 cup all-purpose flour
- 1/4 teaspoon salt
- 1/4 teaspoon pepper
- 1/2 teaspoon garlic powder
- 1/2 teaspoon paprika
- 1 large egg, beaten
- 1/2 cup panko breadcrumbs
- 2 tablespoons vegetable oil (for frying)
Peanut Sauce
- 1/3 cup creamy peanut butter
- 2 tablespoons soy sauce
- 1 tablespoon rice vinegar
- 1 tablespoon honey or maple syrup
- 1 teaspoon sesame oil
- 1 teaspoon grated ginger
- 1 garlic clove, minced
- 2 tablespoons warm water (to thin sauce)
Noodles & Garnishes
- 2 packages ramen noodles (discard the seasoning packet)
- 1 cup shredded carrots
- 1/2 cup chopped green onions
- 1/4 cup chopped cilantro (for garnish)
- 1 tablespoon sesame seeds (optional, for garnish)
- Lime wedges (for serving)
Instructions
- Prepare the Chicken: In a shallow dish, mix the flour, salt, pepper, garlic powder, and paprika. Dredge each chicken breast in the flour mixture, then dip into the beaten egg, and finally coat with panko breadcrumbs, pressing to ensure an even coating.
- Cook the Chicken: Heat vegetable oil in a large skillet over medium-high heat. Once hot, add the breaded chicken breasts and fry for about 4-5 minutes on each side, or until golden brown and crispy. Remove from the skillet and let rest for a few minutes before slicing into thin strips.
- Make the Peanut Sauce: In a bowl, whisk together creamy peanut butter, soy sauce, rice vinegar, honey or maple syrup, sesame oil, grated ginger, minced garlic, and warm water until smooth and well combined.
- Cook the Ramen: Prepare the ramen noodles according to package instructions, boiling them until tender but still firm. Drain the noodles and return them to the pot or a large bowl.
- Toss Noodles with Sauce and Veggies: Pour the peanut sauce over the cooked noodles and toss well to coat. Stir in shredded carrots and chopped green onions.
- Assemble the Dish: Divide the peanut sauce-coated noodles and veggies between bowls. Top each bowl with sliced crispy chicken.
- Garnish and Serve: Sprinkle chopped cilantro and sesame seeds over the top. Serve immediately with lime wedges on the side for squeezing over the dish.
Notes
- Be sure to discard the ramen seasoning packets, as they are salty and unnecessary with the peanut sauce.
- For extra heat, add a dash of chili flakes or sriracha to the peanut sauce.
- Use a non-stick skillet to prevent the chicken from sticking and to make flipping easier.
- Vegetarian option: substitute chicken with firm tofu prepared the same way.
- Peanut sauce can be made ahead and refrigerated for up to 3 days.


