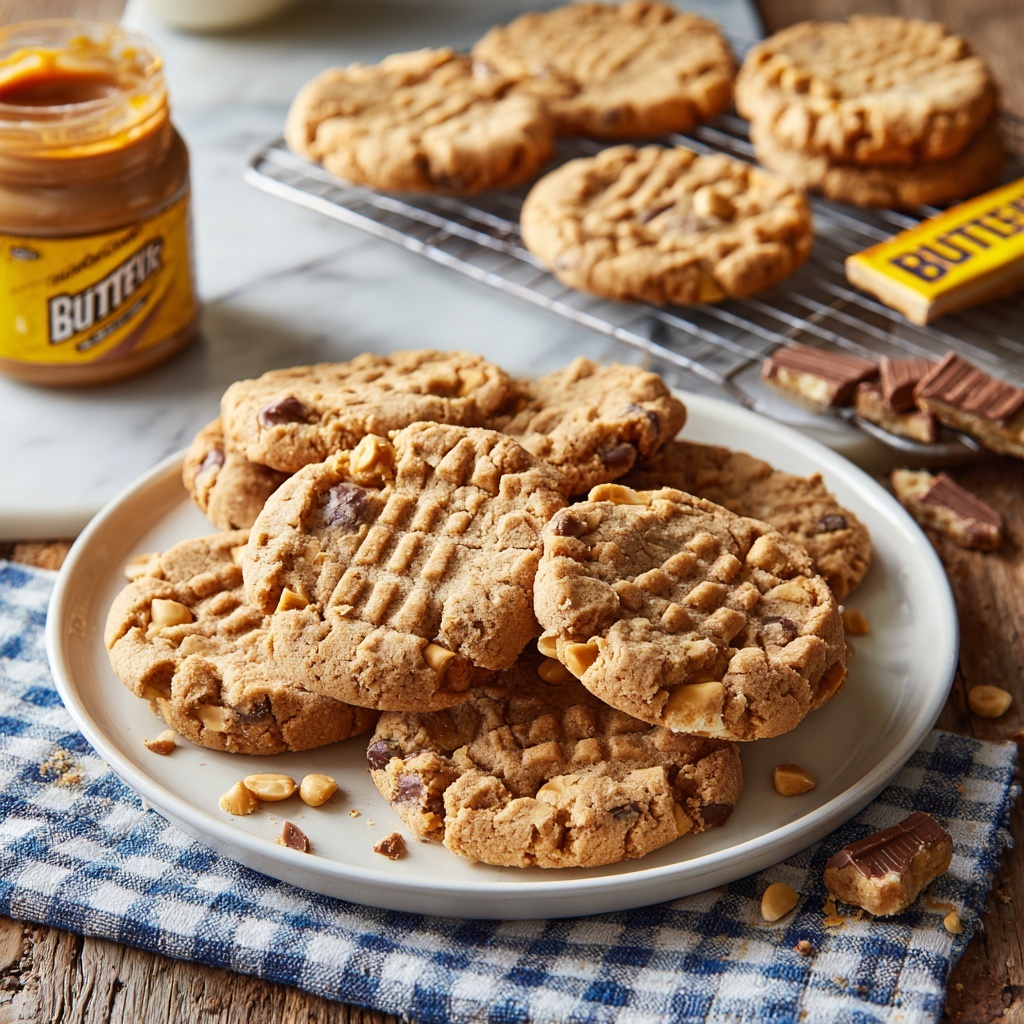
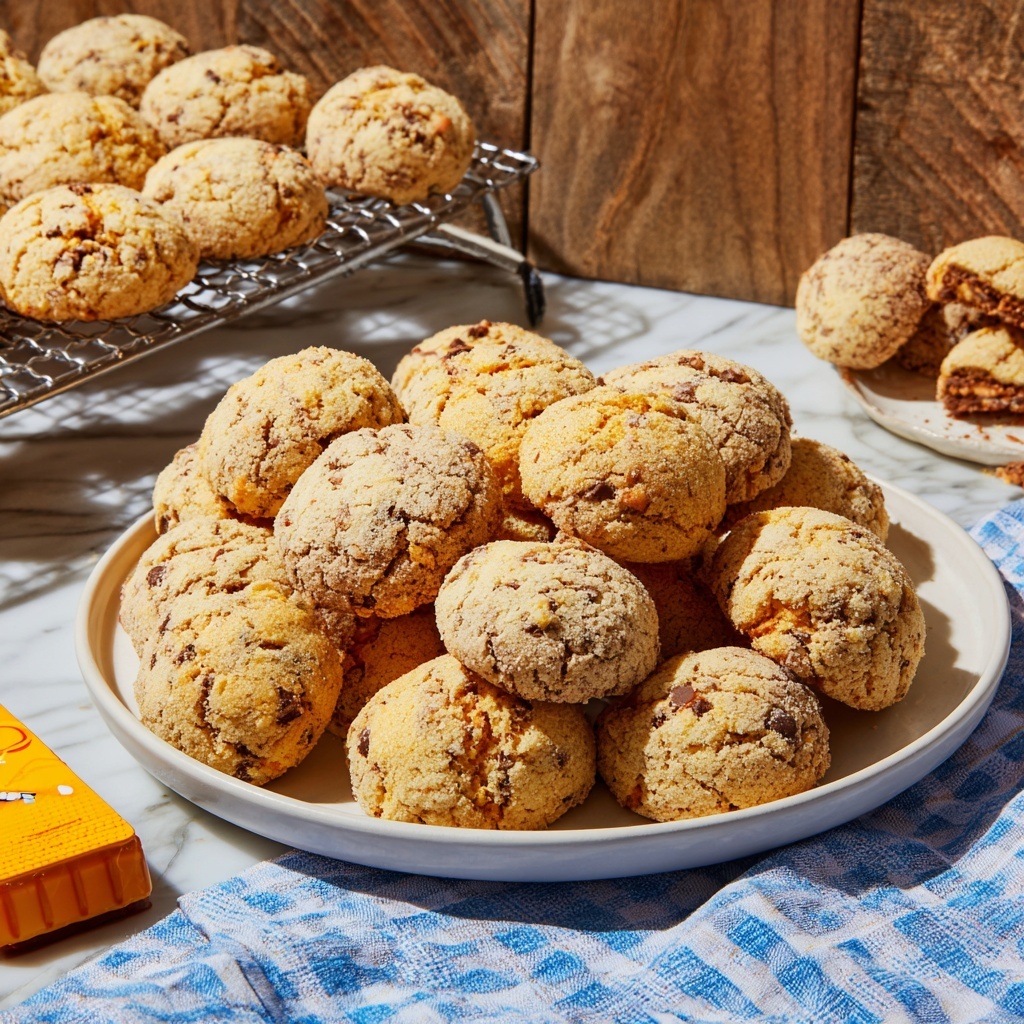
If you have a sweet tooth that loves a little crunch and a lot of peanut buttery goodness, then you are absolutely going to adore this Butterfinger Cookies Recipe. These cookies are the perfect balance of soft, chewy cookie dough loaded with chunks of crunchy Butterfinger candy bars, creating an irresistible treat that will quickly become a staple in your baking rotation. Whether you’re baking for a cozy night in or bringing a batch to share, this recipe combines familiar flavors in an exciting way that’s simply unforgettable.
Ingredients You’ll Need
This Butterfinger Cookies Recipe uses straightforward ingredients that you likely already have on hand, but each one plays a crucial role in building that perfect cookie. From the rich creaminess of peanut butter to the sweet crunch of chopped Butterfinger bars, every element adds a unique texture or flavor dimension.
- ½ cup butter (softened): Provides a buttery richness and helps create a tender cookie texture.
- ¾ cup sugar: Adds sweetness and helps cookies brown beautifully.
- ¾ cup brown sugar (firmly packed): Brings moisture and a deliciously deep caramel note.
- 2 large egg whites: Bind the ingredients together while keeping the cookies light.
- 1¼ cups chunky peanut butter (or smooth): The star flavor that adds creaminess and nutty depth to the dough.
- 2 tsp pure vanilla extract: Enhances all the flavors and adds warmth.
- 1 cup all-purpose flour: The base that gives structure to the cookies.
- ½ tsp baking soda: Helps the cookies rise just enough for a chewy texture.
- ¼ tsp salt: Balances sweetness and enhances the peanut butter flavor.
- 5 (2.1-oz) Butterfinger candy bars, chopped: Adds irresistible crunch, chocolate, and crispy candy texture in every bite.
How to Make Butterfinger Cookies Recipe
Step 1: Prepare Your Oven and Ingredients
Start by preheating your oven to 350ºF so it’s nice and ready for your cookies. This ensures even baking right from the moment those cookie dough balls hit the tray. Meanwhile, gather and soften your butter, and chop your Butterfinger candy bars into small, bite-sized pieces that will melt into the dough beautifully without overwhelming it.
Step 2: Cream Butter and Sugars
In a large mixing bowl, cream the softened butter together with both the white and brown sugars. This step is crucial because properly creamed butter and sugar results in the perfect tender crumb and just enough chewiness in the finished cookie. Keep beating until you achieve a smooth, light mixture.
Step 3: Add Egg Whites, Peanut Butter, and Vanilla
Next, mix in the egg whites one at a time, beating well after each addition. Then fold in the creamy peanut butter and vanilla extract. These ingredients give the dough its signature nutty flavor and aromatic depth that make these cookies so special.
Step 4: Combine Dry Ingredients and Mix
In a separate bowl, whisk together the flour, baking soda, and salt. Gradually add this dry mixture to your wet ingredients, stirring until everything comes together in a soft, uniform dough. This step ensures your cookies hold their shape and stay chewy without being too dense.
Step 5: Fold in Chopped Butterfinger Bars
Gently fold in your chopped Butterfinger pieces, making sure they’re evenly distributed throughout the dough. This is the fun part because those crispy candy bits are what make this Butterfinger Cookies Recipe truly unique—each cookie will have delightful pockets of sweet, crunchy surprise.
Step 6: Shape and Bake
Using a medium cookie scoop or your hands, shape the dough into 1 ½-inch balls and place them on a baking sheet lined with parchment paper or a silicone mat. Bake in the preheated oven for 10-12 minutes, or until the edges just start turning golden brown. It’s important not to overbake because these cookies taste best when they stay soft and tender with a slight crisp around the edges.
Step 7: Cool Before Enjoying
Once out of the oven, let the cookies sit on the baking sheet for a few minutes before transferring them to a wire rack to cool completely. This pause helps the cookies set perfectly so they don’t crumble when you pick them up.
How to Serve Butterfinger Cookies Recipe

Garnishes
To take your Butterfinger Cookies to the next level, try sprinkling a tiny pinch of flaky sea salt on top of each cookie right after baking. The contrast between salty and sweet will highlight the peanut butter and chocolate flavors beautifully. For a festive touch, a light drizzle of melted chocolate or even a little peanut butter glaze adds extra decadence.
Side Dishes
These cookies pair wonderfully with a cold glass of milk—classic and comforting. You can also serve them alongside a scoop of vanilla ice cream for an indulgent dessert, or with a warm cup of coffee or tea to enjoy a cozy afternoon treat.
Creative Ways to Present
For a party or special occasion, stack your Butterfinger Cookies on a pretty platter or wrap them up in festive bags as homemade gifts. You can even sandwich a dollop of peanut butter frosting or chocolate ganache between two cookies for an irresistible treat that doubles as a mini dessert.
Make Ahead and Storage
Storing Leftovers
Leftover Butterfinger Cookies keep wonderfully in an airtight container at room temperature for up to five days. Keeping them sealed ensures they stay soft and chewy with their candy-filled goodness intact.
Freezing
If you want to save your cookies for later, you can freeze the baked cookies in a freezer-safe container for up to three months. For best results, separate layers with parchment paper to prevent them from sticking together. Alternatively, freeze the unbaked dough balls, then bake fresh cookies straight from the freezer, adding a couple of extra minutes to the baking time.
Reheating
To warm up your cookies and recapture that freshly baked softness, pop them in the microwave for 10-15 seconds or briefly heat in a 300°F oven for 5 minutes. This little trick makes them taste just like they came straight from the oven.
FAQs
Can I use smooth peanut butter instead of chunky?
Absolutely! Smooth peanut butter will work perfectly in this Butterfinger Cookies Recipe and will give the cookies a slightly creamier texture. Chunky peanut butter adds extra bits of nuts, so choose based on your preference.
Do I have to use Butterfinger candy bars?
While Butterfinger bars are the perfect mix of chocolate and crispiness, you could experiment with other similar crunchy peanut butter candies if you want to mix things up, but the classic Butterfinger flavor truly shines here.
How can I make these cookies gluten-free?
You can substitute the all-purpose flour for a gluten-free flour blend that includes xanthan gum. Make sure the blend is appropriate for baking to keep the cookies’ texture just right.
Can these cookies be made vegan?
To make this recipe vegan, replace butter with a plant-based alternative, swap egg whites with aquafaba or a flax egg, and ensure your candy bars are dairy-free or leave them out for a nutty peanut butter cookie without the candy crunch.
Why use egg whites instead of whole eggs?
Egg whites help bind the dough without making the cookies too dense or rich. This choice keeps the cookies lighter and lets the peanut butter flavor really take center stage.
Final Thoughts
This Butterfinger Cookies Recipe is one of those sweets you just want to bake over and over because it’s reliably delicious and always brings smiles. With its perfect balance of soft cookie dough and crunchy candy bits, it’s a treat that’s both nostalgic and excitingly new. So roll up your sleeves, grab your peanut butter and Butterfinger bars, and get ready to create your new favorite cookie obsession!
Print
Butterfinger Cookies Recipe
- Prep Time: 10 minutes
- Cook Time: 12 minutes
- Total Time: 22 minutes
- Yield: 36 cookies
- Category: Dessert
- Method: Baking
- Cuisine: American
- Diet: Halal
Description
Delight in these rich and chewy Butterfinger Cookies, featuring a perfect blend of creamy peanut butter and crunchy Butterfinger candy pieces baked to golden perfection. These cookies offer a sweet, nutty twist on the classic peanut butter cookie, ideal for satisfying any sweet tooth.
Ingredients
Wet Ingredients
- ½ cup butter (softened)
- 2 large egg whites
- 1¼ cups chunky peanut butter (or smooth)
- 2 tsp pure vanilla extract
Dry Ingredients
- ¾ cup sugar
- ¾ cup brown sugar (firmly packed)
- 1 cup all-purpose flour
- ½ tsp baking soda
- ¼ tsp salt
Add-ins
- 5 (2.1-oz) Butterfinger candy bars, chopped
Instructions
- Preheat Oven: Set your oven to 350ºF (175ºC) and allow it to fully preheat for optimal baking results.
- Cream Butter and Sugars: In a mixing bowl, use a hand or stand mixer to cream together the softened butter, white sugar, and brown sugar until the mixture is light and fluffy, ensuring the sugars are well incorporated.
- Add Egg Whites and Flavorings: Beat in the egg whites one at a time until fully blended. Then add the peanut butter and pure vanilla extract, mixing thoroughly to achieve a smooth and uniform batter.
- Combine Dry Ingredients: In a separate bowl, whisk together the all-purpose flour, baking soda, and salt. Gradually add this dry mixture to the creamed wet ingredients, mixing until fully combined but do not overmix.
- Fold in Candy Bars: Gently stir in the chopped Butterfinger candy pieces, distributing them evenly throughout the dough for bursts of crunchy texture.
- Shape Cookies: Use a medium cookie scoop or spoon to form 1½-inch balls of dough. Place them evenly spaced apart on a baking sheet lined with parchment paper or a silicone mat.
- Bake: Bake the cookies in the preheated oven for 10-12 minutes until the edges begin to turn golden brown but the centers are still soft. Avoid overbaking to keep the cookies chewy.
- Cool: Let the cookies rest on the baking sheet for a few minutes to firm up, then transfer them to a wire rack to cool completely before serving.
Notes
- Do not overbake; aim for slightly soft centers for the perfect chewy texture.
- If you prefer a smoother texture, substitute chunky peanut butter with smooth peanut butter.
- The recipe yields about 3 dozen small cookies; adjust baking time if making larger cookies.
- Store cookies in an airtight container to maintain freshness for up to a week.
