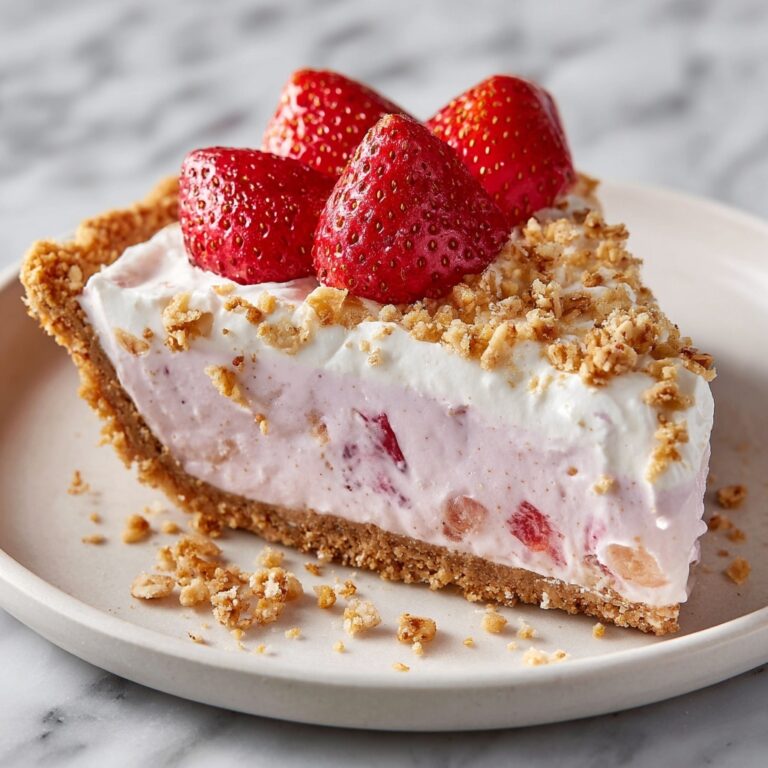
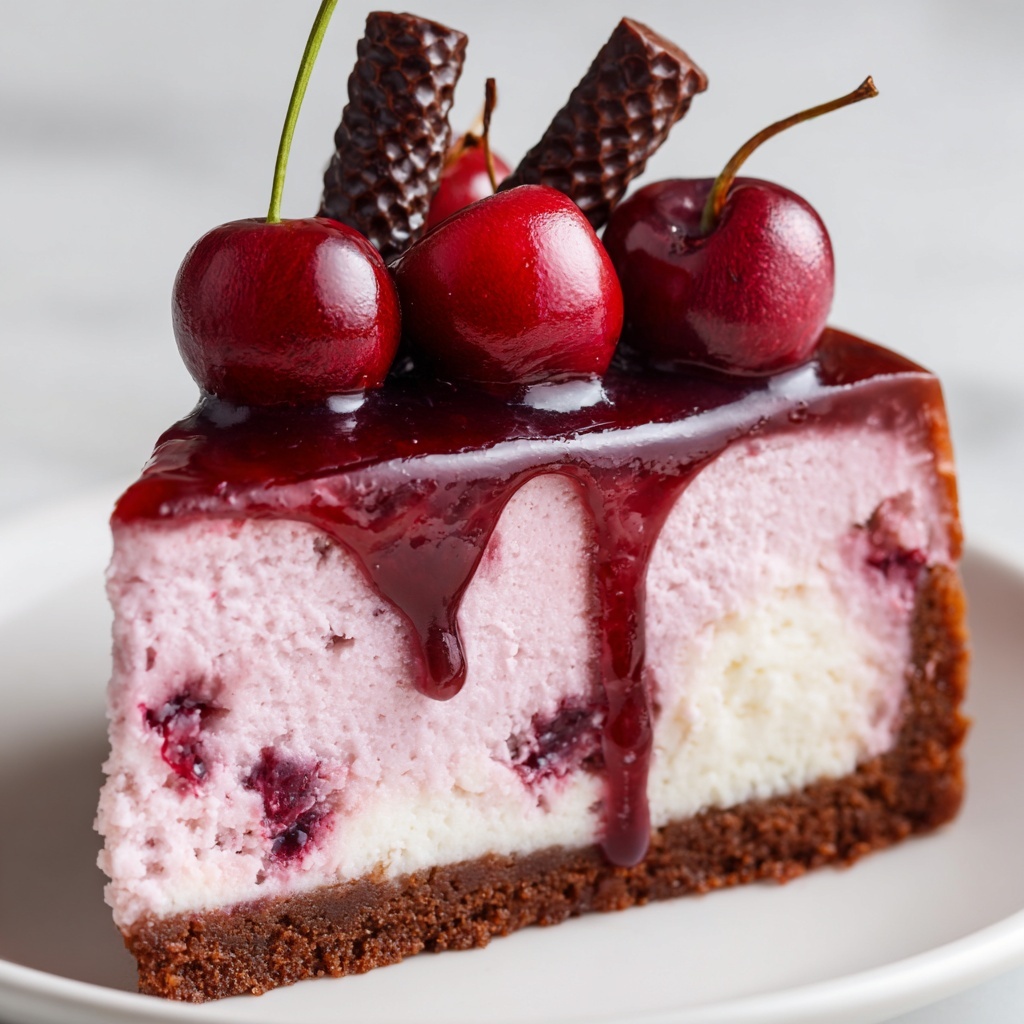
If you’re looking for a truly irresistible dessert that combines the richness of chocolate with the sweet-tart burst of cherries, then this Chocolate Cherry No-Bake Cheesecake Recipe is calling your name. Imagine a velvety, creamy cheesecake that doesn’t require an oven, layered with luscious cherry pie filling, and crowned with mini chocolate chips and whipped cream. It’s the perfect treat for any occasion, from casual family gatherings to holiday celebrations. Plus, it’s straightforward enough that even beginners can whip it up with confidence and a smile.
Ingredients You’ll Need
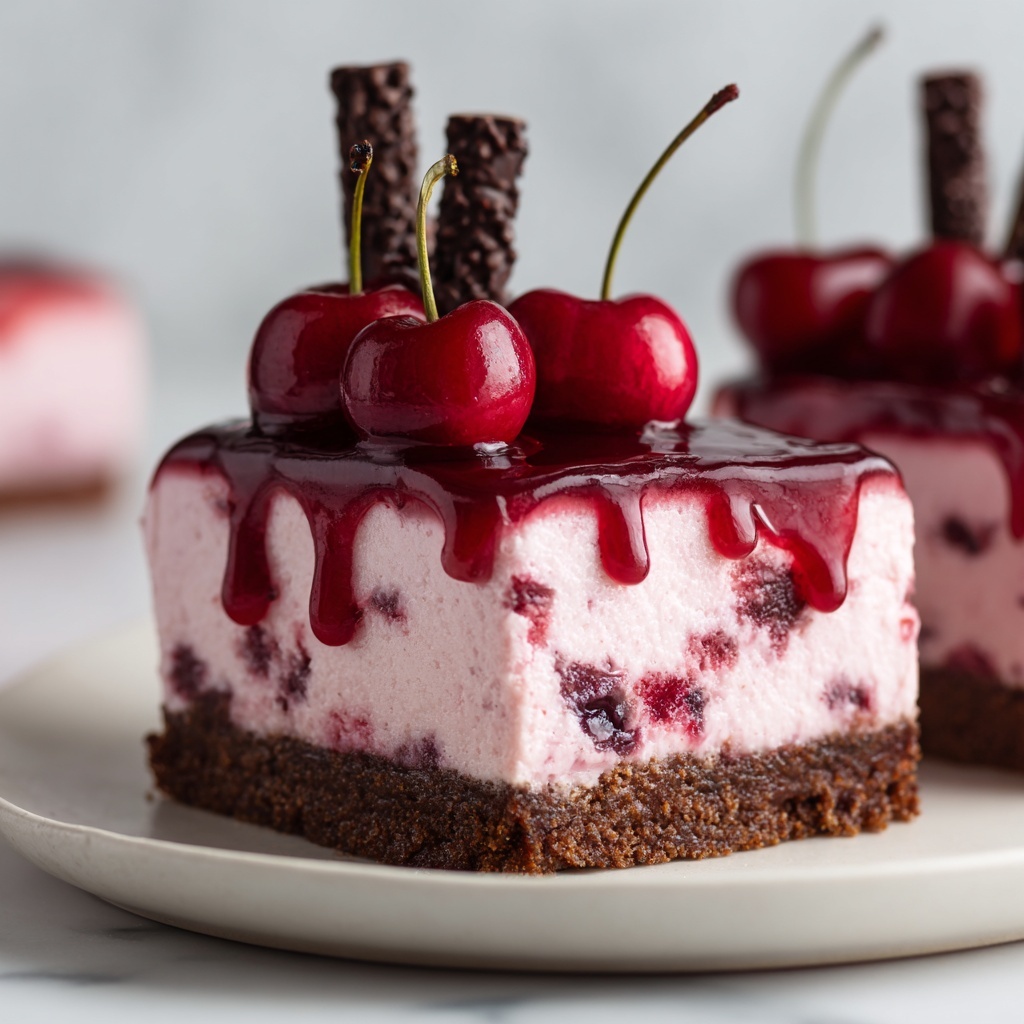
Each ingredient in this recipe is simple yet plays an essential role in creating that perfect balance of flavor, texture, and visual appeal. From the crumbly chocolate crust to the smooth cheesecake filling and the bright cherry topping, these ingredients come together to make something truly special.
- Chocolate cookie crumbs: The base of our crust gives a deep chocolate flavor and a firm texture that holds everything together.
- Melted butter: Binds the cookie crumbs for a solid, buttery crust foundation.
- Cream cheese, softened: The creamy heart of the cheesecake lends that classic rich, tangy flavor.
- Powdered sugar: Adds just the right touch of sweetness without graininess.
- Vanilla extract: Enhances all the flavors with its warm, comforting notes.
- Whipped topping: Gives the filling a light and fluffy texture that feels cloud-like on your tongue.
- Semi-sweet chocolate chips, melted: Delivers a smooth, velvety chocolateiness that’s utterly decadent.
- Cherry pie filling: Brings bursts of juicy cherries and a glossy, vibrant color contrast.
- Mini chocolate chips (for garnish): Adds playful texture and extra chocolate punch on top.
- Whipped cream (optional): For that extra creamy finishing touch and pretty presentation.
How to Make Chocolate Cherry No-Bake Cheesecake Recipe
Step 1: Prepare the Crust
Start by mixing your chocolate cookie crumbs with the melted butter until every crumb is coated and sticky. Then, press this mixture firmly into the bottom of a 9-inch springform pan. This crust will serve as the crunchy, chocolatey base that holds all the creamy layers above. Refrigerate it while you move on to the filling, so it can set nicely.
Step 2: Make the Cheesecake Filling
In a large mixing bowl, beat the softened cream cheese until it’s ultra smooth and creamy—this is the foundation of your luscious filling. Add powdered sugar and vanilla extract and continue mixing until the mixture is blended perfectly, silky and sweet. Slowly drizzle in the melted chocolate, mixing thoroughly to infuse every bite with rich chocolate flavor. Gently fold in the whipped topping to keep the filling fluffy, light, and airy.
Step 3: Layer the Cheesecake
Spread half of the cheesecake filling evenly over your chilled chocolate crust. Then carefully spoon half of the cherry pie filling on top of the cheesecake layer, spreading it out evenly to create that beautiful swirl of color and flavor. Add the remaining cheesecake filling and smooth the surface with a spatula for a neat finish.
Step 4: Chill Until Set
Pop your assembled cheesecake into the refrigerator and let it chill for at least 6 hours, or ideally overnight. This resting time allows all the layers to meld beautifully and gives the cheesecake that perfect sliceable firmness everyone loves.
Step 5: Garnish and Serve
Before serving, spoon the remaining cherry pie filling atop the cheesecake and sprinkle with mini chocolate chips for an eye-catching, flavorful burst. Add a dollop of whipped cream if you want to add that extra touch of indulgence.
How to Serve Chocolate Cherry No-Bake Cheesecake Recipe
Garnishes
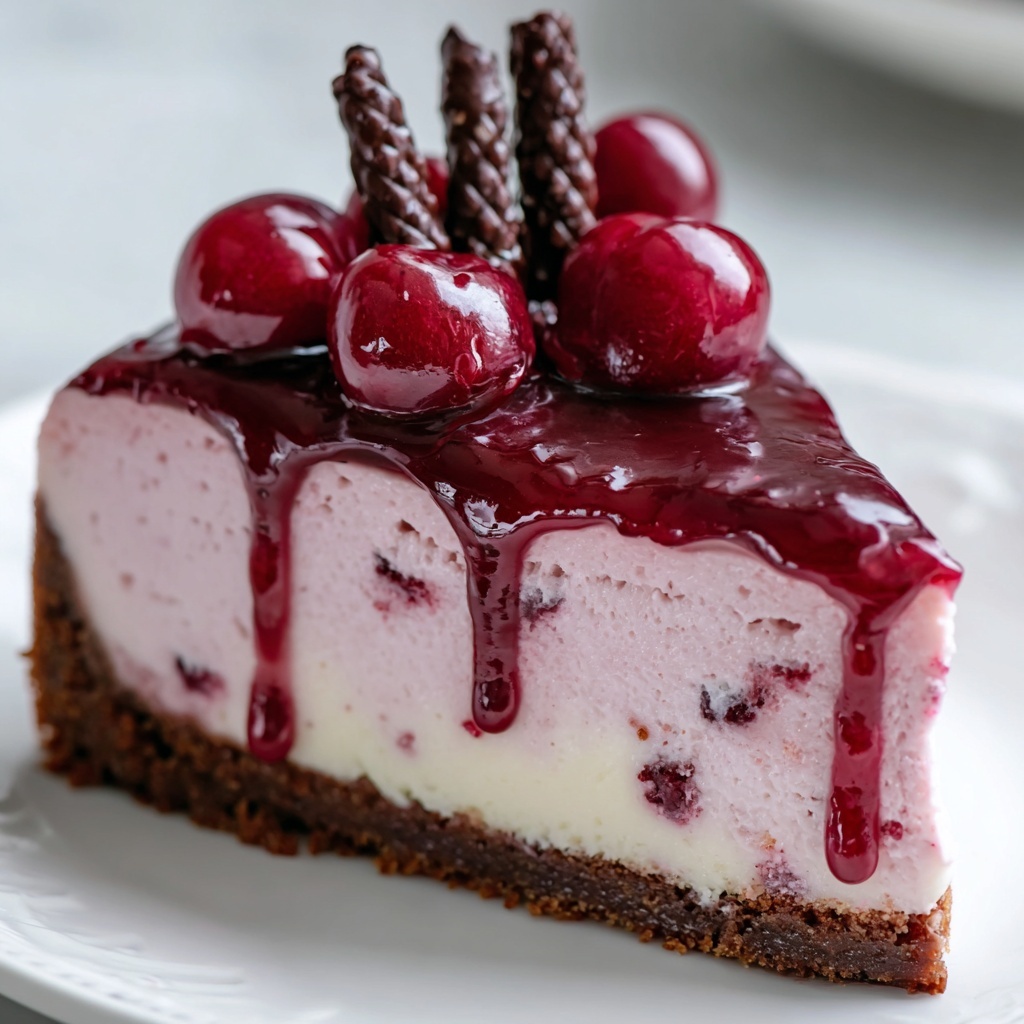
Beyond the standard mini chocolate chips and whipped cream, try fresh cherries or shaved dark chocolate curls to amp up the visual appeal and give your dessert a gourmet touch. A sprinkle of toasted almonds or a dusting of cocoa powder can also add delightful texture and flavor contrast.
Side Dishes
This cheesecake pairs wonderfully with a simple cup of coffee or a smooth, fruity dessert wine. If you want to offer variety, serve alongside fresh berries or a light fruit salad to balance the richness with some natural freshness.
Creative Ways to Present
For a festive occasion, serve the cheesecake in individual clear glasses, layering the crust, cheesecake filling, and cherries for a pretty parfait effect. Or, garnish each slice with edible flowers or a drizzle of cherry syrup for a restaurant-quality look that will wow your guests.
Make Ahead and Storage
Storing Leftovers
Leftover cheesecake keeps well in the refrigerator, tightly covered, for up to 4 days. Just make sure it’s wrapped well to prevent it from absorbing other fridge odors and to maintain its freshness and texture.
Freezing
This cheesecake freezes beautifully! Wrap it securely in plastic wrap and foil, then store in the freezer for up to 2 months. When you’re ready to enjoy it, thaw it overnight in the refrigerator for the best texture and taste.
Reheating
Since this is a no-bake cheesecake, reheating is not necessary or recommended. It’s designed to be enjoyed chilled, which is when all its creamy, chocolaty, and fruity flavors shine brightest.
FAQs
Can I use a different type of cookie for the crust?
Absolutely! While chocolate cookie crumbs provide the best flavor and contrast, you can experiment with graham crackers, Oreos, or even ginger snaps to give your crust a unique twist.
Is it possible to use fresh cherries instead of cherry pie filling?
You can, but fresh cherries won’t have the same syrupy consistency as pie filling and may not stay in place as well. If you want to use fresh cherries, consider making a quick cherry compote to mimic that glossy topping.
Can I substitute the whipped topping with homemade whipped cream?
Yes! Homemade whipped cream adds a wonderfully fresh taste and can be sweetened to your liking. Just fold it gently into the filling to keep it nice and fluffy.
How do I get clean slices when serving?
Chilling the cheesecake overnight helps, as does wiping a clean knife between each slice. Using a sharp knife warmed in hot water can also ensure neat, pretty pieces every time.
Is this recipe suitable for vegetarians?
Yes, this recipe is vegetarian-friendly as it uses no gelatin or animal-derived ingredients. Just check that your cookie crumbs and whipped topping are vegetarian-compatible.
Final Thoughts
This Chocolate Cherry No-Bake Cheesecake Recipe has become one of my absolute favorites to share with friends and family, especially when I want to impress without spending hours in the kitchen. It’s effortless, stunning, and deliciously indulgent. If you haven’t tried it yet, grab those ingredients and dive in—you’ll be so glad you did!
Print
Chocolate Cherry No-Bake Cheesecake Recipe
- Prep Time: 20 minutes
- Cook Time: 0 minutes
- Total Time: 6 hours 20 minutes
- Yield: 10 servings
- Category: Dessert
- Method: No-Cook
- Cuisine: American
- Diet: Vegetarian
Description
This Chocolate Cherry No-Bake Cheesecake is a luscious, creamy dessert combining a rich chocolate cookie crust, smooth chocolate-infused cheesecake filling, and sweet cherry pie topping. Perfect for warm days or anytime you want a decadent treat without turning on the oven, this easy-to-make cheesecake offers a delightful contrast of flavors and textures that will impress family and friends.
Ingredients
Crust
- 2 cups chocolate cookie crumbs
- 6 tablespoons melted butter
Filling
- 16 ounces cream cheese, softened
- 1 cup powdered sugar
- 1 teaspoon vanilla extract
- 1 1/2 cups whipped topping
- 1 cup semi-sweet chocolate chips, melted and slightly cooled
Topping
- 1 can cherry pie filling
- 1/2 cup mini chocolate chips (for garnish)
- Whipped cream, for topping if desired
Instructions
- Prepare the crust: In a medium bowl, mix the chocolate cookie crumbs with the melted butter until the crumbs are evenly coated. Press this mixture firmly into the bottom of a 9-inch springform pan to form an even crust layer. Place the pan in the refrigerator to chill while you prepare the filling.
- Make the cheesecake filling: In a large mixing bowl, beat the softened cream cheese until smooth and creamy using an electric mixer. Add the powdered sugar and vanilla extract, and continue beating until fully combined and smooth.
- Add chocolate to the filling: Stir the melted and slightly cooled semi-sweet chocolate chips into the cream cheese mixture until fully incorporated, creating a smooth, chocolatey filling.
- Fold in whipped topping: Gently fold the whipped topping into the chocolate cheesecake mixture using a spatula to keep the texture light and fluffy without deflating it.
- Assemble the cheesecake layers: Spread half of the cheesecake filling evenly over the chilled crust. Spoon half of the cherry pie filling over this layer. Then, add the remaining cheesecake filling and smooth the top with a spatula.
- Chill the cheesecake: Refrigerate the assembled cheesecake for at least 6 hours or preferably overnight until it is firm and set.
- Add final toppings before serving: Just before serving, top the cheesecake with the remaining cherry pie filling, sprinkle with mini chocolate chips, and add whipped cream if desired to enhance presentation and flavor.
Notes
- For cleaner slices, chill the cheesecake overnight and wipe the knife clean between cuts.
- Using dark chocolate cookies for the crust will give a richer flavor.