
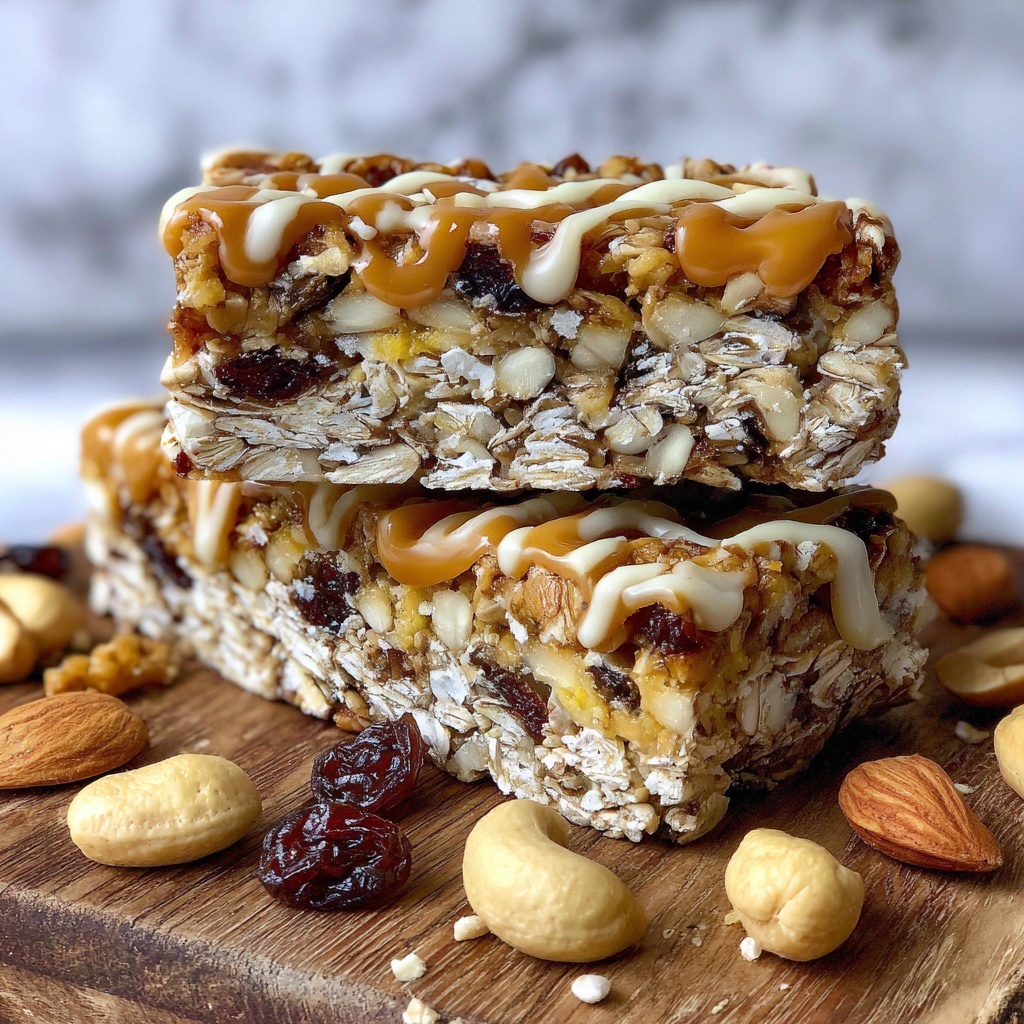
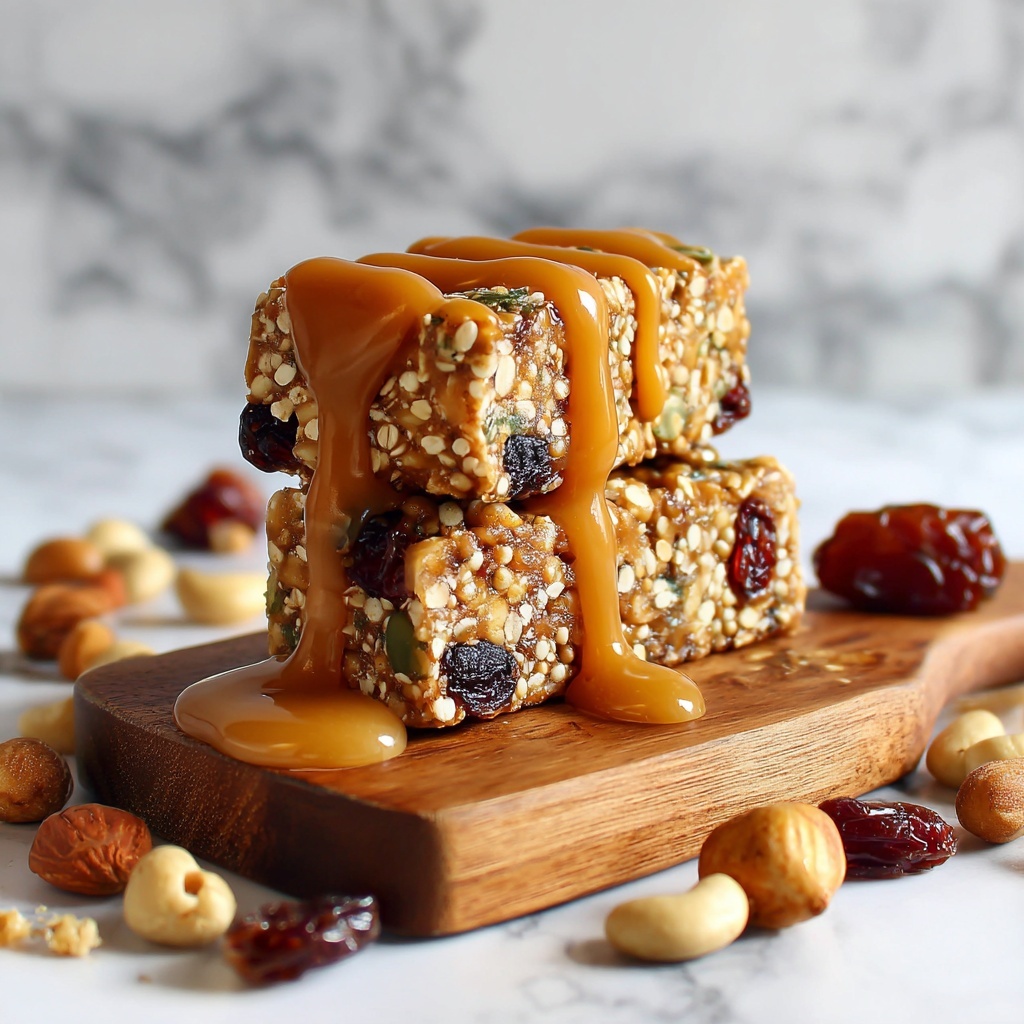
If you’ve ever wanted to make a snack that’s irresistibly tasty, delightfully chewy, and absolutely packed with wholesome goodness, this Chewy Homemade Granola Bars Recipe is exactly what you need. Imagine the perfect marriage of crisp rolled oats, the sweet melt-in-your-mouth mini marshmallows, and bursts of chocolate chips all held together with honey’s natural sweetness and buttery richness. These bars are a snack-time game changer, perfect for busy mornings, afternoon pick-me-ups, or fueling your next adventure. Trust me, once you try this recipe, it will become your go-to treat that everyone can enjoy and rave about.
Ingredients You’ll Need
Gathering these simple, everyday ingredients is the first step toward creating your very own chewy snack masterpiece. Each one plays a vital role in texture and flavor, from the crunch of crunchy rice cereal to the smooth sweetness of honey that brings it all together beautifully.
- Rolled oats: The hearty base that gives granola bars their classic chewy texture and wholesome flavor.
- Mini marshmallows: They add a fluffy, soft contrast and help bind the bars with delicate sweetness.
- Chocolate chips: Little pockets of melty chocolate that elevate these bars to pure dessert-level deliciousness.
- Graham cracker crumbs: Adds a slight crunch and a subtle honey-kissed flavor that complements the oats.
- Rice cereal: For an extra crispy bite that balances the chewiness perfectly.
- Honey (or maple syrup or brown rice syrup): The natural sweetener that also acts as the glue, holding all ingredients together.
- Butter: Adds richness and helps everything meld into one glorious, chewy bar.
How to Make Chewy Homemade Granola Bars Recipe
Step 1: Melt the Butter and Honey
Start by gently melting the butter and honey together in a saucepan over medium heat. This warm mixture becomes the delicious syrup that brings all of your dry ingredients together. Cook it until it just begins to bubble and thicken, which means it’s ready to coat everything evenly and provide that perfect chewy texture.
Step 2: Combine the Dry Ingredients
While your syrup is warming, mix up the dry ingredients in a large bowl—rolled oats, graham cracker crumbs, and rice cereal. This combination gives your bars a wonderful balance of chew and crunch, making each bite interesting and satisfying.
Step 3: Mix Syrup with Dry Ingredients
Pour the warm butter and honey mixture over your dry ingredients and stir well so that every bit is coated in that sweet, sticky glaze. This step is essential because it ensures the bars will hold together beautifully once cooled, and every bite will be bursting with flavor.
Step 4: Add Mini Marshmallows and Chocolate Chips
Let the mixture cool for a few minutes—this helps prevent your marshmallows from melting away immediately. Then, gently fold in the mini marshmallows and chocolate chips, which add delightful chewy pockets and gooey chocolate surprises throughout your bars.
Step 5: Press Into Pan and Chill
Transfer your mixture into a greased or parchment-lined 9×13-inch baking dish. Press it firmly into an even layer to make sure the bars hold their shape when sliced. Then let it cool completely—this step is crucial to getting those perfect chewy bars you’re craving.
Step 6: Slice and Serve
Once fully cooled and set, slice your creation into bars. They’re ready to enjoy right away, making them a fantastic snack to grab on the go or to share with friends and family.
How to Serve Chewy Homemade Granola Bars Recipe
Garnishes
Although these bars are fantastic on their own, you can elevate them with a light drizzle of melted dark chocolate or a sprinkle of flaky sea salt on top. This adds a touch of elegance and a contrast of flavors that make each bite even more memorable.
Side Dishes
Pair your granola bars with a cup of yogurt, fresh fruit slices, or a glass of cold milk for a balanced snack or breakfast. These bars also work wonderfully alongside a morning smoothie or a warm cup of tea for a cozy break.
Creative Ways to Present
Wrap individual bars in parchment paper tied with twine for an adorable homemade gift. Or layer pieces in a decorative jar to bring to picnics or potlucks. They also make practical, mess-free treats for kids’ lunchboxes, campers, or office snacks.
Make Ahead and Storage
Storing Leftovers
Once cooled, store your granola bars in an airtight container at room temperature for up to a week. This keeps them chewy and fresh without becoming stale or too hard. If you want longer storage, refrigeration is also fine, but may firm them up slightly.
Freezing
These bars freeze beautifully! Wrap each bar tightly in plastic wrap and place in a freezer bag. Stored this way, they remain fresh for up to 3 months. When you want to enjoy one, just thaw at room temperature or give it a quick zap in the microwave.
Reheating
If you like your bars warm and gooey, pop one in the microwave for about 15-20 seconds. This softens the chocolate and marshmallows while preserving the chewiness, making each bite feel freshly made.
FAQs
Can I use other sweeteners instead of honey?
Absolutely! Maple syrup or brown rice syrup work just as well and will add their own subtle flavor nuances. Just make sure to use the same amount to maintain the bar’s texture.
What can I substitute for mini marshmallows?
If you’re not a fan or need a vegan option, try using dried fruits like cranberries or chopped dates instead. They provide chewiness and natural sweetness without melting away.
How do I make these bars gluten-free?
Simply use certified gluten-free oats, rice cereal, and graham cracker crumbs. This ensures the bars stay safe for gluten-sensitive diets without sacrificing taste or texture.
Can I add nuts or seeds to the recipe?
Definitely! Chopped almonds, walnuts, sunflower seeds, or pumpkin seeds are excellent additions that add crunch and healthy fats. Just fold them in along with the marshmallows and chocolate chips.
How do I prevent the bars from being too sticky?
Be sure to let the bars cool completely before cutting. Also, pressing the mixture firmly into the pan helps them hold together well. If your mixture feels too sticky when mixing, you can chill it briefly before adding marshmallows and chocolate chips.
Final Thoughts
I hope this Chewy Homemade Granola Bars Recipe inspires you to whip up a batch of your own delightful treats. With simple ingredients and straightforward steps, you can create bars bursting with flavor, chewiness, and wholesome goodness. Whether as a snack, breakfast, or a fun dessert, these bars will quickly become a beloved staple in your pantry. Give them a try and watch how quickly they disappear!
Print
Chewy Homemade Granola Bars Recipe
- Prep Time: 15 minutes
- Cook Time: 5 minutes
- Total Time: 50 minutes
- Yield: 16 bars
- Category: Snack
- Method: Stovetop
- Cuisine: American
Description
These chewy homemade granola bars combine the perfect balance of sweet and crunchy with rolled oats, mini marshmallows, chocolate chips, graham cracker crumbs, and rice cereal, all held together by a warm honey and butter mixture. Easy to make and perfect for a quick snack or on-the-go breakfast, these bars are crowd-pleasers that don’t require baking, making preparation simple and straightforward.
Ingredients
Dry Ingredients
- 2 cups rolled oats
- 1 cup graham cracker crumbs
- 1 cup rice cereal
- 1 cup mini marshmallows
- 3/4 cup chocolate chips
Wet Ingredients
- 1/2 cup honey (or maple syrup or brown rice syrup)
- 1/2 cup unsalted butter
Instructions
- Melt the butter and honey: In a medium saucepan, combine the butter and honey over medium heat. Stir continuously and cook until the mixture begins to bubble and thickens slightly, about 3-5 minutes.
- Mix dry ingredients: In a large mixing bowl, combine the rolled oats, graham cracker crumbs, and rice cereal. Stir together until evenly blended.
- Combine wet and dry: Pour the warm butter and honey mixture over the dry ingredients. Stir thoroughly to ensure all the dry ingredients are well coated with the syrup mixture.
- Cool slightly and fold in extras: Let the mixture cool for 3-5 minutes to prevent marshmallows from melting completely. Then gently fold in the mini marshmallows and chocolate chips evenly throughout the mixture.
- Press into the pan: Transfer the mixture to a greased or parchment-lined 9×13-inch baking dish. Press firmly and evenly using a spatula or your hands to compact the bars.
- Cool and slice: Allow the mixture to cool completely at room temperature, about 20-25 minutes, or refrigerate for faster firming. Once set, slice into 16 bars and serve.
Notes
- Use parchment paper for easier removal and cleanup.
- You can substitute maple syrup or brown rice syrup for honey for a different flavor or to make it vegan.
- Store bars in an airtight container at room temperature for up to 5 days, or refrigerate for longer freshness.
- For extra chewiness, do not over-press the mixture in the pan.
- Add nuts or dried fruit for extra texture and flavor if desired.

