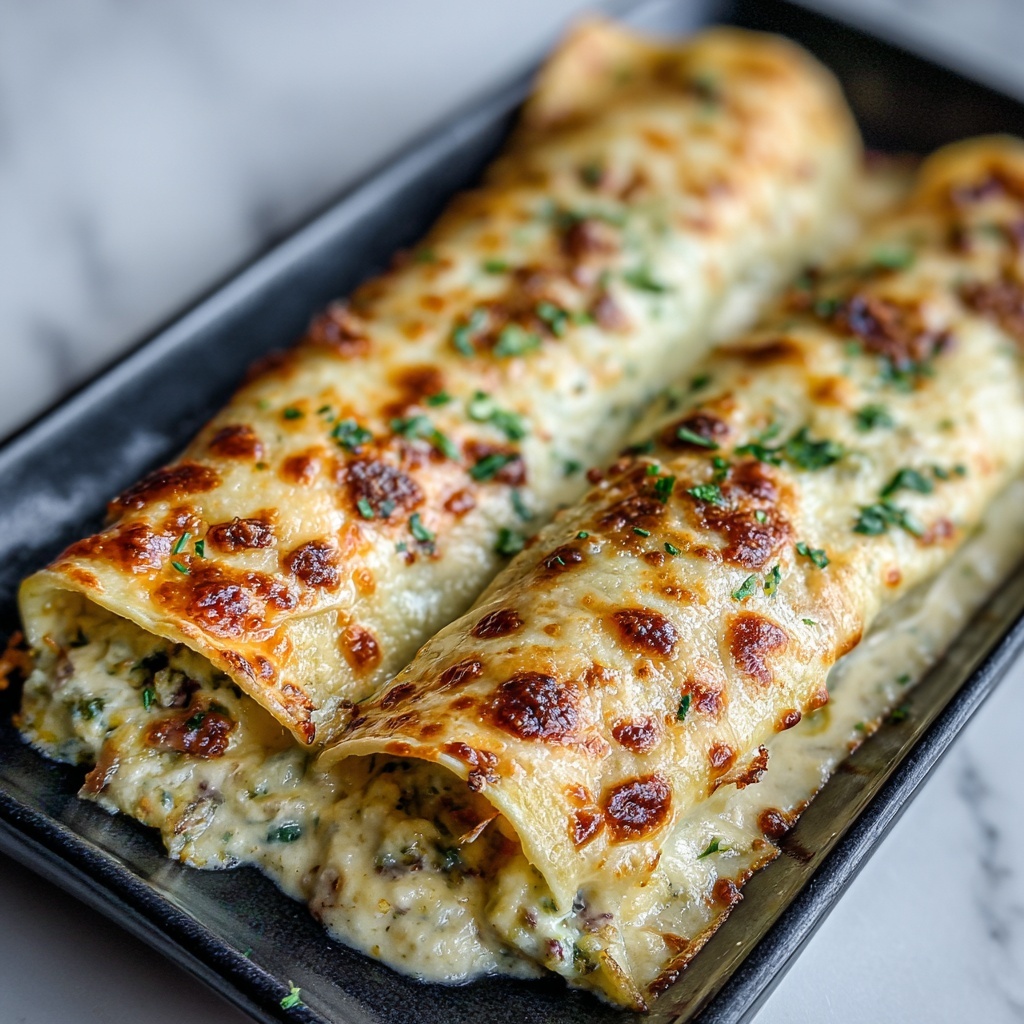
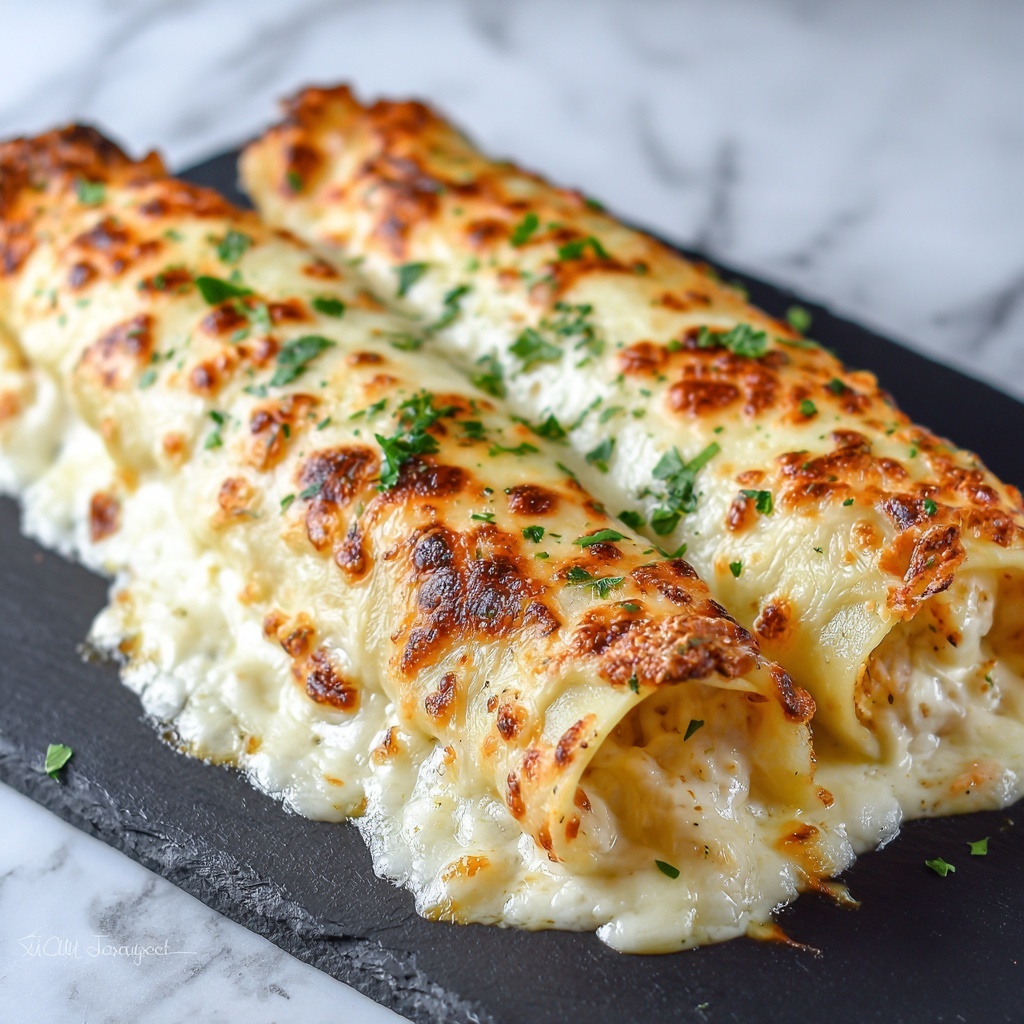
If you want a flavorful, cozy dinner that comes together effortlessly but feels like a special treat, these Cheesy Garlic Chicken Wraps: A Deliciously Easy Recipe for Dinner Recipe are exactly what you need. Imagine tender garlic-infused chicken wrapped in a warm tortilla, melted cheese melding everything together in each bite. This dish hits all the right spots—creamy, savory, with just the right hint of garlic—and makes weeknight dinners exciting and deliciously simple.
Ingredients You’ll Need
The beauty of this recipe lies in its straightforward yet tasty ingredients. Each component plays a crucial role, from juicy chicken to melty cheese and fragrant garlic, coming together to create that irresistible flavor and satisfying texture.
- Chicken breasts: Boneless and skinless, perfect for tender, juicy chicken strips.
- Garlic cloves: Fresh and minced, adding a punch of aromatic flavor.
- Shredded cheese: A blend of mozzarella and cheddar works beautifully for gooey, rich meltiness.
- Flour tortillas: Soft and warm, they hold everything together for an easy wrap.
- Olive oil: For sautéing the chicken to golden perfection.
- Salt and pepper: Basic seasonings to enhance all the natural flavors.
- Fresh parsley: Chopped finely to brighten the dish with a pop of color and freshness.
- Optional hot sauce: To spice things up if you like a little kick.
How to Make Cheesy Garlic Chicken Wraps: A Deliciously Easy Recipe for Dinner Recipe
Step 1: Prepare the Chicken
Start by slicing the chicken breasts into thin strips. Heat olive oil in a pan over medium heat, then add the chicken. Season with salt and pepper and cook until the pieces are golden brown and cooked through, about 6-8 minutes. The key is to not overcrowd the pan so each piece gets a nice sear.
Step 2: Add Garlic for Flavor
Once the chicken is almost done, add the minced garlic directly to the pan. Stir it around for about one minute until fragrant but not burnt. Garlic is a star player here, infusing every bite with deep warmth without overpowering the dish.
Step 3: Layer on the Cheese
Reduce the heat to low and sprinkle the shredded cheese over the chicken and garlic mixture. Cover the pan with a lid for a couple of minutes to melt the cheese perfectly. This melting stage transforms the dish into a creamy, cheesy sensation that will have your mouth watering in anticipation.
Step 4: Assemble the Wraps
Warm your tortillas gently in a dry skillet or microwave to make them pliable. Spoon generous portions of the cheesy garlic chicken onto each tortilla. Add a little fresh parsley on top for that lovely herby brightness, then wrap them up tightly, folding the ends in to keep everything inside.
Step 5: Final Warm-Up
For an extra touch, place the wrapped tortillas back in the skillet to brown slightly for about 2 minutes on each side. This step adds a satisfying crunch and helps seal the wraps, making them easier to eat and even more irresistible.
How to Serve Cheesy Garlic Chicken Wraps: A Deliciously Easy Recipe for Dinner Recipe

Garnishes
Fresh herbs like parsley or even a sprinkle of chopped chives add a vibrant color contrast and fresh bite that balances the richness of the cheese and garlic. A squeeze of lemon juice can brighten the flavors, making each bite pop.
Side Dishes
These wraps pair beautifully with a crisp green salad tossed in a light vinaigrette or some crunchy roasted vegetables for added texture. For a heartier meal, creamy coleslaw or even sweet potato fries bring a sweet and tangy complement to the cheesy garlic goodness inside the wraps.
Creative Ways to Present
Try cutting the wraps into smaller pinwheel slices for a fun appetizer or party snack. You can also wrap them up individually in parchment paper or foil for a picnic-style lunch. Serving with colorful dipping sauces like ranch, garlic aioli, or even a spicy sriracha mayo offers guests a chance to customize each bite.
Make Ahead and Storage
Storing Leftovers
Place any leftover wraps in an airtight container and refrigerate for up to 3 days. To keep them from getting soggy, wrap them individually in plastic wrap before storing.
Freezing
If you want to save some for later, wrap each cooled wrap tightly in plastic wrap and then foil, and freeze for up to 2 months. Thaw overnight in the fridge before reheating for best results.
Reheating
Reheat the wraps on a skillet over medium heat for a few minutes on each side until warmed through and the cheese is melty again. Microwaving works in a pinch but can make the tortillas a bit chewy, so a skillet is the recommended method.
FAQs
Can I use other types of cheese?
Absolutely! Feel free to experiment with cheeses like Monterey Jack, pepper jack for some heat, or even a smoky gouda. Just choose something that melts well.
Is it possible to make this recipe vegetarian?
Yes! Swap the chicken for sautéed mushrooms or roasted veggies like bell peppers and zucchini. The cheese and garlic will still give you tons of delicious flavor.
How can I make these wraps spicy?
Add finely chopped jalapeños during the cooking process or serve with a spicy sauce like chipotle mayo or hot sauce on the side for those who like a kick.
Can I prepare the chicken filling in advance?
Definitely! Cook the chicken and garlic mixture ahead of time, then refrigerate until ready to assemble and warm the wraps. This shortcut makes dinner even quicker.
What’s the best type of tortilla to use?
Soft, large flour tortillas work best for these wraps since they’re flexible and hold the filling well. Whole wheat or spinach tortillas also add a nice flavor and extra nutrients.
Final Thoughts
These Cheesy Garlic Chicken Wraps: A Deliciously Easy Recipe for Dinner Recipe really are a weeknight lifesaver. They’re quick to throw together, packed with comforting flavors, and satisfyingly cheesy all at once. I can’t recommend them enough for anyone looking to impress themselves or loved ones with minimal fuss and maximum deliciousness. Give them a try tonight and prepare to become wrapped up in one of your new favorite dinner ideas!
Print
Cheesy Garlic Chicken Wraps: A Deliciously Easy Recipe for Dinner Recipe
- Prep Time: 5 minutes
- Cook Time: 20 minutes
- Total Time: 25 minutes
- Yield: 4 servings
- Category: Dinner
- Method: Stovetop
- Cuisine: Italian
Description
This classic Spaghetti Carbonara recipe combines crispy pancetta, garlic, and a creamy Parmesan-egg sauce for a quick and delicious Italian dinner. Ready in just 25 minutes, it’s perfect for a comforting meal that requires minimal ingredients and effort.
Ingredients
Pasta
- 400g spaghetti
Protein and Aromatics
- 150g pancetta or guanciale, diced
- 2 cloves garlic, minced
Sauce
- 3 large eggs
- 100g grated Parmesan cheese
- Salt, to taste
- Freshly ground black pepper, to taste
Garnish
- Fresh parsley, chopped (for garnish)
- Additional grated Parmesan cheese (optional)
Instructions
- Cook the spaghetti: Bring a large pot of salted water to a boil. Add the spaghetti and cook according to package instructions until al dente. Reserve 1 cup of the pasta cooking water before draining the pasta completely.
- Cook pancetta and garlic: In a large skillet over medium heat, add the diced pancetta or guanciale. Cook for 5 to 7 minutes until it becomes crispy. Add the minced garlic and sauté for an additional minute until fragrant, making sure not to burn the garlic.
- Prepare the sauce mixture: In a bowl, whisk together the eggs and grated Parmesan cheese until smooth. Season the mixture with salt and freshly ground black pepper according to your taste preference.
- Toss pasta with sauce: Add the hot, drained spaghetti to the skillet with pancetta and garlic. Remove the skillet from heat immediately. Quickly pour the egg and cheese mixture over the pasta and toss vigorously to combine. The residual heat from the pasta gently cooks the eggs, forming a silky, creamy sauce. If the sauce is too thick, gradually add the reserved pasta water a little at a time to reach the desired consistency.
- Serve and garnish: Plate the spaghetti carbonara and garnish with freshly chopped parsley and additional grated Parmesan cheese if desired. Serve immediately for best flavor and texture.
Notes
- Be sure to remove the skillet from heat before adding the egg mixture to avoid scrambling the eggs.
- Reserve pasta water to adjust the sauce consistency as needed—it helps create a smooth, cohesive sauce.
- If you cannot find guanciale, pancetta is an excellent substitute.
- Use freshly grated Parmesan for the best flavor and creaminess.
- This dish is best served immediately to enjoy its creamy texture and rich flavors.
