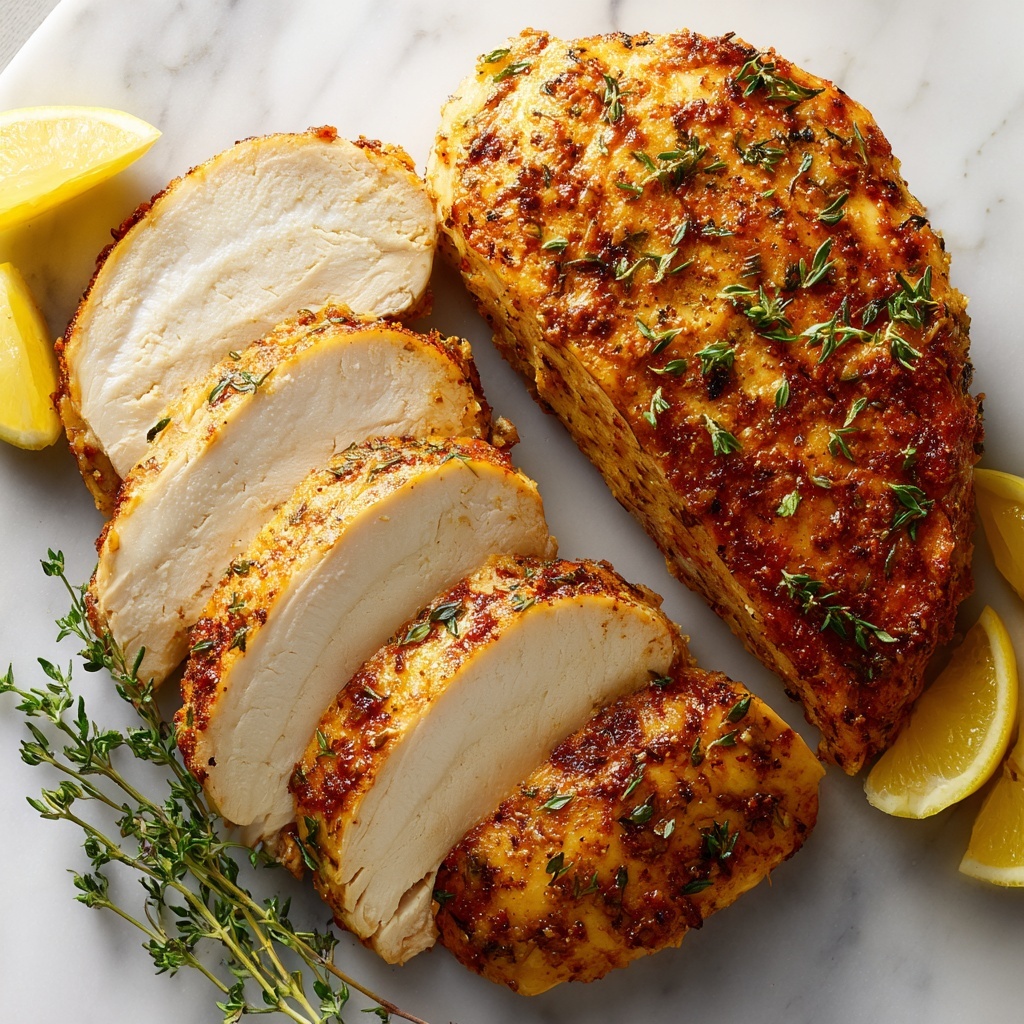
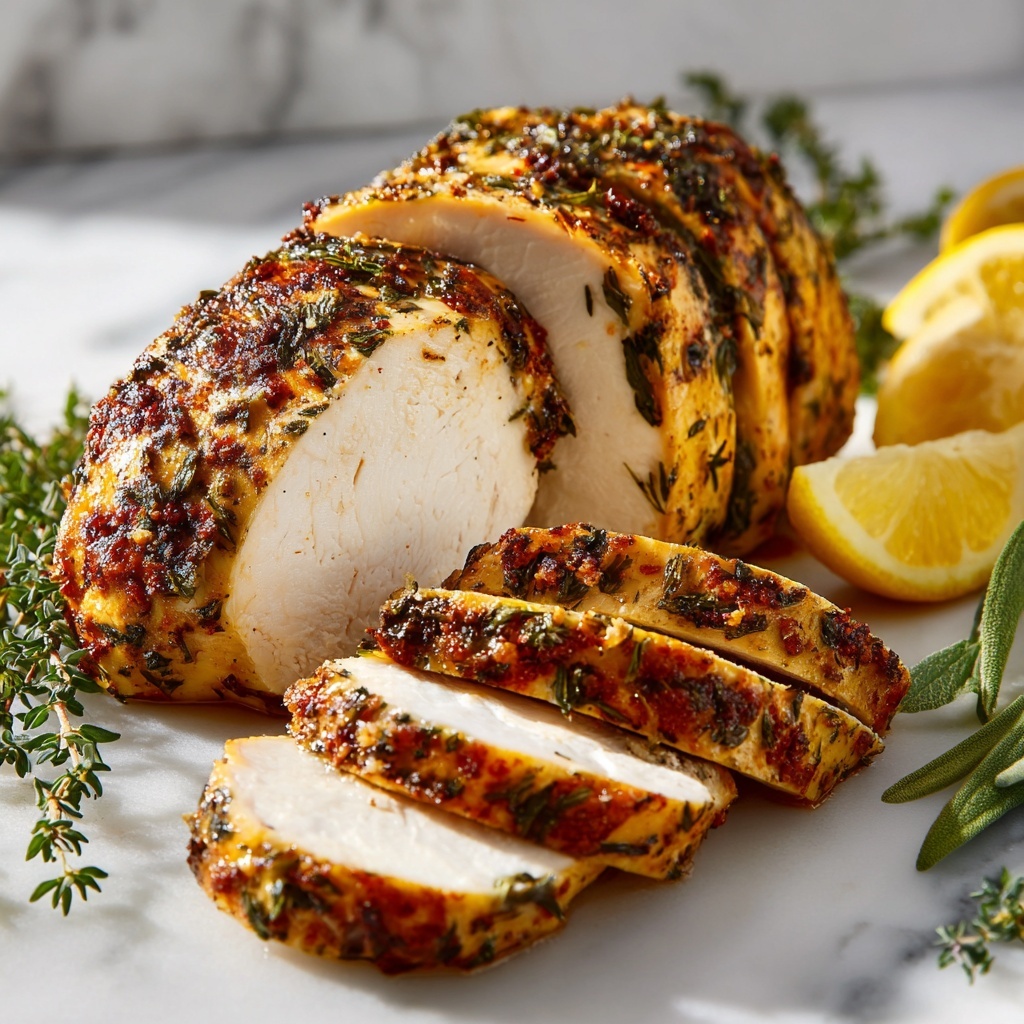
If you’ve ever dreamed of carving into a turkey breast that bursts with juiciness and boasts a golden, crispy skin, then you’re in for a treat with this Perfectly Juicy Roast Turkey Breast Recipe. It’s the ultimate way to enjoy tender, flavorful white meat that stays moist from the first slice to the last. Whether it’s for a special holiday meal or just a cozy dinner at home, this method ensures your turkey breast will come out tender, savory, and truly unforgettable. Let me show you how every simple ingredient and step works together to create a juicy masterpiece that’ll win over the whole table.
Ingredients You’ll Need
These ingredients are straightforward yet essential, each one playing a crucial role in building layered flavors and perfect texture. From the aromatic thyme to the rich butter, you’ll see how every element contributes to that delicious, moist turkey breast you’re craving.
- 4 pound turkey breast, boneless, skin on: The star of the show, providing plenty of meat with the skin to lock in moisture and crisp up beautifully.
- ¼ cup unsalted butter, divided: Adds richness and helps create a crispy, golden skin as well as tender meat underneath.
- 1 teaspoon kosher salt, divided: Enhances flavor and seasons the meat both inside and out for deeper taste.
- ½ teaspoon finely chopped thyme: Offers fresh herbal notes that balance the richness of the butter and turkey.
- 1 teaspoon black pepper, divided: Adds mild heat and earthiness, perfectly complementing the salt and fresh herbs.
How to Make Perfectly Juicy Roast Turkey Breast Recipe
Step 1: Preheat the Oven
Set your oven rack low in the oven and crank it up to 450°F (232°C). This initial blast of high heat is the secret to sealing in the juices and beginning that beautiful browning process on the skin. It’s like giving your turkey breast a flavorful armor that keeps everything inside tender and moist.
Step 2: Season the Surface
Make sure to pat your turkey breast dry—this helps the skin crisp up nicely during roasting. Then, season the meat side (bottom) with salt and black pepper. This layer of seasoning sets the foundation for flavor, so don’t be shy. Flip it skin-side up once seasoned; a completely dry surface is key for the best texture.
Step 3: Season Under the Skin
Now the fun part: gently lift the skin without tearing it and spread a luscious mixture of softened butter, salt, and fresh thyme underneath. This trick infuses the meat with amazing flavor and moisture directly, making every bite tender and aromatic. Just be careful to keep the skin attached on the edges for even cooking.
Step 4: Brush with Butter
Brush melted butter evenly over the skin and add a final touch of salt and pepper. This encourages golden browning and gives you that irresistible, crisp skin that everyone loves. The butter’s richness is essential for that perfect finishing touch.
Step 5: Roast the Meat
Place your turkey breast on a wire rack over a sheet pan to ensure heat circulates evenly. Roast it now at the high temperature for 30 minutes, then lower the oven to 325°F (163°C) to finish cooking gently without drying the meat. Use a meat thermometer to check for that ideal internal temperature of 160 to 165°F (72 to 74°C), which means juicy, tender turkey with no guesswork.
Step 6: Let it Rest
After roasting, resist the urge to cut immediately. Let your turkey breast rest for 20 minutes so the natural juices redistribute throughout the meat. This final patience pays off in moist, succulent slices that melt in your mouth and make every serving a delight.
How to Serve Perfectly Juicy Roast Turkey Breast Recipe

Garnishes
A simple garnish of fresh thyme sprigs or a sprinkle of finely chopped parsley brings a lovely touch of color and a hint of herbal brightness that complements the roasted flavors beautifully. Cranberries or pomegranate seeds add a cheerful pop of red and a subtle tartness for balance.
Side Dishes
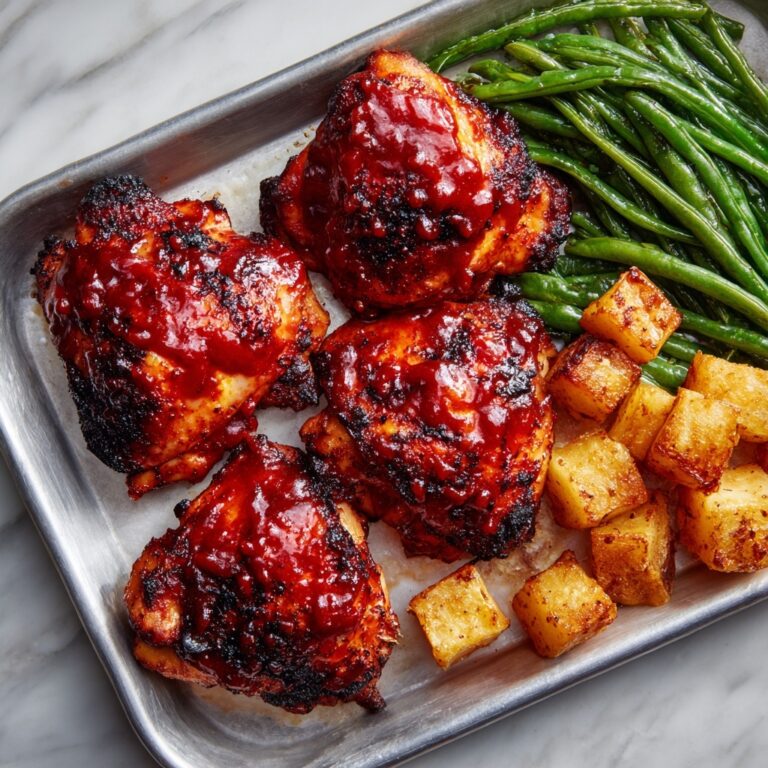
Pair your turkey breast with classic sides such as garlic mashed potatoes, honey-glazed carrots, or a fresh green bean almondine. These traditional accompaniments enhance the meal without overpowering the delicate juiciness of the star turkey.
Creative Ways to Present
For a fun twist, slice the turkey breast thin and stack it as savory finger sandwiches with cranberry sauce and a smear of herbed cream cheese. Or present beautiful thin slices atop mixed greens for an elegant turkey salad that’s perfect for brunch or light lunches.
Make Ahead and Storage
Storing Leftovers
Once cooled, wrap your turkey breast tightly in foil or store in an airtight container in the refrigerator. Stored properly, it should keep beautifully for up to 4 days, perfect for easy weeknight meals or sandwiches.
Freezing
If you want to save some for longer, wrap the cooked turkey breast well in plastic wrap and aluminum foil or use a freezer-safe bag. It will freeze well for up to 2 months and thaw evenly when moved to the fridge overnight.
Reheating
To keep the turkey moist during reheating, slice it first and warm gently in a covered dish with a splash of broth or water, either in the oven at low heat or in the microwave with short bursts of time. This method prevents drying and keeps that juicy texture intact.
FAQs
Can I use bone-in turkey breast instead of boneless?
Yes, bone-in turkey breast works too but may require a bit longer roasting time. Just check the internal temperature in the thickest part away from the bone to ensure doneness.
Why do I need to roast at two different temperatures?
The high initial temperature crisps the skin quickly while the lower temperature ensures the meat cooks through gently, preventing dryness and resulting in a beautifully juicy turkey breast.
How important is the resting step?
Resting allows the juices to redistribute throughout the meat, making each slice moist and tender instead of dry. Skipping this step can lead to disappointing, dry results.
Can I make this recipe ahead of time for a party?
Absolutely! You can roast the turkey breast a day ahead and store it in the fridge, then gently reheat it before serving. It’s a great way to reduce day-of stress.
What if I don’t have fresh thyme?
Dried thyme works, but use it sparingly as it has a more concentrated flavor. You can also experiment with other herbs like rosemary or sage for different flavor profiles.
Final Thoughts
This Perfectly Juicy Roast Turkey Breast Recipe is truly a game-changer for turkey lovers who want tender, flavorful meat without fuss. The balance of seasoning, clever butter technique, and roasting method makes every bite a juicy joy. Don’t wait for a special occasion — treat yourself to this delicious roast anytime you want a comforting, show-stopping meal that your friends and family will rave about.
Print
Perfectly Juicy Roast Turkey Breast Recipe
- Prep Time: 15 minutes
- Cook Time: 1 hour
- Total Time: 1 hour 15 minutes
- Yield: 8 servings
- Category: Main Course
- Method: Roasting
- Cuisine: American
Description
This Perfectly Juicy Roast Turkey Breast recipe delivers tender, flavorful turkey with irresistibly crispy skin. Using a two-temperature roasting method and butter seasoned under the skin, the turkey breast stays moist and rich while developing a beautifully golden crust. Ideal for an elegant holiday meal or weeknight feast, this recipe ensures juicy meat without drying out.
Ingredients
Turkey Breast
- 4 pound (1.8 kg) turkey breast, boneless, skin on
Seasoning and Butter
- ¼ cup (60 g) unsalted butter, divided
- 1 teaspoon kosher salt, divided
- ½ teaspoon finely chopped thyme
- 1 teaspoon black pepper, divided
Instructions
- Preheat the Oven: Place the oven rack in the lower third position and preheat the oven to 450°F (232°C). The initial high heat will help crisp up the turkey skin and seal in the juices.
- Season the Surface: Thoroughly pat the turkey breast dry with paper towels. Season the bottom side with approximately ¼ teaspoon kosher salt and ¼ teaspoon black pepper. Flip the breast over so the skin side is up, ensuring the surface is completely dry for maximum crispness.
- Season Under the Skin: In a small bowl, mix 2 tablespoons of softened butter with ½ teaspoon kosher salt and the finely chopped thyme. Gently loosen the skin from the thickest part of the breast, leaving the edges attached. Evenly spread the butter and herb mixture under the skin to infuse flavor directly into the meat and help retain moisture as it roasts.
- Brush with Butter: Brush about 2 tablespoons of melted butter over the turkey skin. Season evenly with the remaining ¼ teaspoon salt and ¼ teaspoon black pepper. This adds richness and promotes a golden, crispy crust.
- Roast the Meat: Place the turkey breast on a wire rack set over a sheet pan to allow air circulation beneath. Roast at 450°F (232°C) for 30 minutes to brown and crisp the skin. Then reduce the oven temperature to 325°F (163°C) and continue roasting until the meat’s internal temperature reaches 160 to 165°F (72 to 74°C), about 30 to 45 minutes more. This two-stage roasting ensures juicy, tender meat while preserving a crispy exterior.
- Let it Rest: Remove the turkey breast from the oven and let it rest for 20 minutes before slicing. Resting allows the meat’s juices to redistribute, ensuring each slice is moist and flavorful.
Notes
- Use a meat thermometer to ensure proper internal temperature and avoid overcooking.
- Drying the turkey skin thoroughly before seasoning is key to achieving a crispy crust.
- You can prepare the butter and herb mixture in advance to save time on cooking day.
- Letting the meat rest after roasting is essential for moist, tender slices.
- If desired, add other herbs such as rosemary or sage for extra flavor under the skin.


