
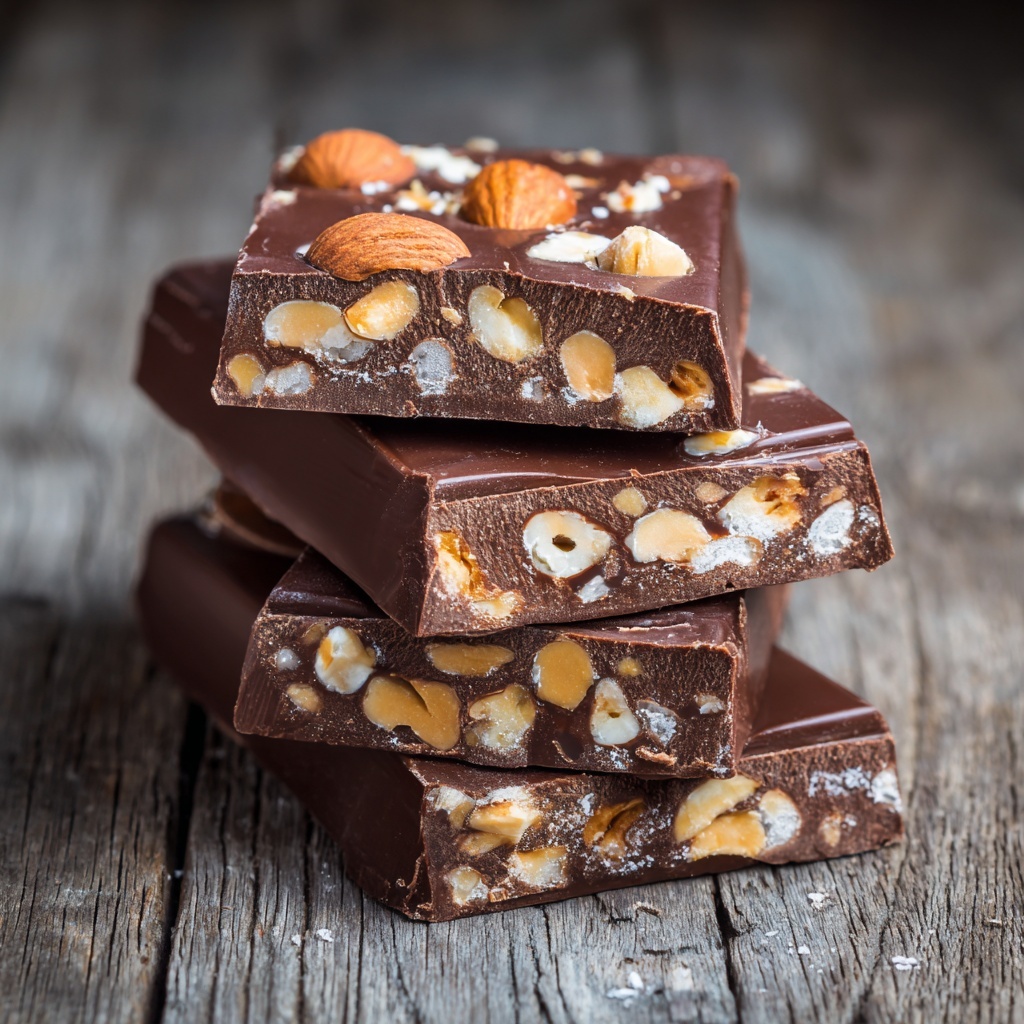
If you have a sweet tooth that loves a little crunch and a whole lot of flavor, then this Chocolate Peanut Butter Crunch Bars Recipe is about to become your new best friend in the kitchen. These bars strike the perfect balance between creamy peanut butter, crispy puffed rice, and rich dark chocolate, creating a treat that is as satisfying as it is addictive. Whether you’re packing snacks for the kids, looking for a quick energy boost, or just craving something delightful to nibble on, this recipe is simple, wholesome, and incredibly delicious.

Ingredients You’ll Need
Every ingredient in this recipe plays a key role, bringing texture, sweetness, and richness that come together effortlessly. They’re pantry staples that transform into a snack you’ll want to make again and again.
- Natural peanut butter: Use smooth or crunchy for a nutty, creamy base that holds it all together.
- Honey or maple syrup: Adds the perfect touch of natural sweetness and helps bind the mixture.
- Vanilla extract: Elevates the flavor with a warm, aromatic hint.
- Salt: Just a pinch to balance the sweetness and enhance all the flavors.
- Old-fashioned rolled oats: Provides chewy texture and hearty substance to the bars.
- Puffed rice cereal: Introduces a delightful crispness that gives these bars a memorable crunch.
- Dark chocolate chips (or dairy-free): Melts into a luscious topping that adds depth and richness.
- Coconut oil (optional): Helps smooth out the melted chocolate and adds a subtle tropical touch.
How to Make Chocolate Peanut Butter Crunch Bars Recipe
Step 1: Prepare Your Pan
Start by lining an 8×8-inch baking pan with parchment paper or lightly greasing it. This step makes removing the bars a breeze and keeps them intact when you slice.
Step 2: Melt the Peanut Butter and Sweetener
Combine the peanut butter and honey or maple syrup in a microwave-safe bowl. Microwave for about 30 seconds, then stir until smooth. This warming softens the peanut butter and blends the sweetener evenly throughout the mix.
Step 3: Add Vanilla and Salt
Stir in vanilla extract and salt. These tiny additions might seem small, but they add an important layer of complexity to the overall flavor, making the bars taste extra special.
Step 4: Mix Dry Ingredients
In a large bowl, toss together the rolled oats and puffed rice cereal. These ingredients provide the chewy and crunchy textures that make these bars so irresistible.
Step 5: Combine Wet and Dry Mixtures
Pour the peanut butter mixture over the oat and puffed rice blend. Stir thoroughly until every bit is coated, helping bind the bars cohesively when pressed.
Step 6: Press Into the Pan
Transfer the mixture into your prepared pan, pressing down firmly and evenly. Compactness is key to ensure your bars hold together well without crumbling apart later.
Step 7: Melt the Chocolate Topping
In a microwave-safe bowl, combine the dark chocolate chips with coconut oil if using. Microwave in short bursts of 20 seconds, stirring between each, until smooth and glossy.
Step 8: Spread the Chocolate
Pour the melted chocolate over the pressed oat layer, spreading it evenly with a spatula to create a beautiful, glossy finish that will harden into a satisfying crunch.
Step 9: Chill to Set
Pop the pan into the refrigerator for at least one hour. This chilling step firms up the bars and lets those tempting chocolate and peanut butter layers set perfectly.
Step 10: Slice and Enjoy
Once firm, lift the whole slab out of the pan using the parchment paper, then cut into 12 bars. Store them in the fridge, and enjoy whenever you need a sweet, crunchy pick-me-up.
How to Serve Chocolate Peanut Butter Crunch Bars Recipe
Garnishes
Sprinkle a few crushed peanuts or a light dusting of cocoa powder on top of the chocolate layer for an extra touch of texture and visual appeal. You can even drizzle some white chocolate for a gorgeous contrast that looks impressive yet is simple to do.
Side Dishes
These bars are fantastic on their own, but serve them alongside a cup of coffee, tea, or a cold glass of milk for a perfect snack break. They also pair wonderfully with fresh fruit like apple slices or banana for a balanced treat.
Creative Ways to Present
For a party or gift, wrap the bars individually in parchment paper tied with twine, or arrange them on a decorative platter mixed with nuts and dried fruits. You can also chop them up and use as a crunchy topping for yogurt or ice cream.
Make Ahead and Storage
Storing Leftovers
Keep any leftover bars in an airtight container in the refrigerator. They will stay fresh and maintain their crunch and chewiness for up to a week, making them a reliable snack option throughout the week.
Freezing
If you want to stash some bars for longer storage, wrap them tightly in plastic wrap and place in a freezer-safe container. They can be frozen for up to a month and thawed overnight in the fridge as needed.
Reheating
Since these bars are best enjoyed cool and firm, reheating isn’t necessary. However, if you prefer a softer texture, just let them sit at room temperature for 10 to 15 minutes before eating, allowing the chocolate to soften slightly.
FAQs
Can I use crunchy peanut butter instead of smooth?
Absolutely! Using crunchy peanut butter adds an extra layer of texture to the bars, complementing the puffed rice and oats beautifully. It’s a personal preference that works perfectly either way.
Is there a vegan option for this Chocolate Peanut Butter Crunch Bars Recipe?
Yes, you can easily substitute honey with maple syrup or agave nectar, and use dairy-free chocolate chips to keep it plant-based. These swaps won’t sacrifice any of the delicious texture or flavor.
How do I make sure the bars hold together well?
The key is pressing the mixture firmly into the pan before chilling. This compacts the ingredients so they bind together once set. Also, avoid skimping on the peanut butter or syrup, as these act as the glue for the bars.
Can I add other mix-ins like nuts or dried fruit?
Definitely! Chopped almonds, walnuts, or dried cranberries add wonderful flavor and texture. Just toss them in with the oats and puffed rice before adding the wet mixture to ensure even distribution.
How long will the bars stay fresh?
When stored properly in an airtight container and refrigerated, these bars remain fresh and moist for up to a week. Beyond that, freezing is your best bet for longer storage without loss of flavor or texture.
Final Thoughts
There’s something truly comforting about homemade treats that you can feel good about enjoying, and this Chocolate Peanut Butter Crunch Bars Recipe fits that bill perfectly. It’s simple, nourishing, and wildly delicious — a guaranteed crowd-pleaser that’s as fun to make as it is to eat. Give it a try, and prepare to fall in love with your new favorite snack!
Print
Chocolate Peanut Butter Crunch Bars Recipe
- Prep Time: 15 minutes
- Cook Time: 5 minutes
- Total Time: 1 hour 20 minutes
- Yield: 12 bars
- Category: Snack
- Method: No-Cook
- Cuisine: American
- Diet: Vegetarian
Description
These Chocolate Peanut Butter Crunch Bars combine creamy peanut butter, sweet honey, crunchy oats, and puffed rice cereal topped with a smooth layer of dark chocolate. Perfect as a nutritious snack or dessert, they are easy to prepare with no baking involved and set in the refrigerator for a deliciously satisfying treat.
Ingredients
Wet Ingredients
- 1 cup natural peanut butter (smooth or crunchy)
- 1/2 cup honey or maple syrup
- 1/2 teaspoon vanilla extract
- 1/4 teaspoon salt
- 1 tablespoon coconut oil (optional)
Dry Ingredients
- 2 cups old-fashioned rolled oats
- 1 1/2 cups puffed rice cereal
- 1/2 cup dark chocolate chips (or dairy-free chocolate chips)
Instructions
- Prepare the Pan: Line an 8×8-inch baking pan with parchment paper or lightly grease it to ensure easy removal of the bars later.
- Combine Peanut Butter and Honey: In a microwave-safe bowl, add the peanut butter and honey (or maple syrup). Microwave for 30 seconds, then stir well until the mixture is smooth and fully combined.
- Add Flavorings: Stir in the vanilla extract and salt into the peanut butter and honey mixture to enhance the taste.
- Mix Dry Ingredients: In a large bowl, combine the old-fashioned rolled oats and puffed rice cereal thoroughly.
- Coat Dry Ingredients: Pour the peanut butter mixture over the oat and puffed rice mix. Stir until all dry ingredients are evenly coated with the wet mixture.
- Press into Pan: Transfer the combined mixture into the prepared baking pan. Press it down firmly and evenly to ensure the bars hold together well.
- Melt Chocolate Topping: In a microwave-safe bowl, melt the dark chocolate chips along with the coconut oil (if using) in 20-second intervals, stirring between each until the chocolate is smooth and fully melted.
- Apply Chocolate Layer: Pour the melted chocolate evenly over the pressed oat and peanut butter layer, spreading it out smoothly with a spatula or spoon.
- Chill to Set: Place the pan in the refrigerator and chill for at least 1 hour, allowing the bars to firm up and the chocolate to set.
- Slice and Store: Once set, lift the bars from the pan using the parchment paper and cut them into 12 bars. Store in the refrigerator for up to one week to maintain freshness.
Notes
- Use natural peanut butter without added sugar or oils for a healthier option.
- Maple syrup can be used instead of honey for a vegan alternative.
- For a nut-free version, substitute peanut butter with sunflower seed butter.
- Press the mixture firmly into the pan to prevent crumbling.
- Refrigerate bars until firm before slicing to ensure clean cuts.
- Store bars in an airtight container in the refrigerator for up to 7 days.
- Optionally, add a pinch of cinnamon for extra flavor in the oat mixture.


